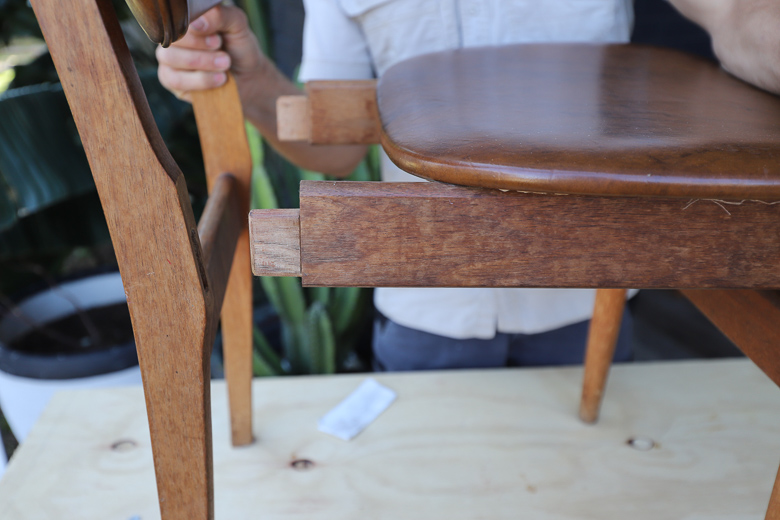
There really is something satisfying about restoring a beautiful old piece of furniture just like this chair.
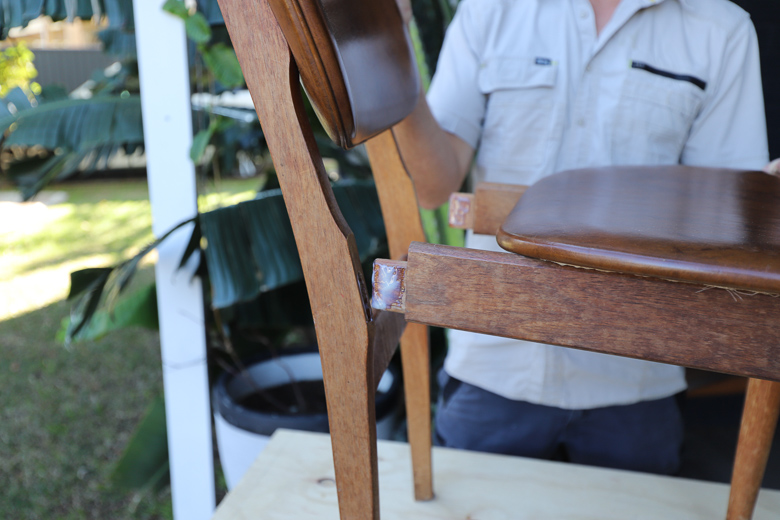
We bought these vintage chairs years ago, pre-kids. But over time and with our kids dragging it around, these joins have started to come apart. So, there’s no better time than now to show it some love and do some repair work.
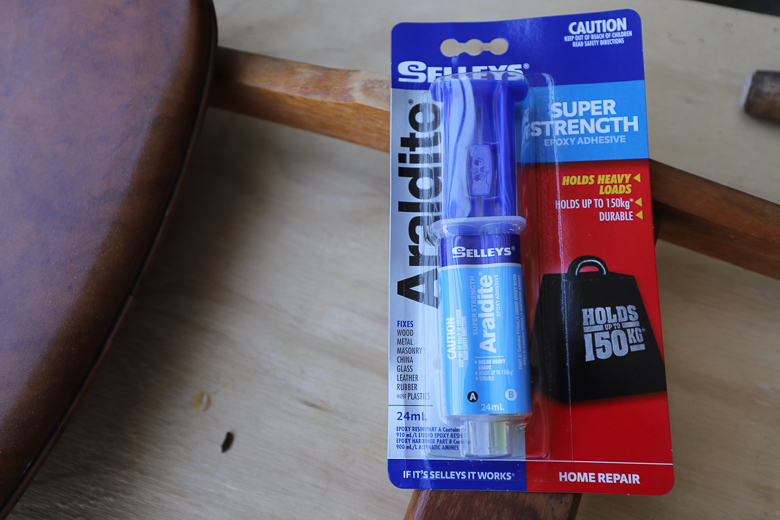
To repair the chair I’m using Selleys Araldite, which is a two part epoxy adhesive. The great thing about this glue is that it can be used for load-bearing repairs, and will hold up to 150kg.
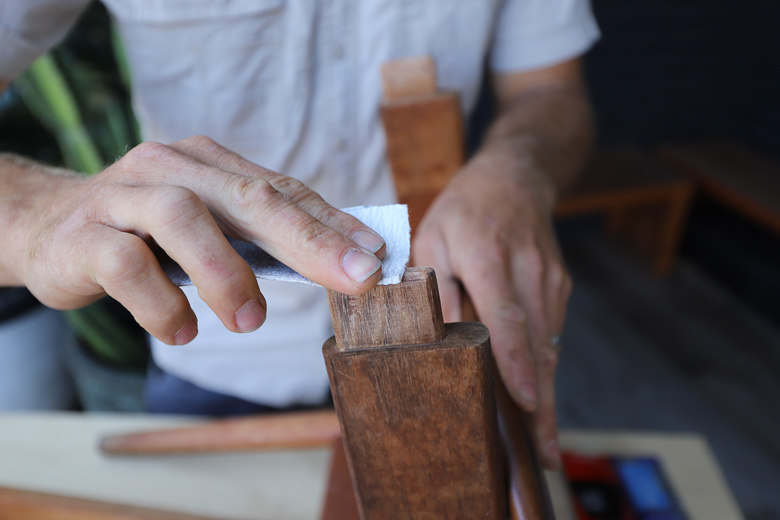
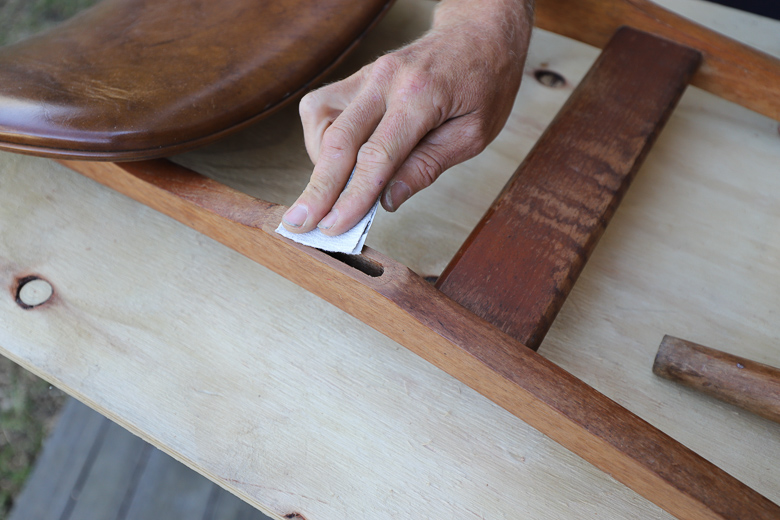
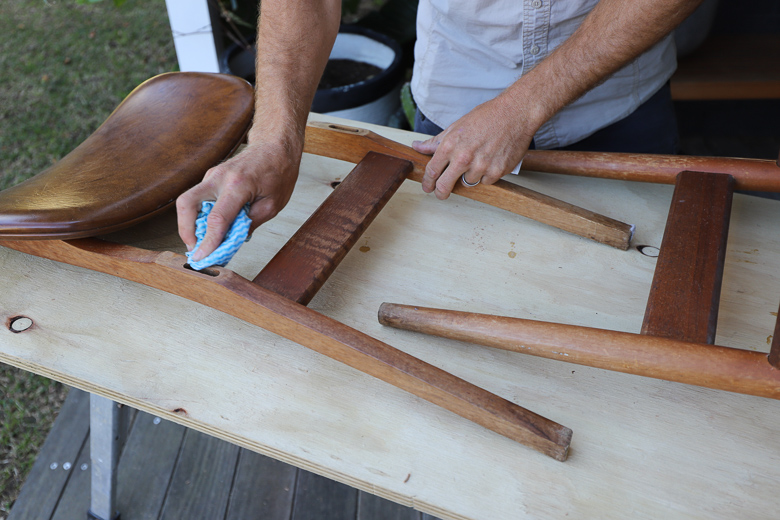
Step 1 : Prepare Surfaces by Sanding & Cleaning
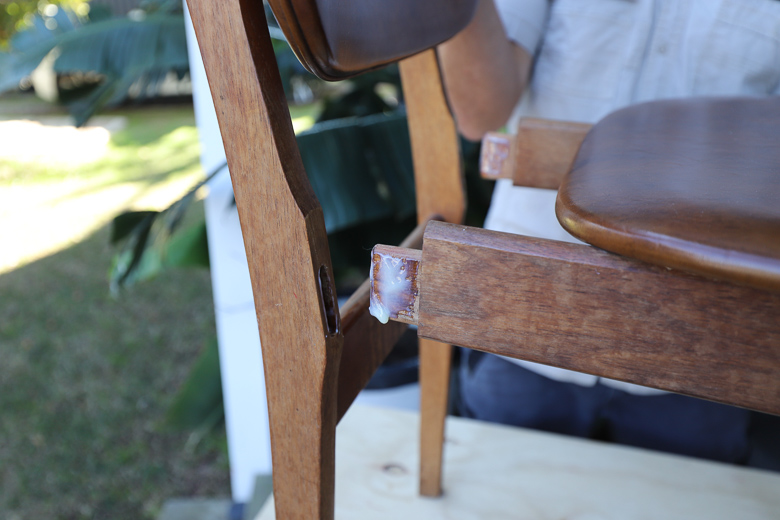
Pull the chair apart and lightly sand the mortise and tennon joins to take off any old glue or timber burs. Once you’ve finished sanding, blow any dust out of the mortise holes and give the surfaces a good clean wipe with a damp cloth.
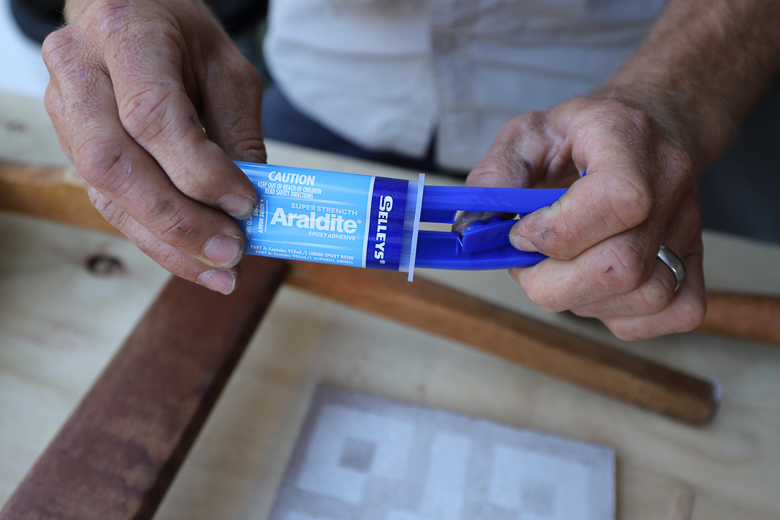
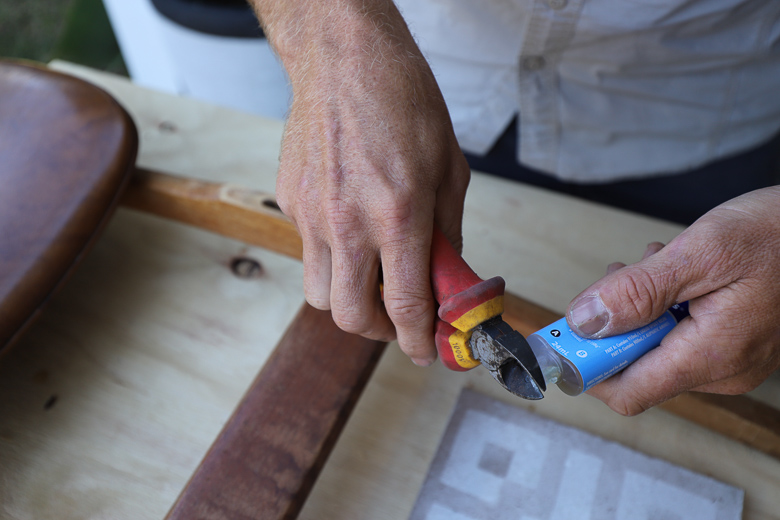
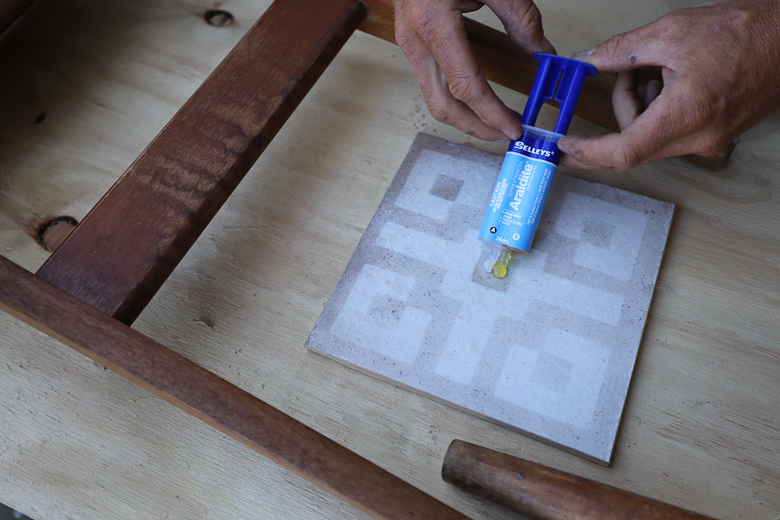
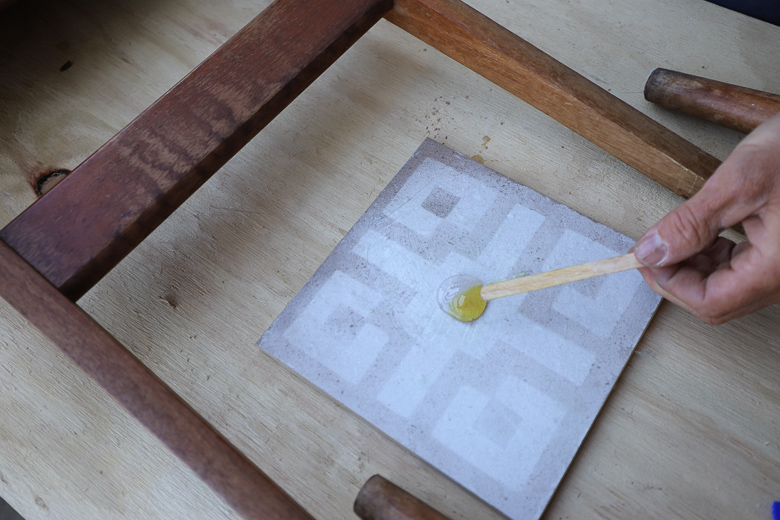
Step 2 : Squeeze Equal Parts of A & B
Snap off the re-usuable cap and snip off the end of the syringe. Squeeze out equal parts onto a clean surface.
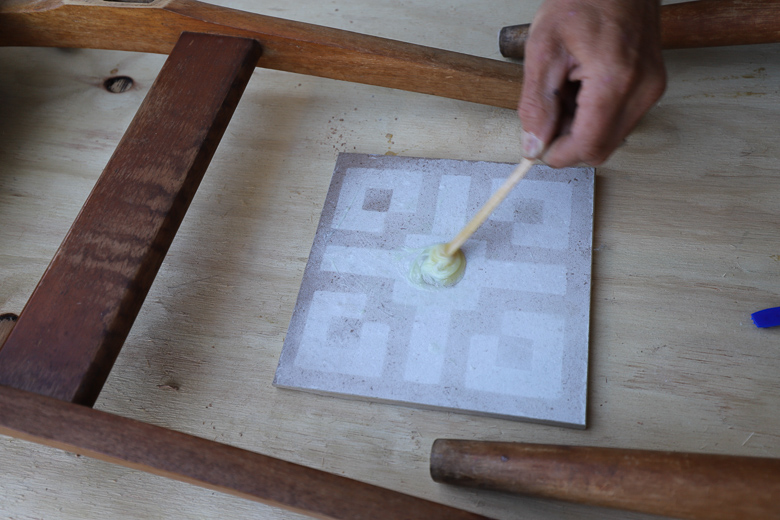
Step 3 : Thoroughly Mix Together
Use a clean surface to mix up the Araldite thoroughly.
Step 4 : Leave for 5-10min Before Mixing
After leaving for 5-10 minutes, give the glue another mix.
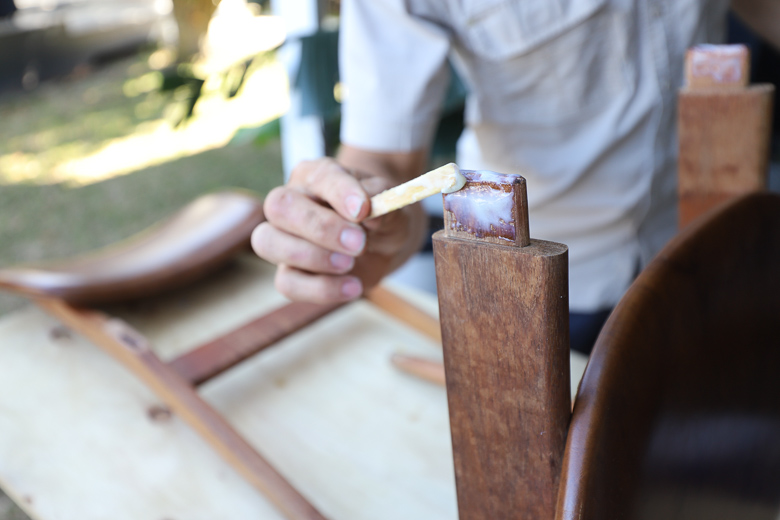
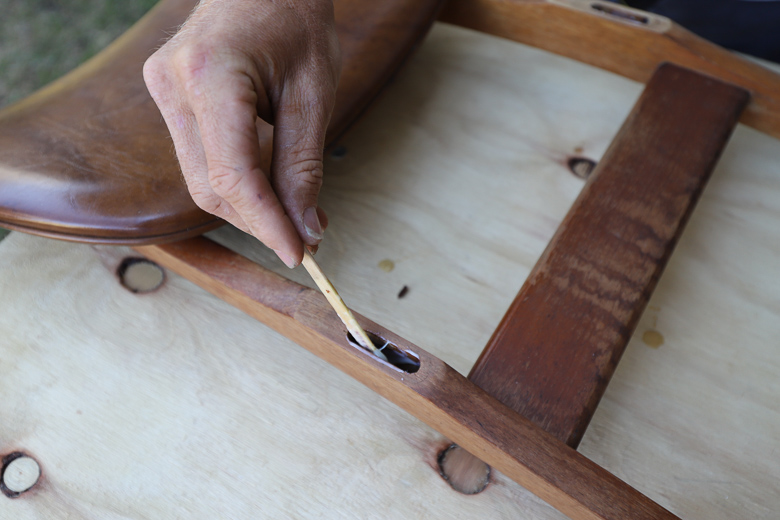
Step 5 : Apply Adhesive to Both Surfaces
Apply glue into the mortise holes and onto the tennon.
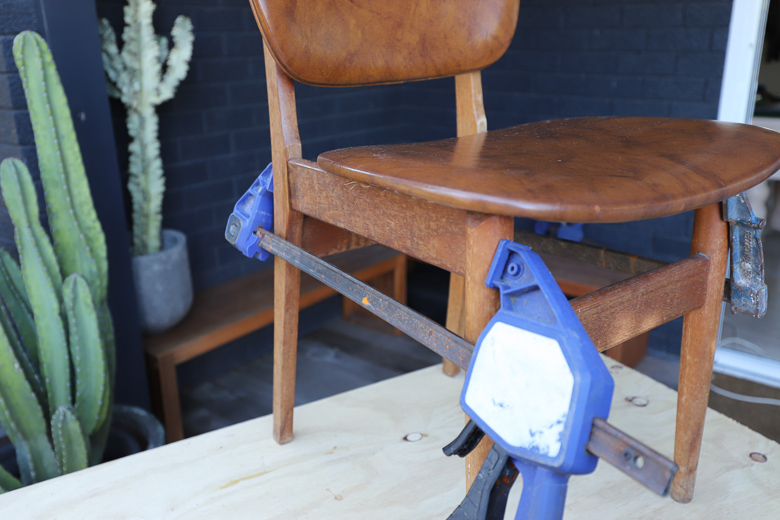
Step 6 : Clamp Surfaces Together
Once you’ve finished applying the glue, use a clamp to get a nice strong bond. The super strength Araldite will take initial bond in 6-8 hours, but we’re gong to leave this clamped up for 3 days to get maximum strength.
This ‘How To’ brought to you by Selleys.