There are no surprises about the benefits of windows, especially when it comes to natural light and ventilation. But we do need to ensure that they’re installed correctly to prevent any water from entering your home and to keep that window in perfect working order. Here we show you how we’ve installed this window into our timber clad home.
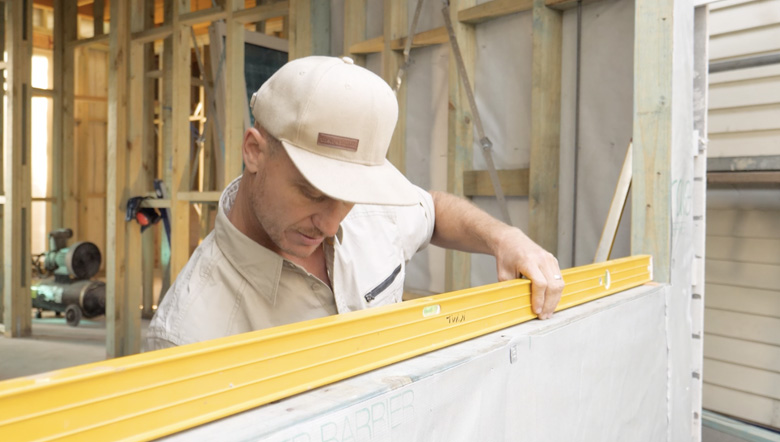
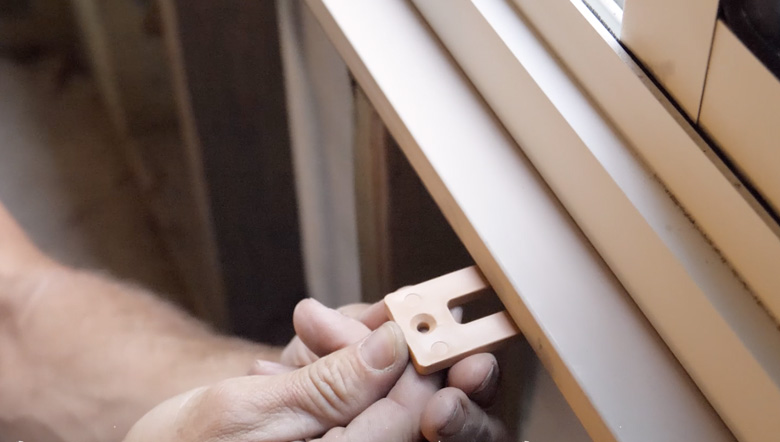
Step 1 : Pack Window Sill Until Level
First of all you need to prepare the window opening. It’s important to get the sill straight and level. Start at one end with a 5mm packer and work along the length of the sill until it’s level.
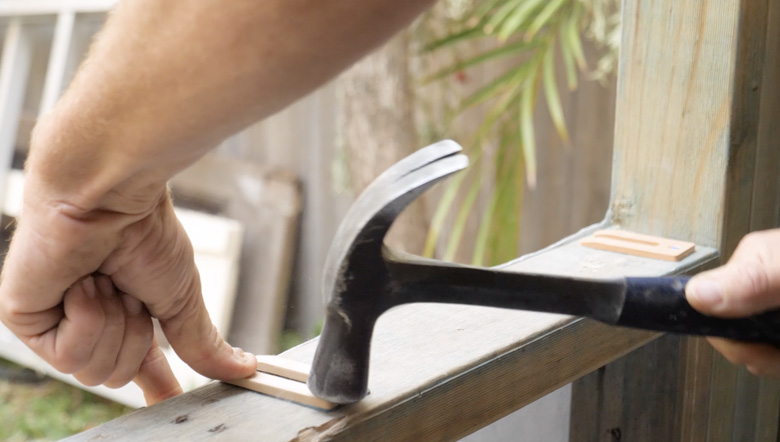
Step 2 : Spread Packers Along Window Sill and Fix Down
Finish off levelling the sill by adding more packers along the length of the sill to help support the window and fix into place.
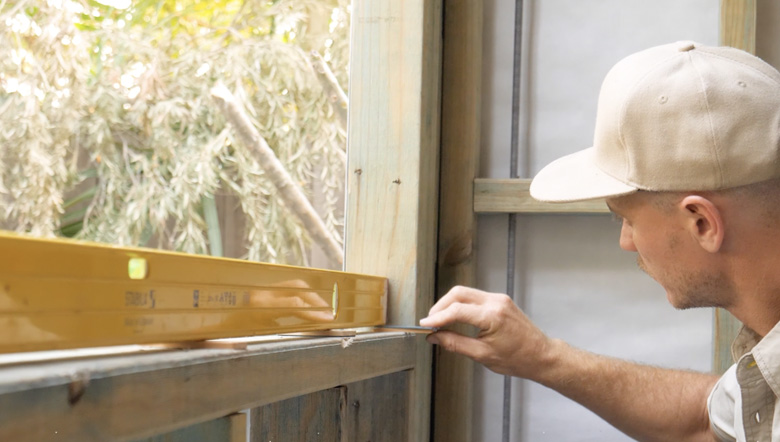
Step 3 : Use Packers to Level One Side of Window Frame
Plumb one side of the window opening using the level and fix packers into place.

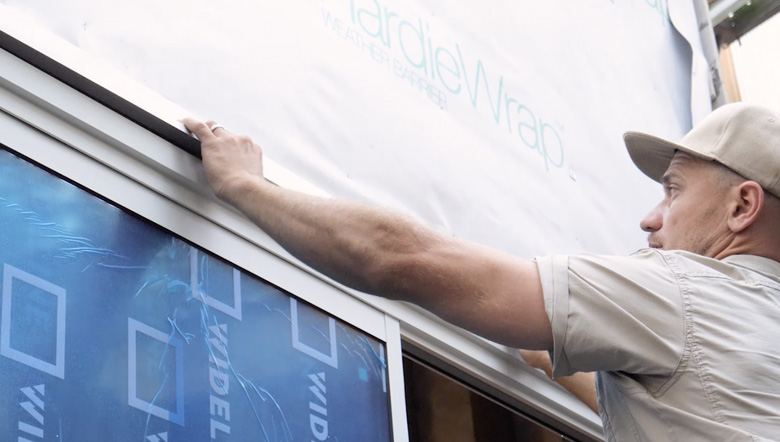
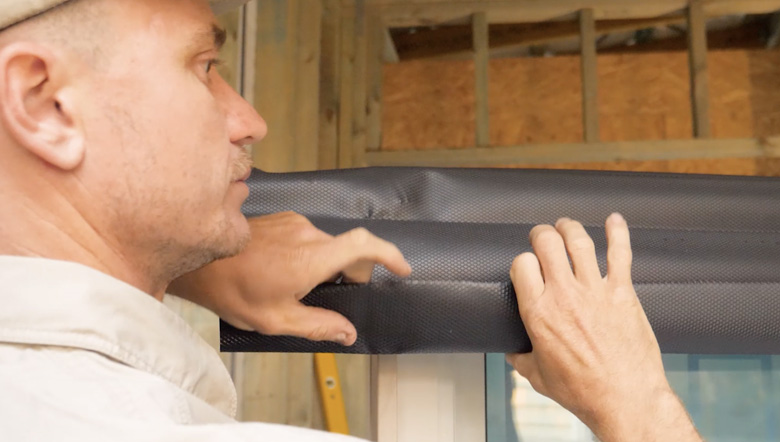
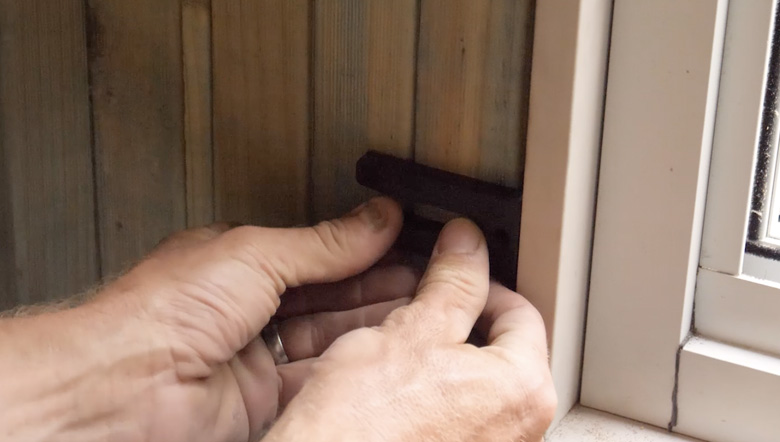
Step 4 : Unroll Flashing and Position on Outside to Prevent Leaks
Put your window upside down to unroll the black flashing that will sit on the outside of the house and keep any water out.
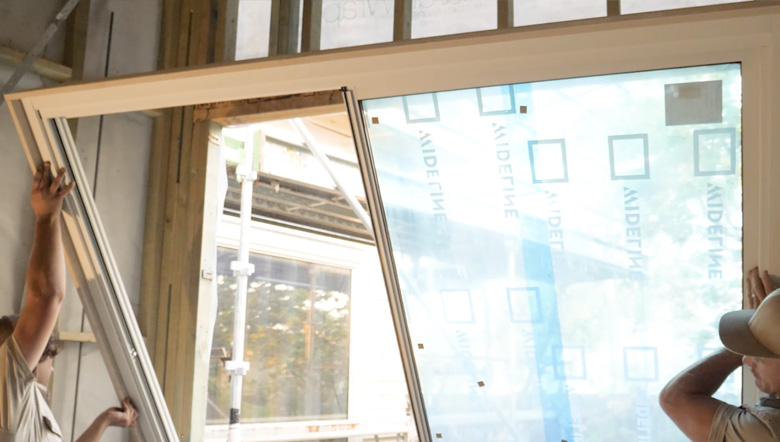
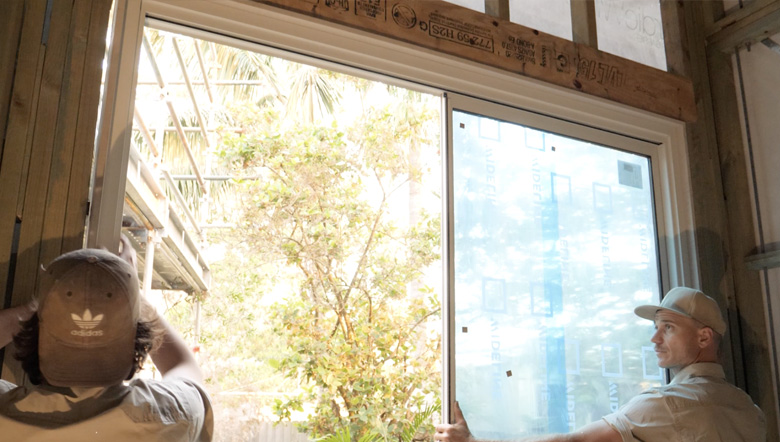
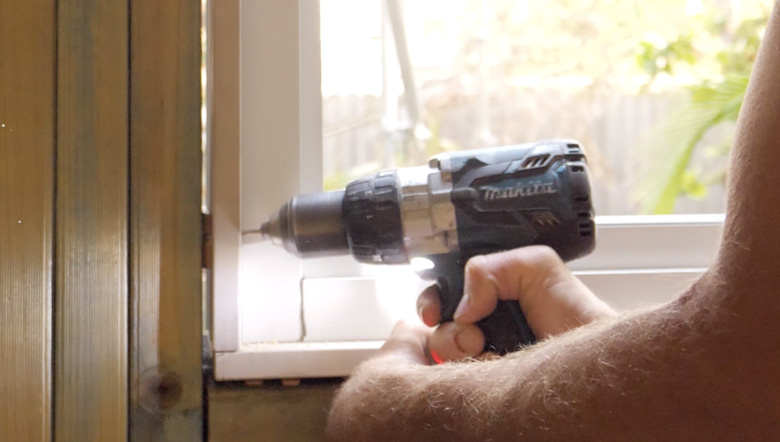
Step 5 : Install Window Hard Up Against Packed Opening
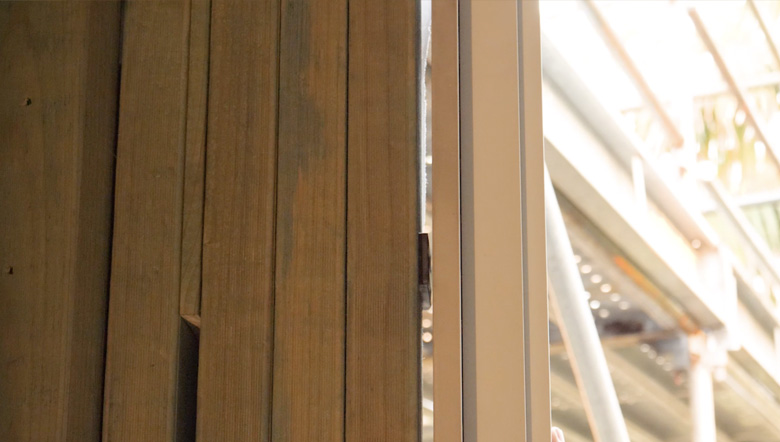
Install the window so it sits against your levelled sill and hard up against the reveal you’ve plumbed up.
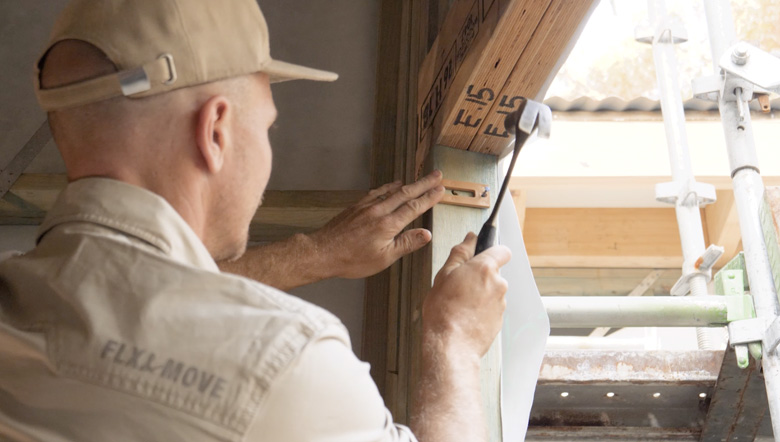
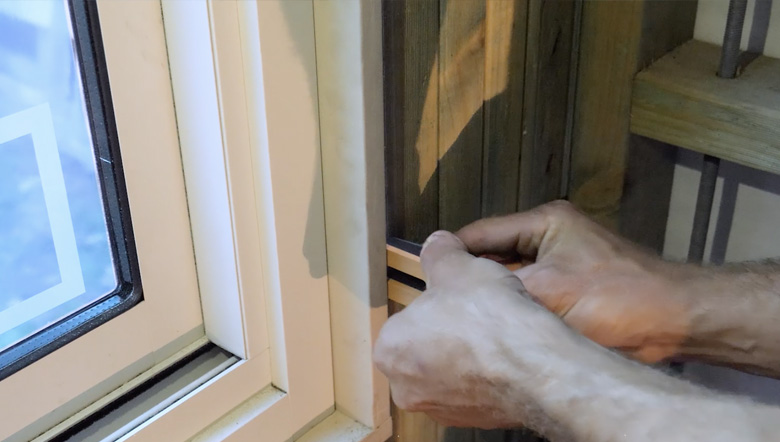
Step 6 : Set Window Reveal for 10mm Gyprock
We have set up the inside of our window reveal for 10mm gyprock. To do this, use a 10mm packer and place it under the frame to make sure it’s flush with your timber reveal. Once you’re sure, you’re ready to fix the window through where you’ve packed it.
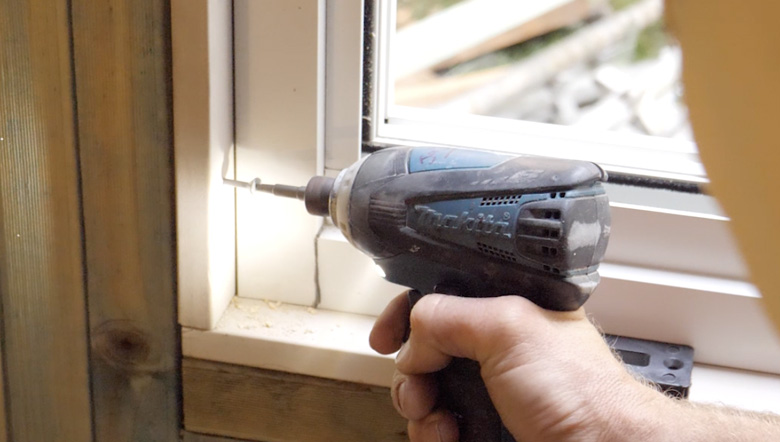
Step 7 : Use Packers to Fill Opposite Side and Fix Through
Once you get to the opposite side of your window use your packers again to pack between the reveal and the stud, making sure it’s nice and firm. Fix off through these packers.
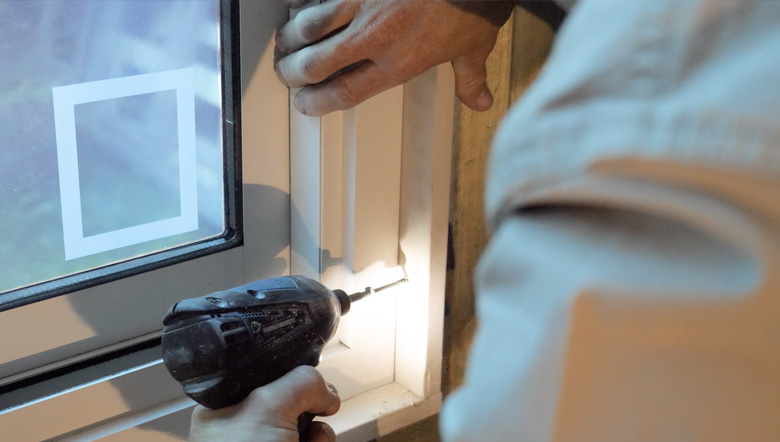
Step 8 : Place Packer Under Centre Mullion
Once your window is fully fixed off, place a packer directly underneath the centre mullion for support.
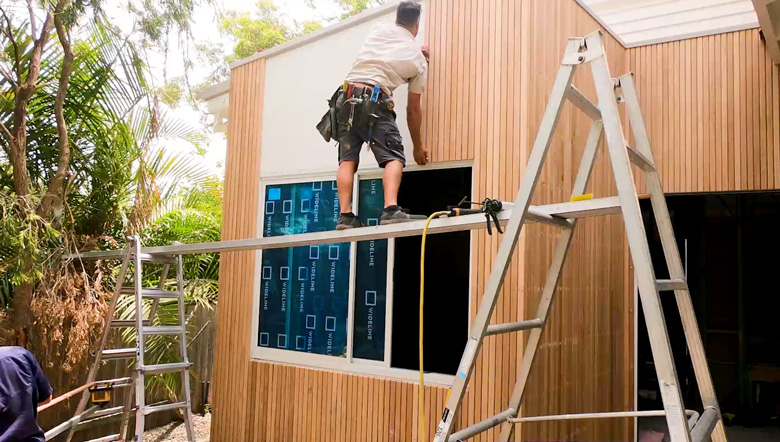
Step 9 : Install Head Flashing
Now that your window is fully installed, it’s essential for the compliant waterproofing of windows and doors in this type of installation to have a hardened head flashing fitted, then you’re ready for some cladding!
The principles are the same when you’re installing this window into a timber frame construction or a brick veneer construction. The main thing that will change is the finishes around the outside.