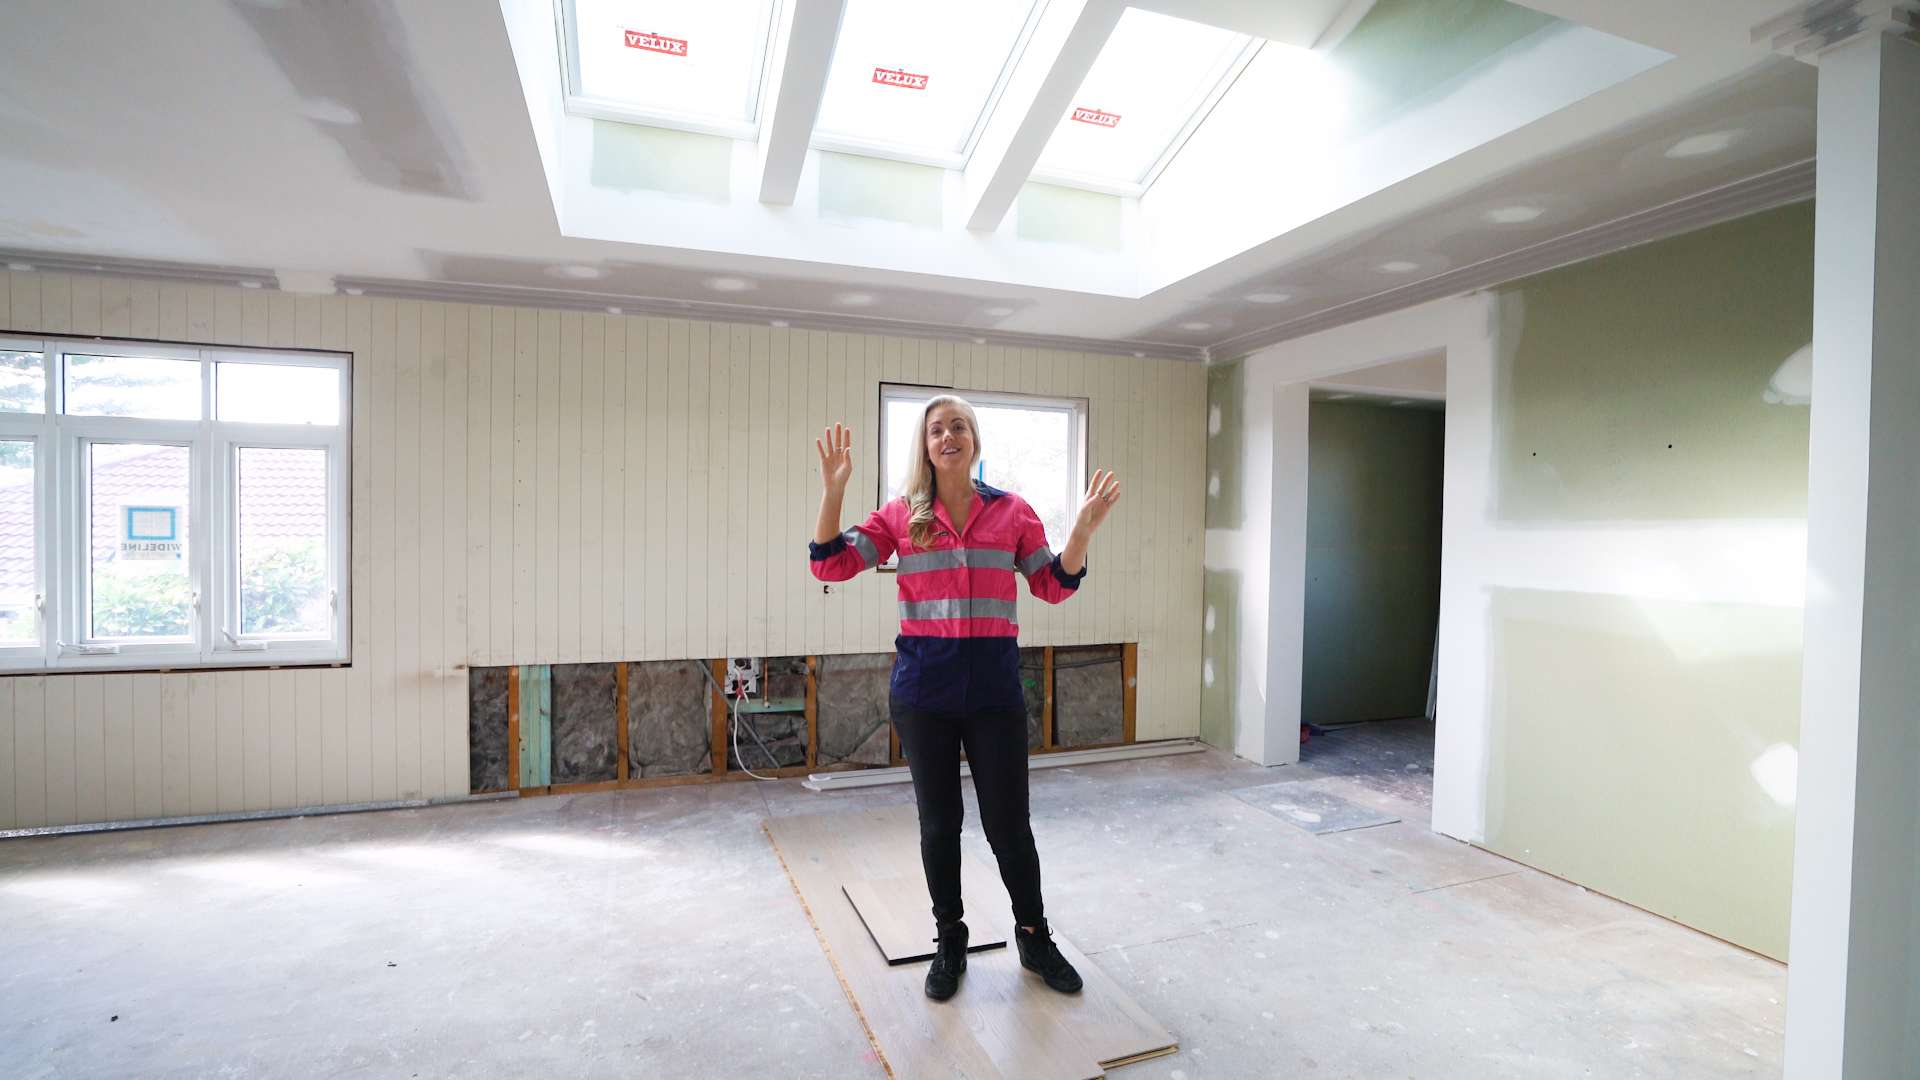
Here’s a rough outline and a few tips to consider when installing a combination set up of Electric Velux Skylights into a pitched metal roof with custom flashing. We recommend using an experienced installer, particularly as a different installation method is required for installations on roofs less than 15 degrees.
Step 1 : Frame Out the Void
Frame out the void, taking into account the size of the skylight by measuring the width and height, then adding 100mm between skylights. This allows for water run-off.
Step 2 : Mark the Area to be Cut
Drill screws in each corner from the inside of the roof to set where the flashing will go. Place the custom flashing on the outside of the roof using these screws as a guide for placement. Trace around the inside of the flashing to mark the area to be cut out.
Step 3 : Cut out the Roof
Using tin snips, cut out the roof sheets. Weather the bottom edge of the roof sheets using vice grips. This will help stop the wind-driven rain from pushing up the roof.
Step 4 : Square Up
Remove the Velux capping and rubber seal, then place the custom flashing and windows in from the outside and make sure everything is square. It’s a good idea to have someone inside to guide the installation and ensure it’s all square.
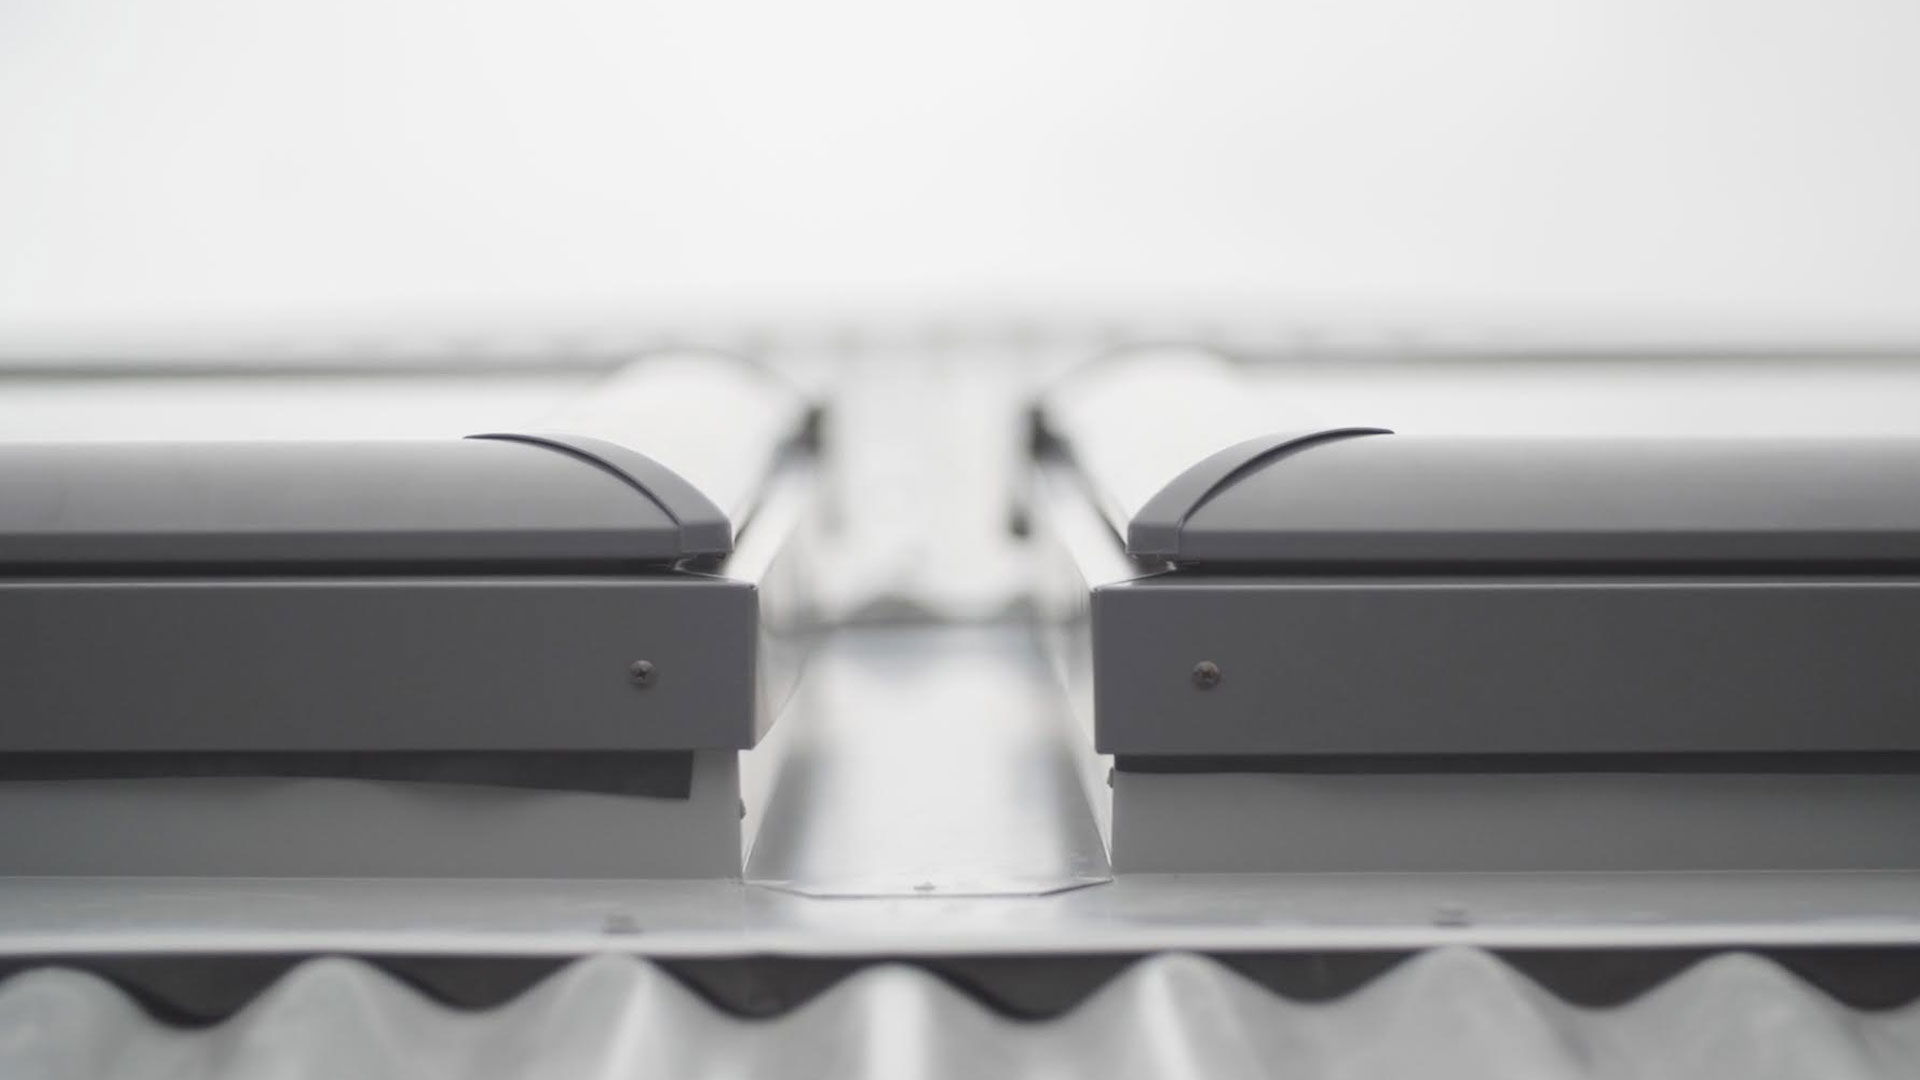
Step 5 : Fit the Rubber Seal
Once the Velux skylights are fitted to the custom flashing and is screwed off to the roof, place the rubber seal over that flashing to ensure proper water-proofing, and then reattach the Velux capping. At this point don’t forget to plug in the power cables in the roof cavity.
Step 6 : Finishing Off
Install the foam wedge/infill strip underneath the flashing. This further reduces the chance of wind-driven rain from being pushed up into the roof. Now that you’ve finished installing your Velux skylights, it’s time to enjoy the light-filled space that you’ve created!