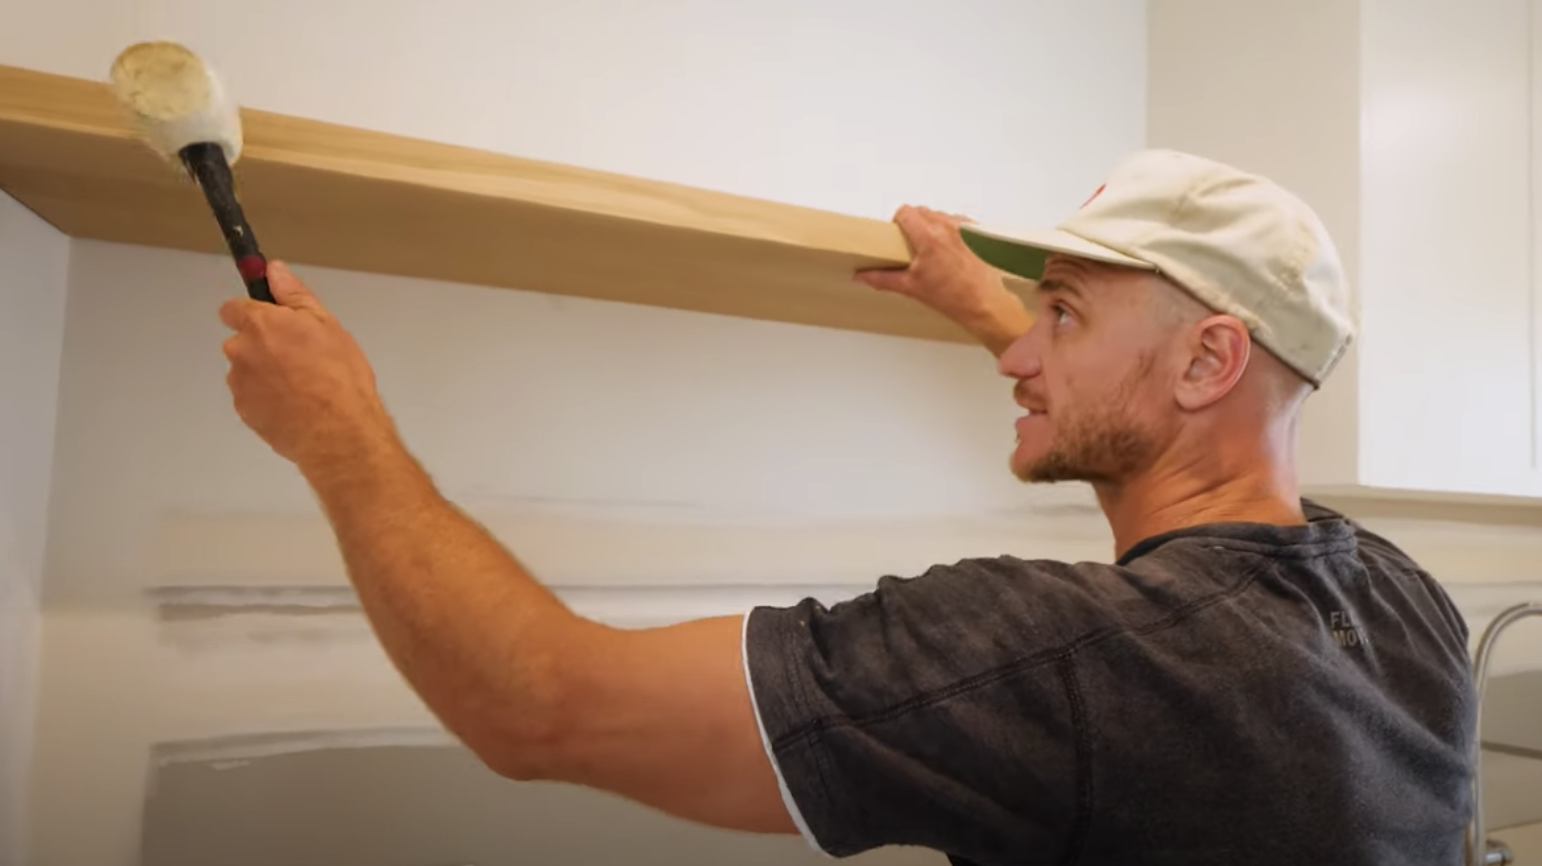
Today we’re going to show you how to install a timber floating shelf. And there’s a few little tips and tricks to know.
Step 1 : Set the Height for your Shelf
There’s really no right or wrong here, it just needs to be the right height that’s practical for what you intend to use the shelf for. Use a level to mark the chosen height all the way across.
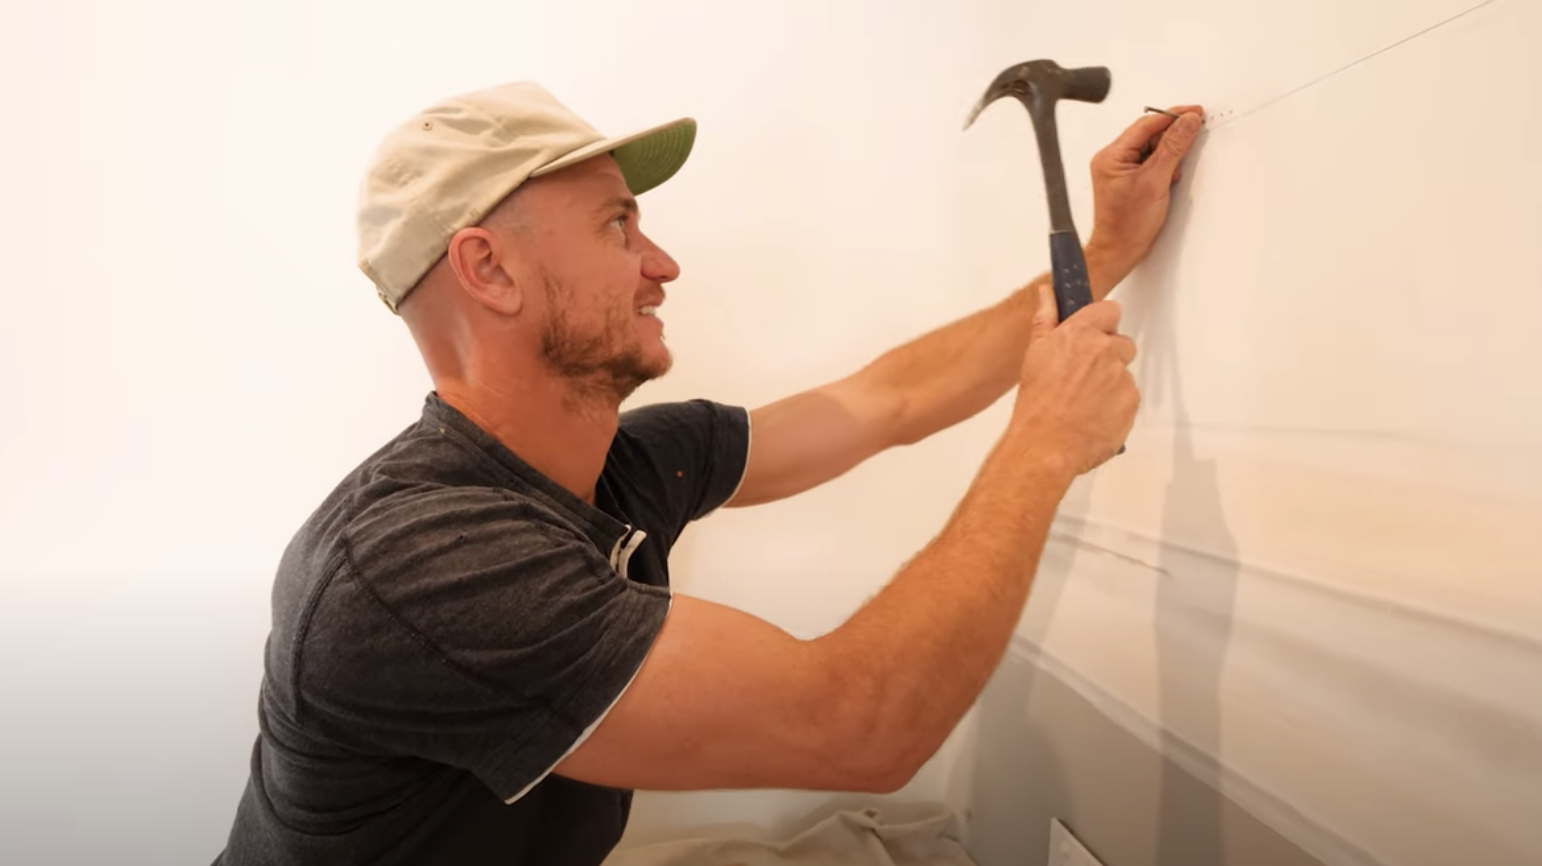
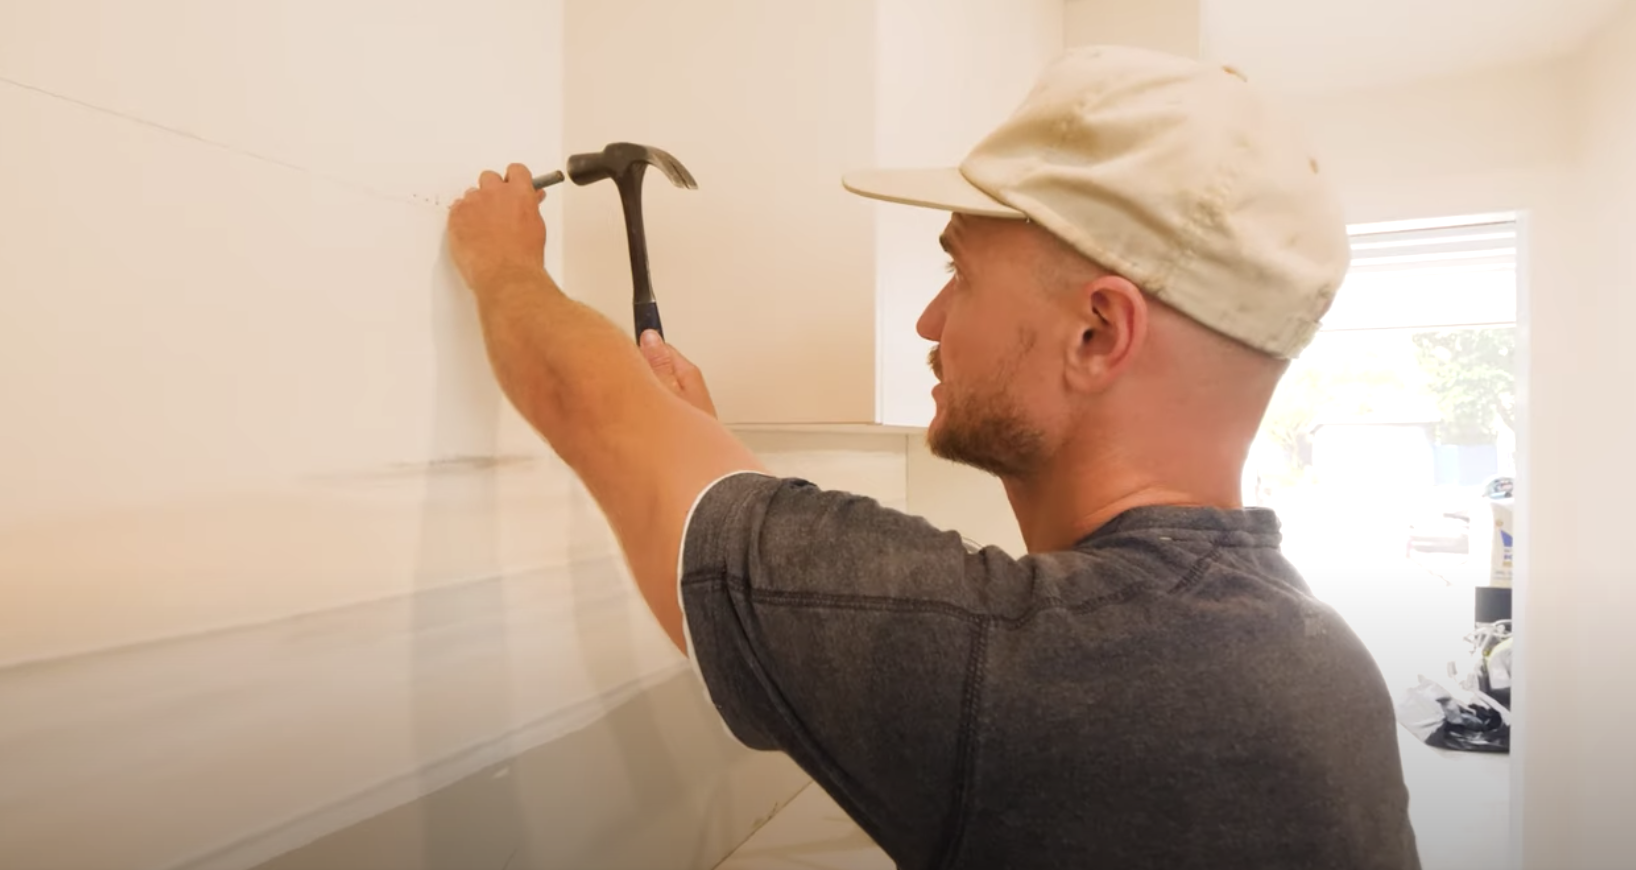
Step 2 : Locate where Wall Studs are Positioned
If you’ve got a stud finder use it now to locate the studs, or simply bang along the wall to see where it feels firm. Use a hammer and nail, pierce the gyprock to find the centre of the studs just above the line you’ve marked. Any holes you make will be covered by your shelf. Mark the centre once you find it.
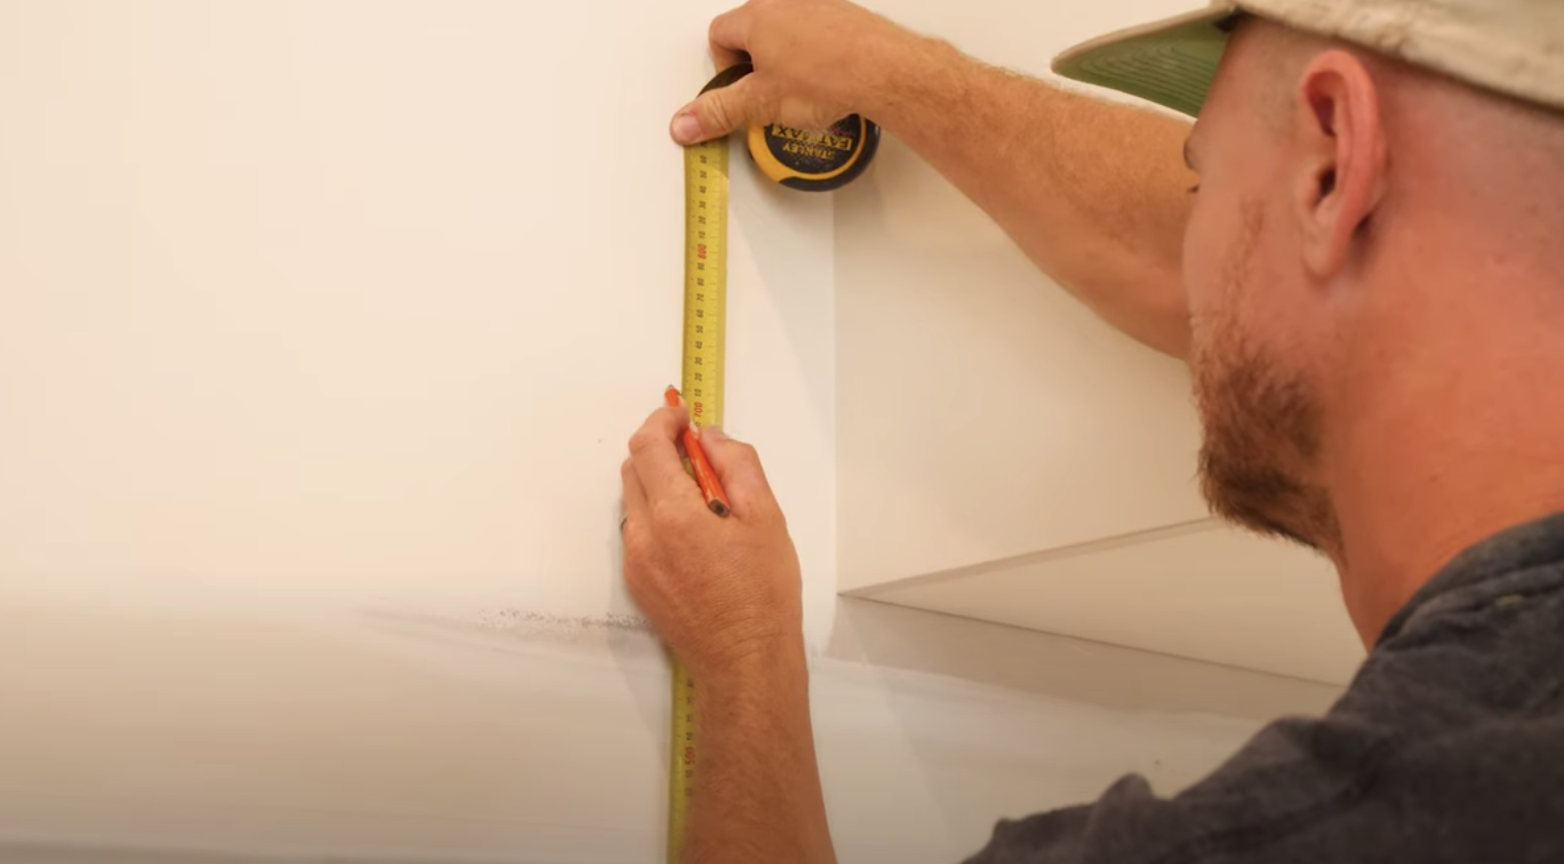
Step 3 : Measure & Mark Centres for Threaded Rod
We’re using threaded rod to support the shelf, which will be drilled into the studs as well as the back of the shelf. My shelf is 40mm thick, so I’m measuring off my level line 20mm. Be mindful of electrical and water services prior to drilling.
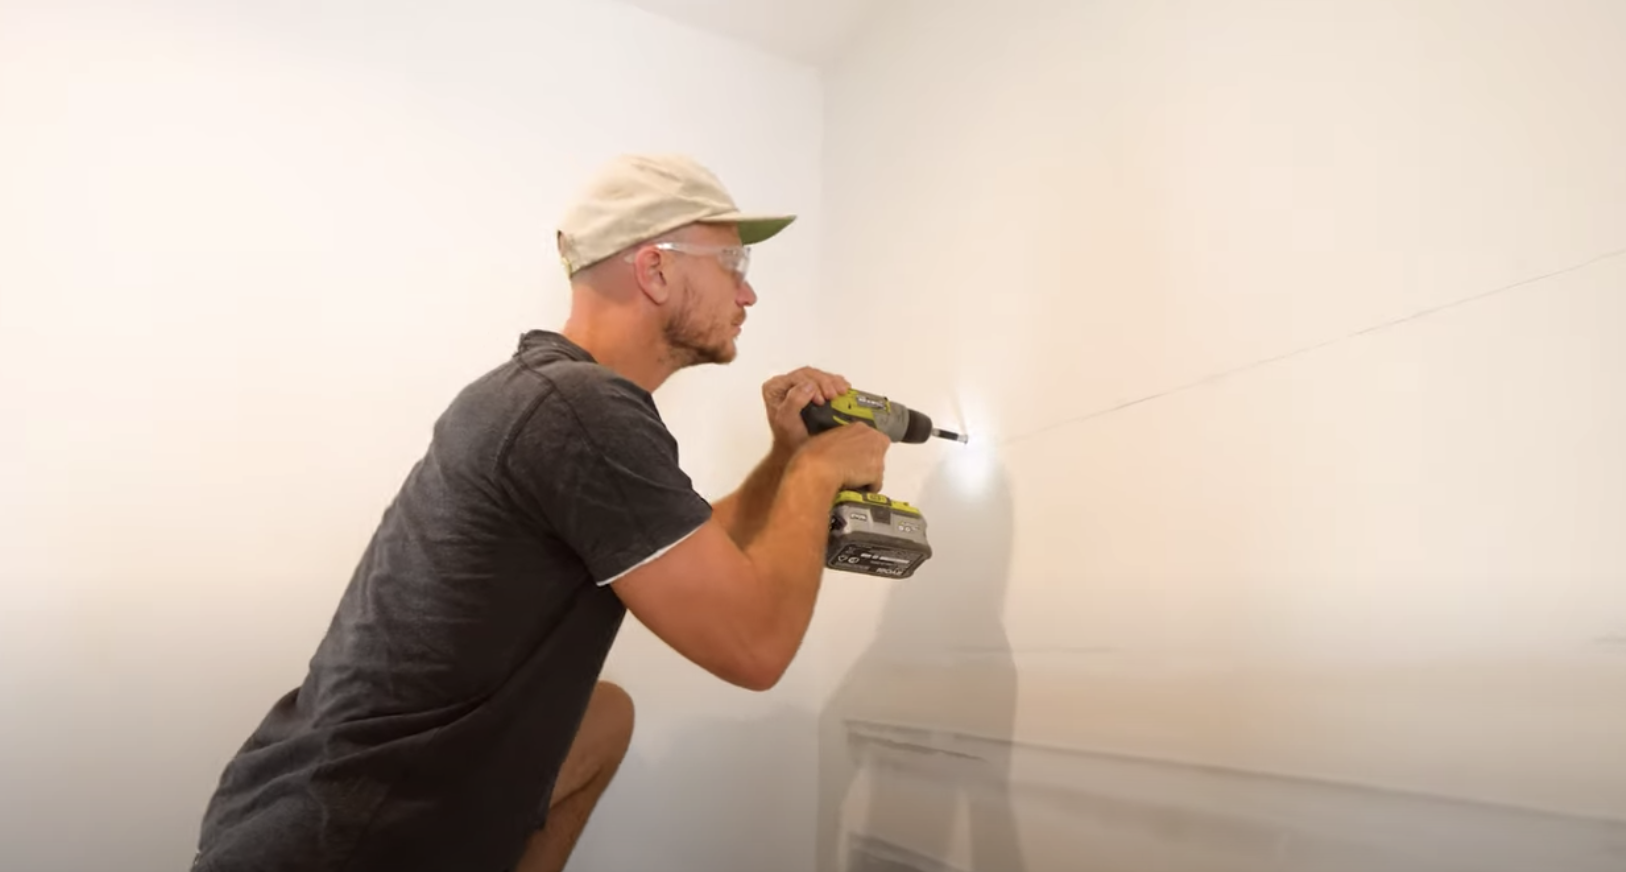
Step 4 : Drill into your Studs where Marked
Using your drill and drill bits, make some holes ready for the threaded rod. For our 12mm threaded rod, it’s important to also use a 12mm drill bit. Mark the depth of your drill bit using some tape. Drill where you’ve marked the centre of the studs.
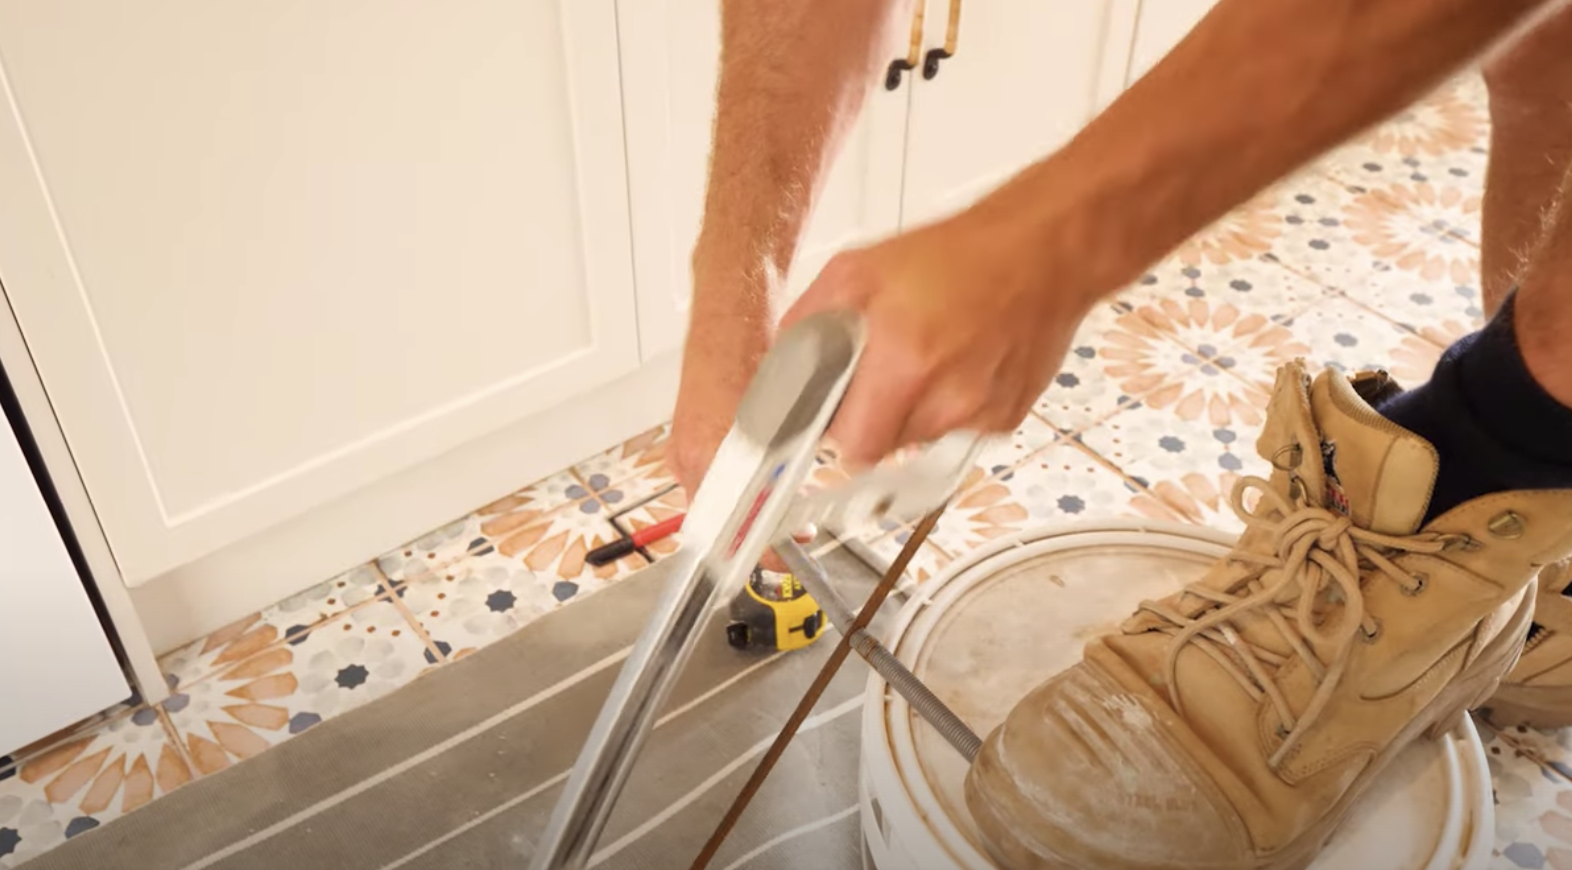
Step 5 : Cut Threaded Rod using Hacksaw
We need to cut 2 x 200mm long threaded rods, using the hacksaw.
Step 6 : Tap Threaded Rod into Holes
Tap the cut rods into predrilled holes. Tap them until you hit the back of the stud. Give them a quick measure to ensure they’re sitting out about 120mm.
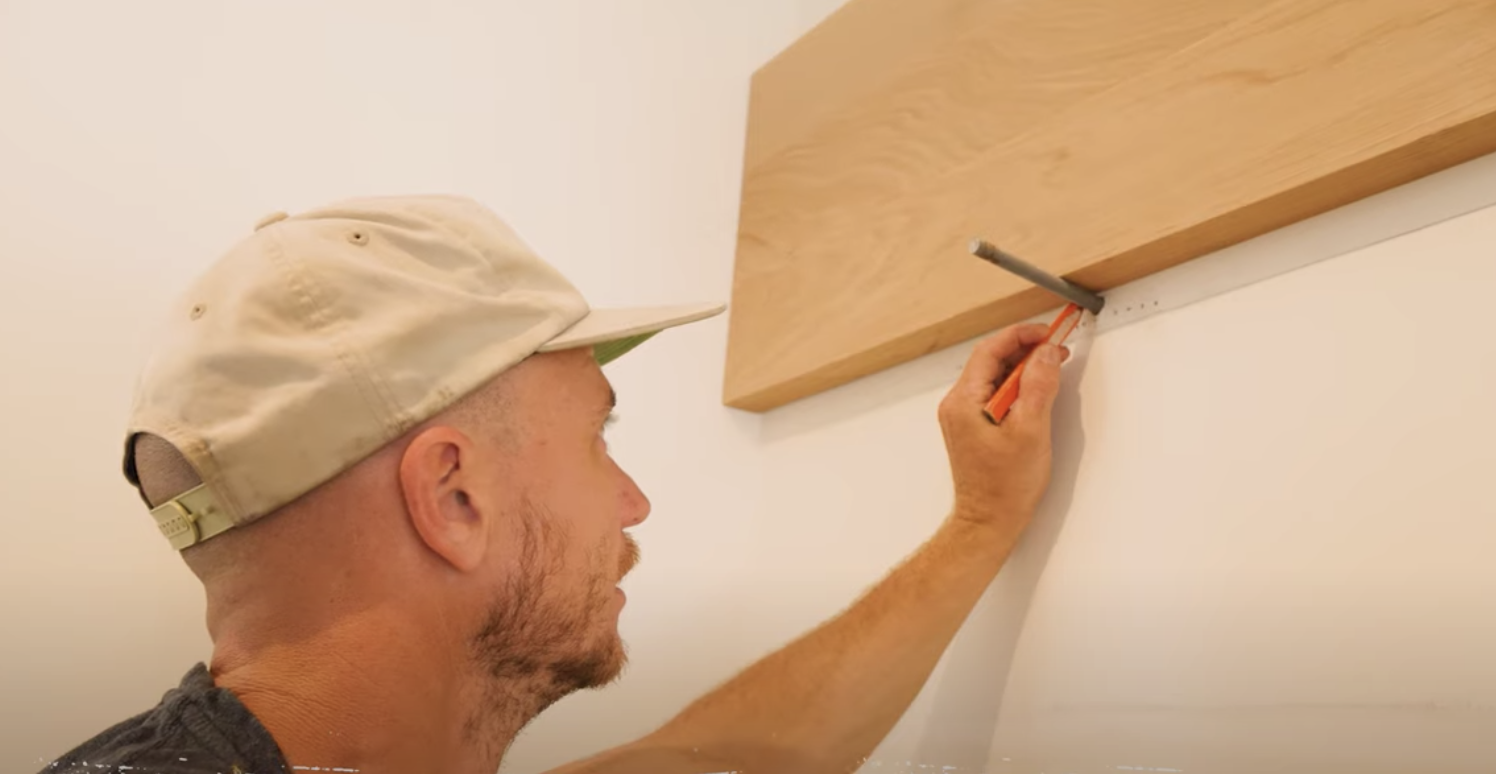
Step 7 : Mark Threaded Rod on the Back Edge of Shelf
Place your timber shelf on top of the rods, and mark the back of your shelf at the centre of the rods, ready for drilling.
Step 8 : Drill Holes in the Back of Shelf
When drilling the timber, use a drill bit 0.5mm bigger than your threaded rods – in my case 12.5mm – which gives a little bit of play when you go to slide the timber shelf into position. Drill the marks you’ve made.
Step 9 : Slide Your Timber Shelf onto Threaded Rods
You’ll notice that the threaded rods are sitting up on a little bit of an angle. This is deliberate to allow for the weight of the shelf itself and whatever you put on it to straighten out the shelf, making it perfectly level. Slide your shelf onto the threaded rods. You’ll find it will start to get a little bit tight, so if needed, use a rubber mallet to work the timber shelf into the wall.