We’re taking a perfect opportunity to create a feature ceiling during our building phase. Using EasyCraft Ceiling Panels will create a subtle feature to your ceiling, adding extra texture. If you already have a gyprocked ceiling you can simply install these sheets straight over the top.
Step 1 : Make Sure Rafters are Straight
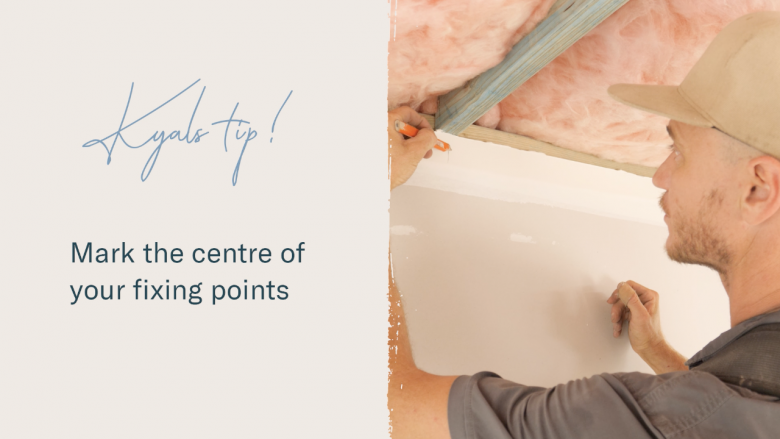
First step is to ensure the rafters are nice and straight and there are no bows. Run a straight edge along the rafters and ensure they’re all touching the edge. At this point, it’s also helpful to make a mark on you wall indicating the centre of each rafter, so you know where they are when it comes to nailing the sheets in place.
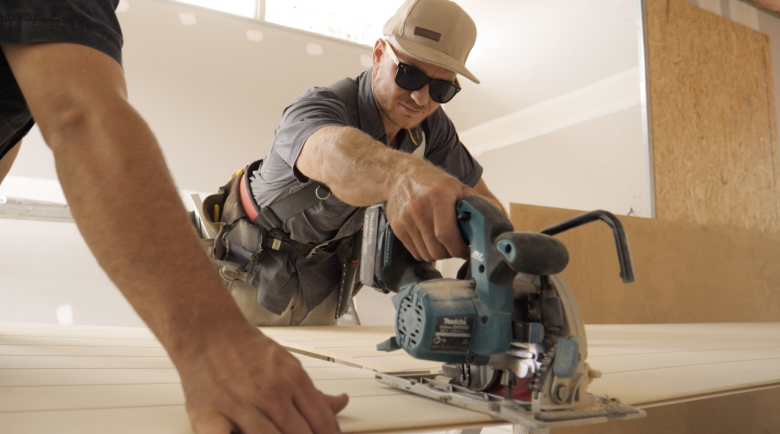
Step 2 : Measure and Cut Sheets
Measure the length required, and cut the EasyCraft Ceiling Panels to length.
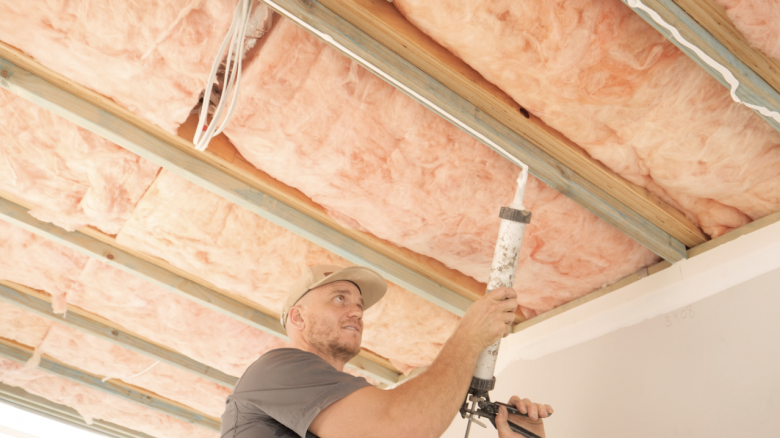
Step 3 : Glue Underside of Rafters
Use an acrylic stud adhesive or polyurethane glue, and apply to the underside of the rafters.
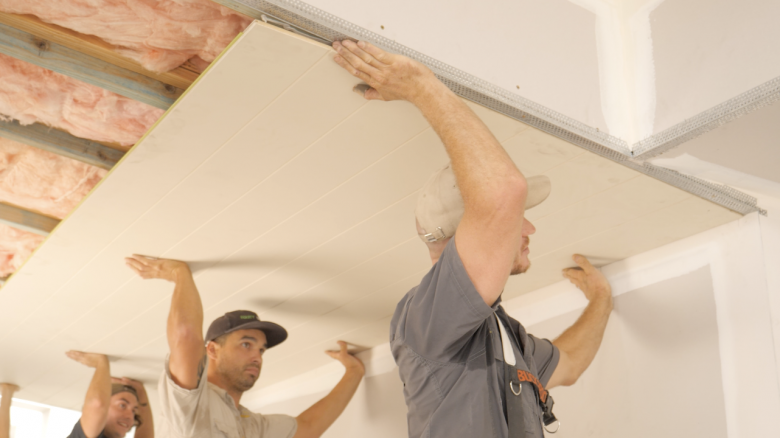
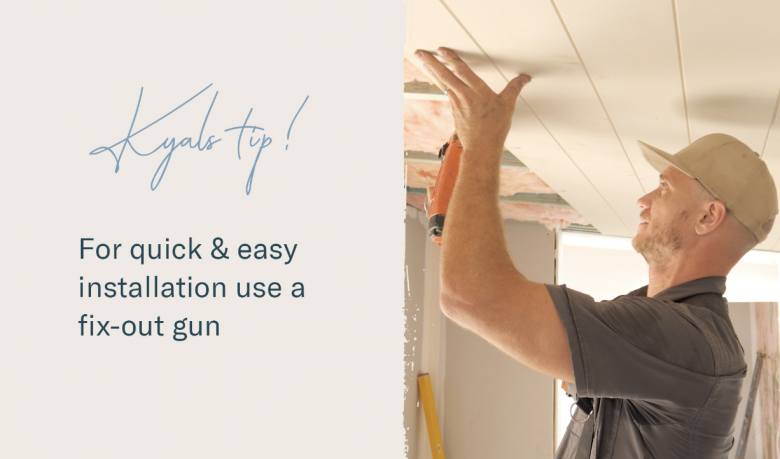
Step 4 : Hold Sheets in Place & Nail
Grab some friends to hold the ceiling panels hard up against the glue while you use a fix-out gun to nail the sheet to the rafters. If you don’t have one, you can hand nail in this step.
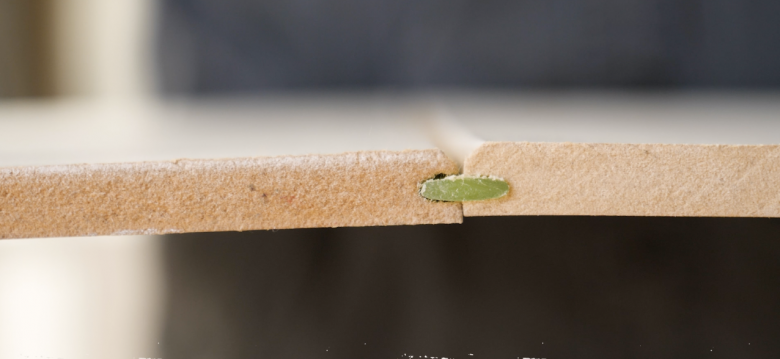
Step 5 : Slide Sheets Together
The EasyCraft sheets have a tongue and groove Easyjoin System that allows you to join the sheets together smoothly.
Step 6 : All done and ready for the painter!