Here we show you how easy it is to create a feature wall using CSR’s Cemintel concrete panels, and to create a custom bedhead using the same product.
Step 1 : Planning & Preparation
Locate the studs in the wall, and mark them using the pencil. This is what the clips holding concrete panels will attach to.
Step 2 : Set Out
Set out the panels on the wall to ensure an even cut at the top and the bottom of the wall.
Step 3 : First Board
Attach 5mm starter strips at 450mm intervals along the wall to help keep the first board plumb. Starting at floor level, level off the first board and fix off by hand nailing or using a finish nailer
Step 4 : Clipping Off
Attach clips along the top of the first fixed board. Do this by slipping a clip to the top of the board, tap with the back of a hammer to ensure a tight fit, and screw in place into the studs. Repeat along the length of the board.
Step 5 : Clip & Repeat
Fit the next board by simply clipping straight on top. Once in place, give it a little tap with a hammer (using a wooden block or panel off-cut to protect the edges) to form a nice tight fit between panels.
Step 6 : Final Panel
Repeat this process until you reach the last board. Measure and fit the final panel, using the blue packers again at the very top of the board to keep it plumb.
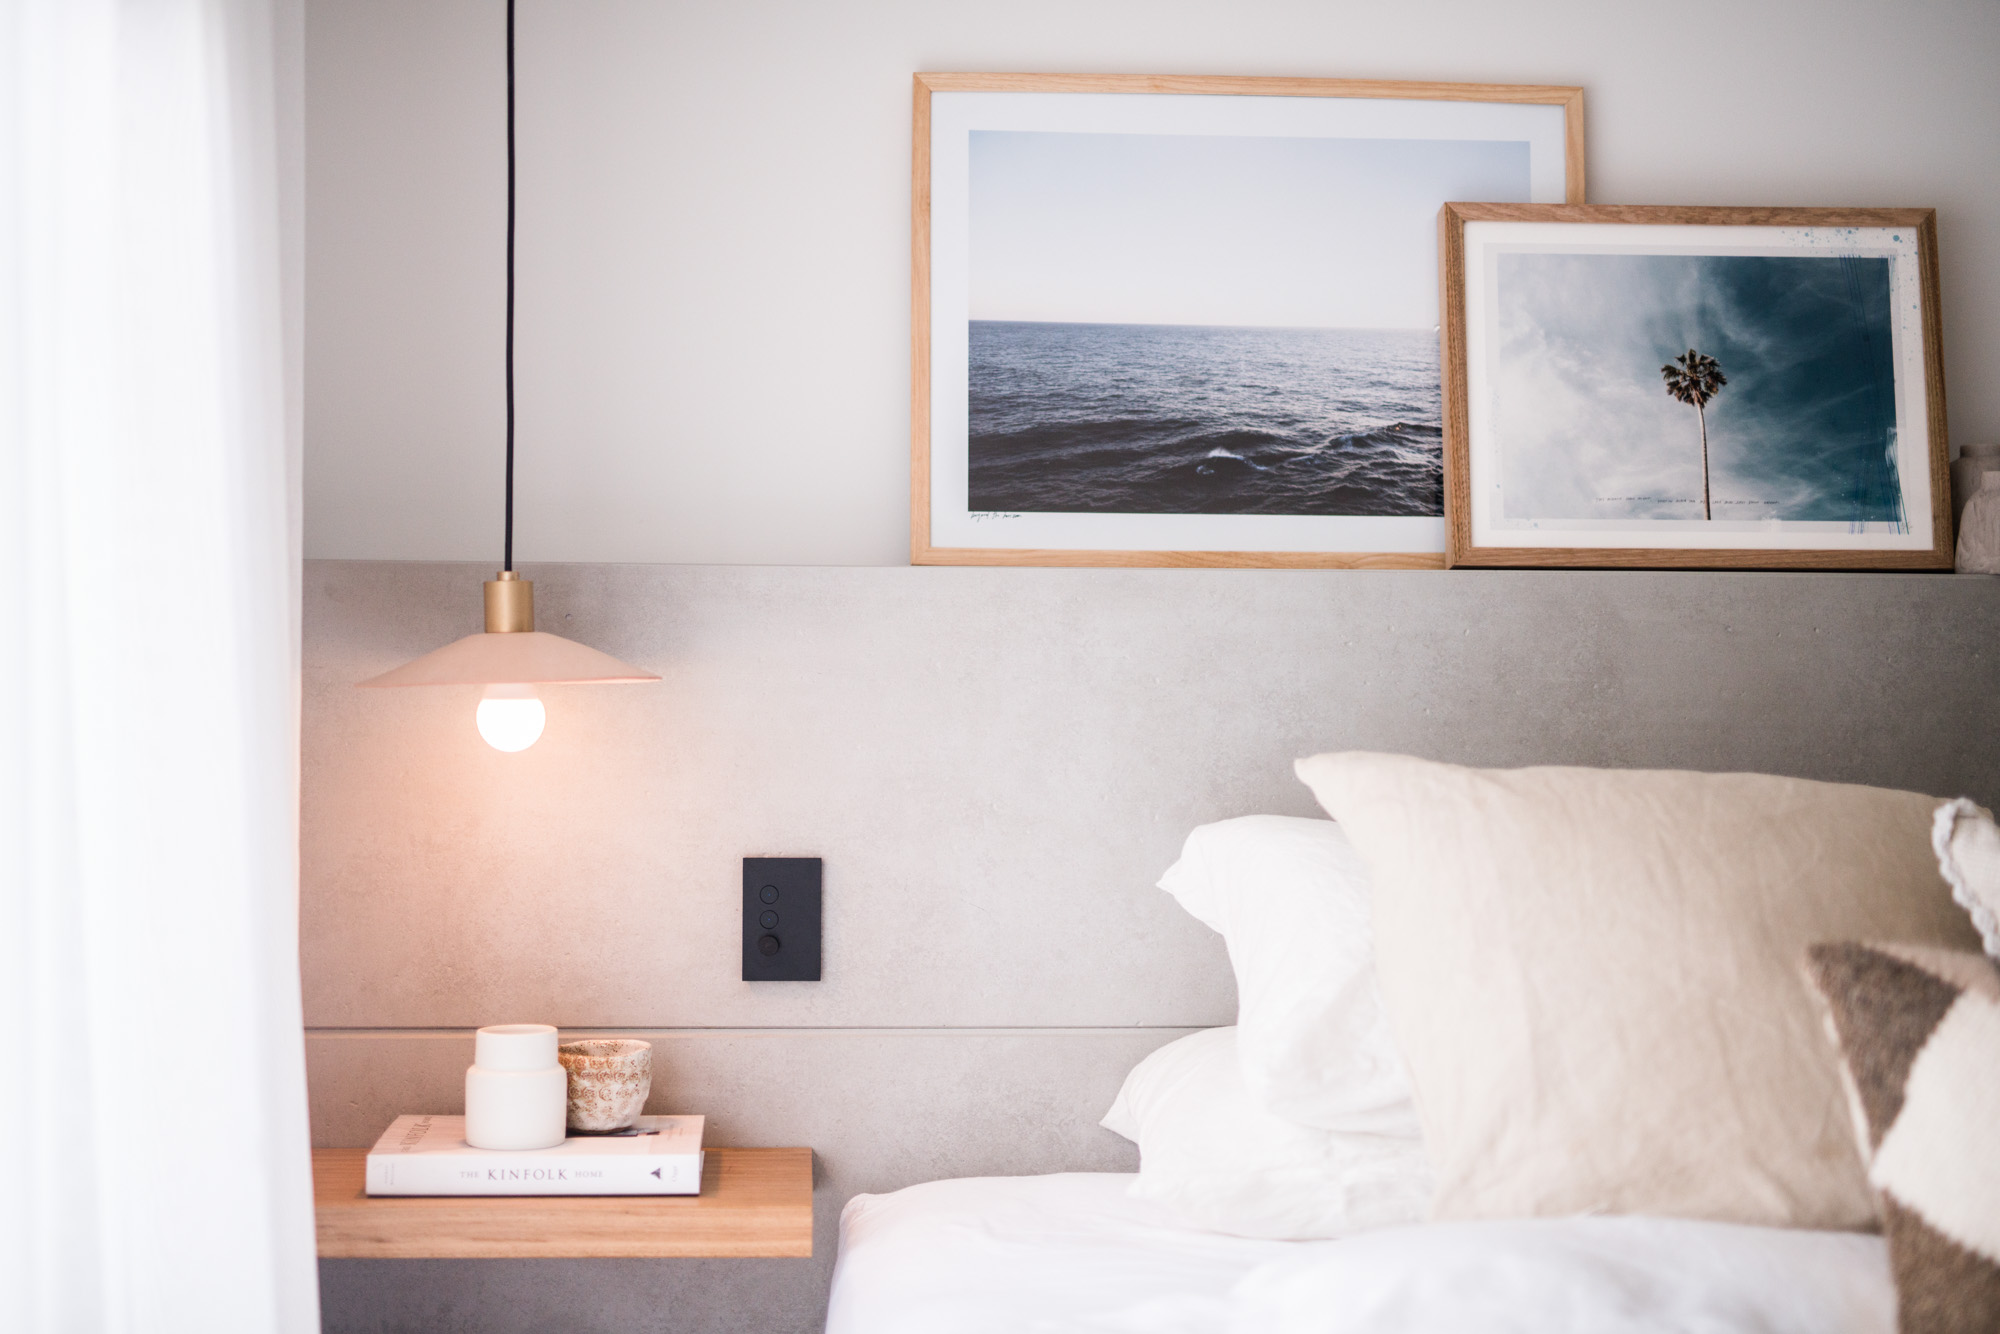
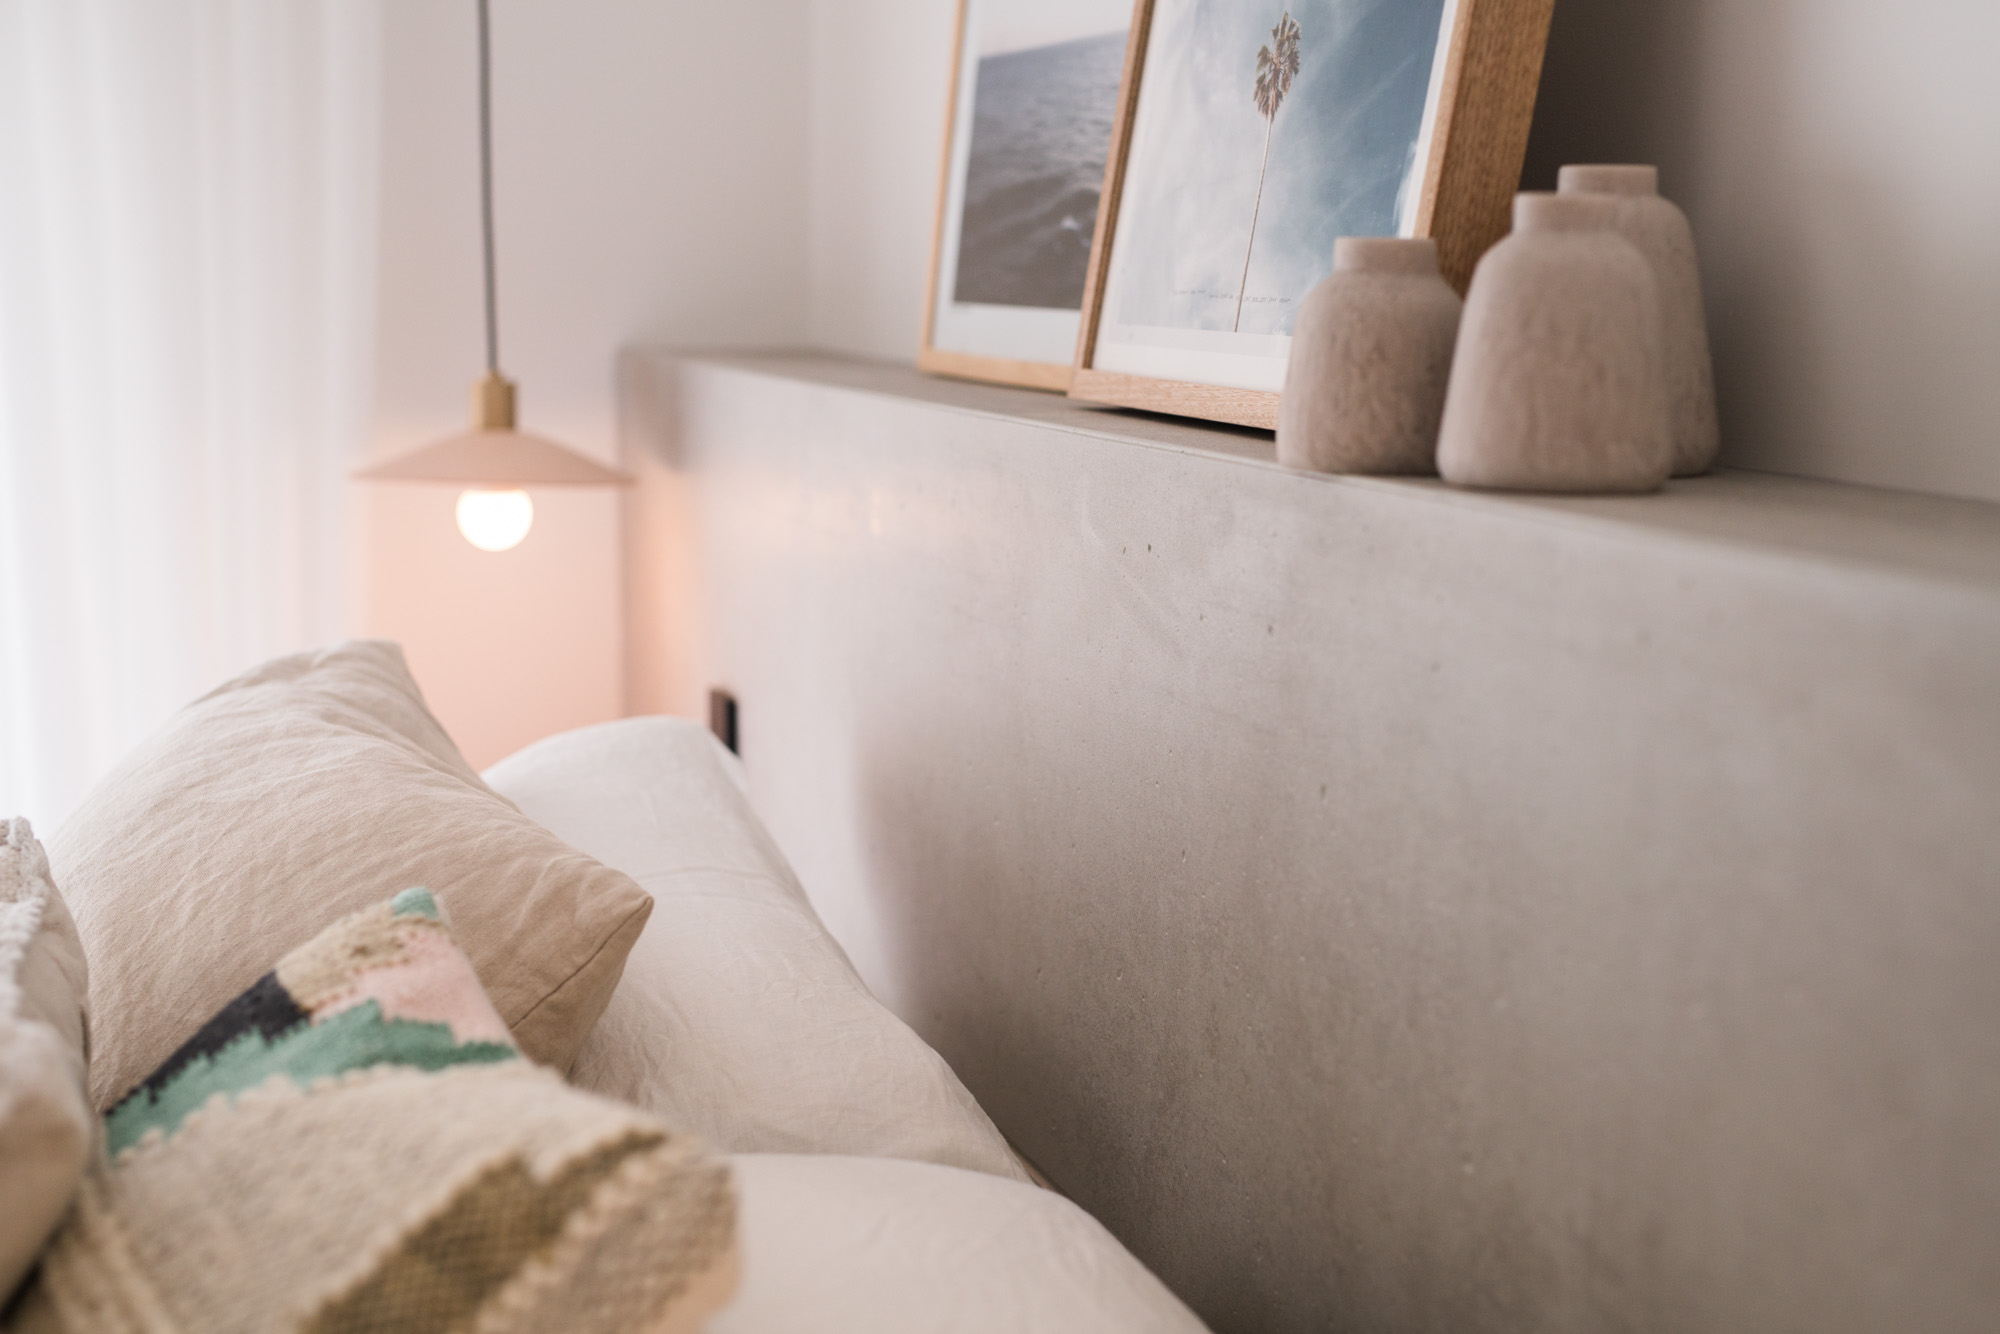
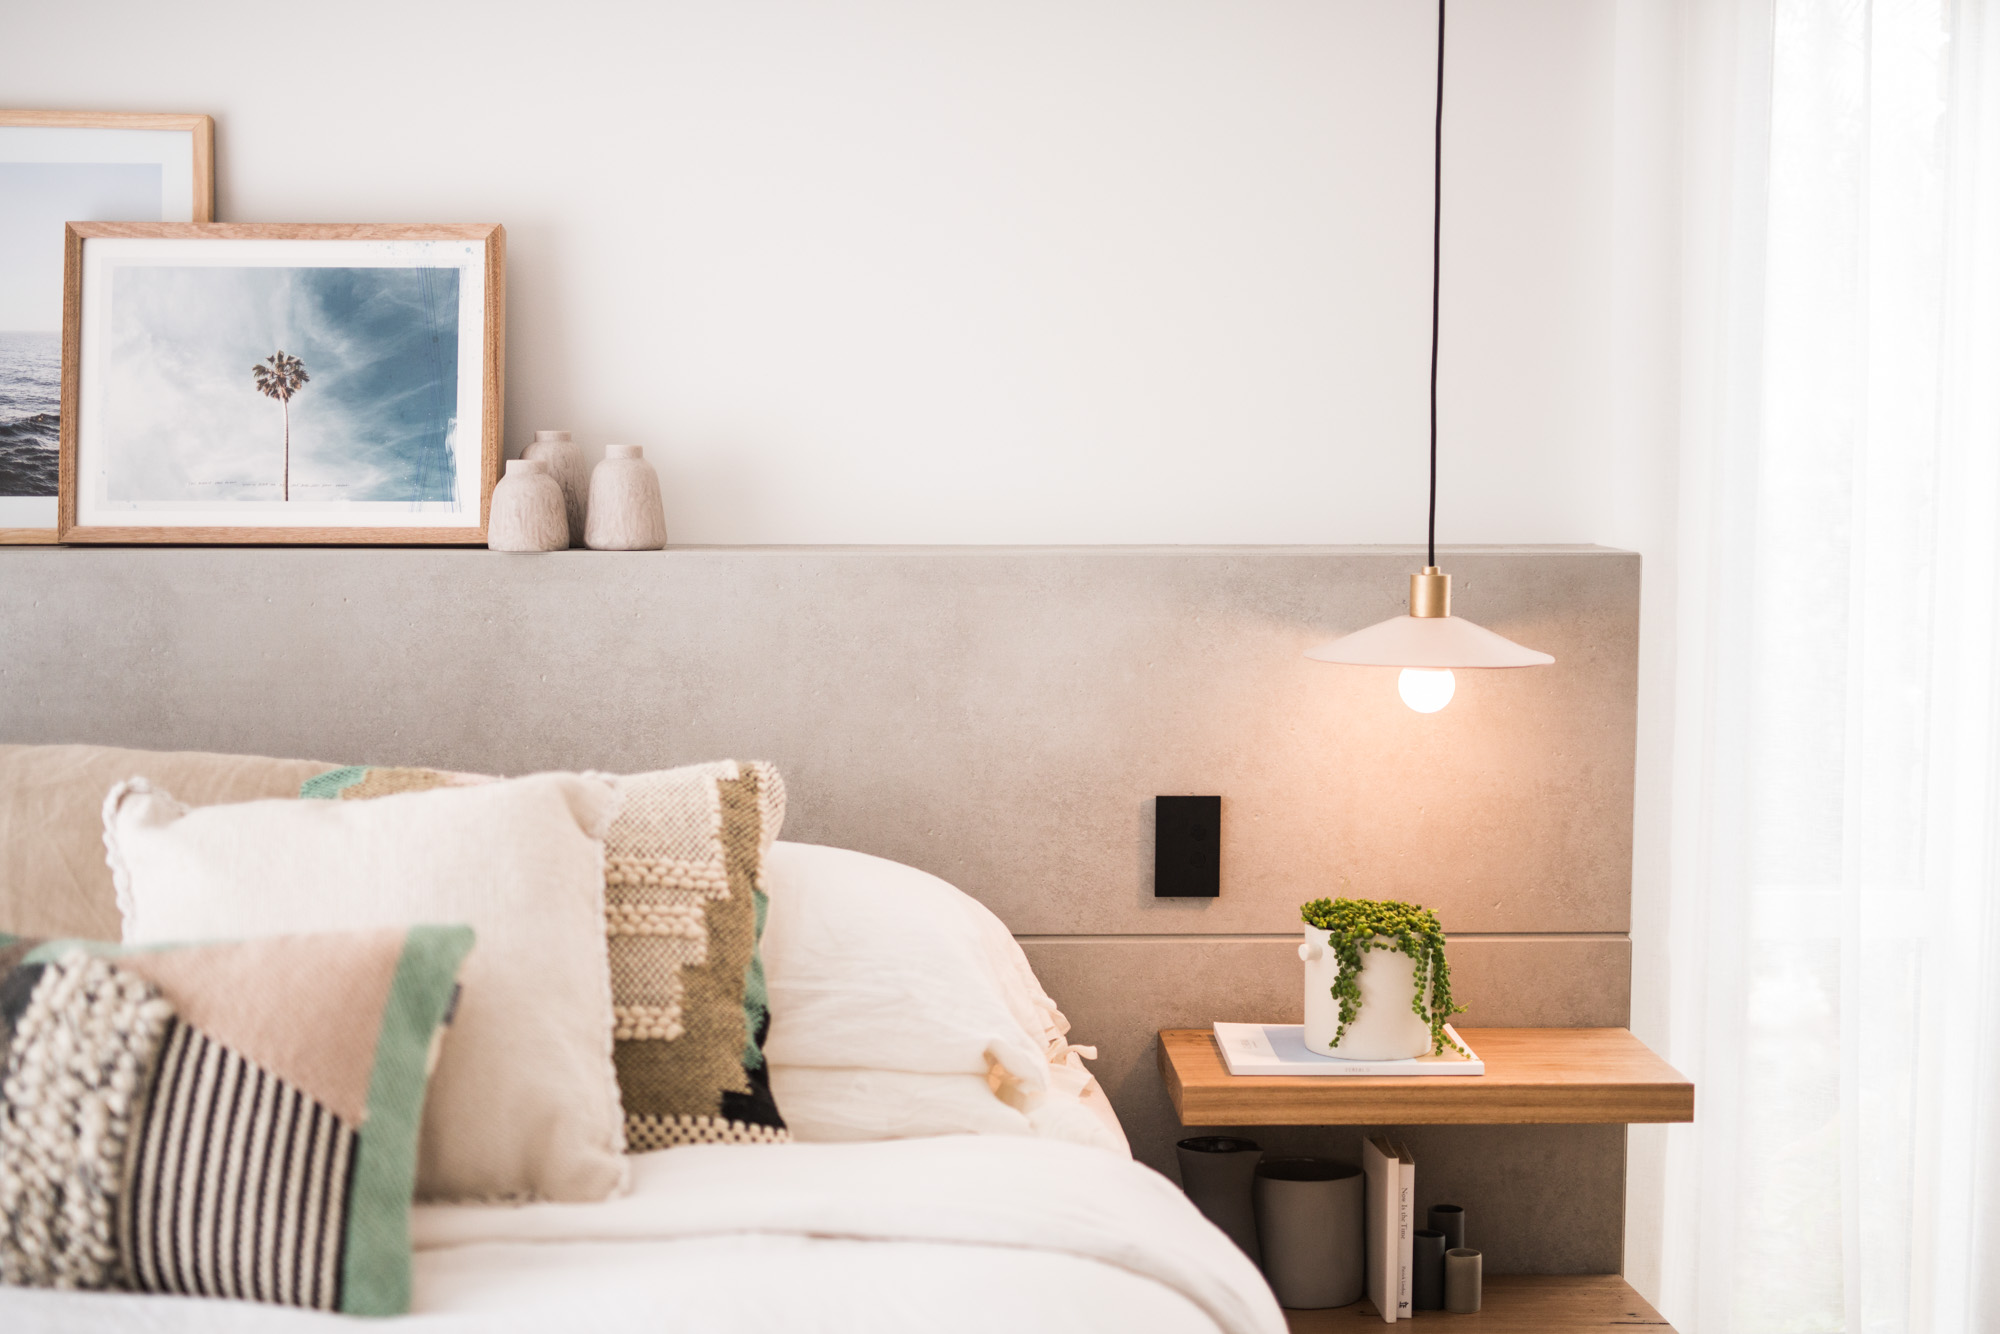
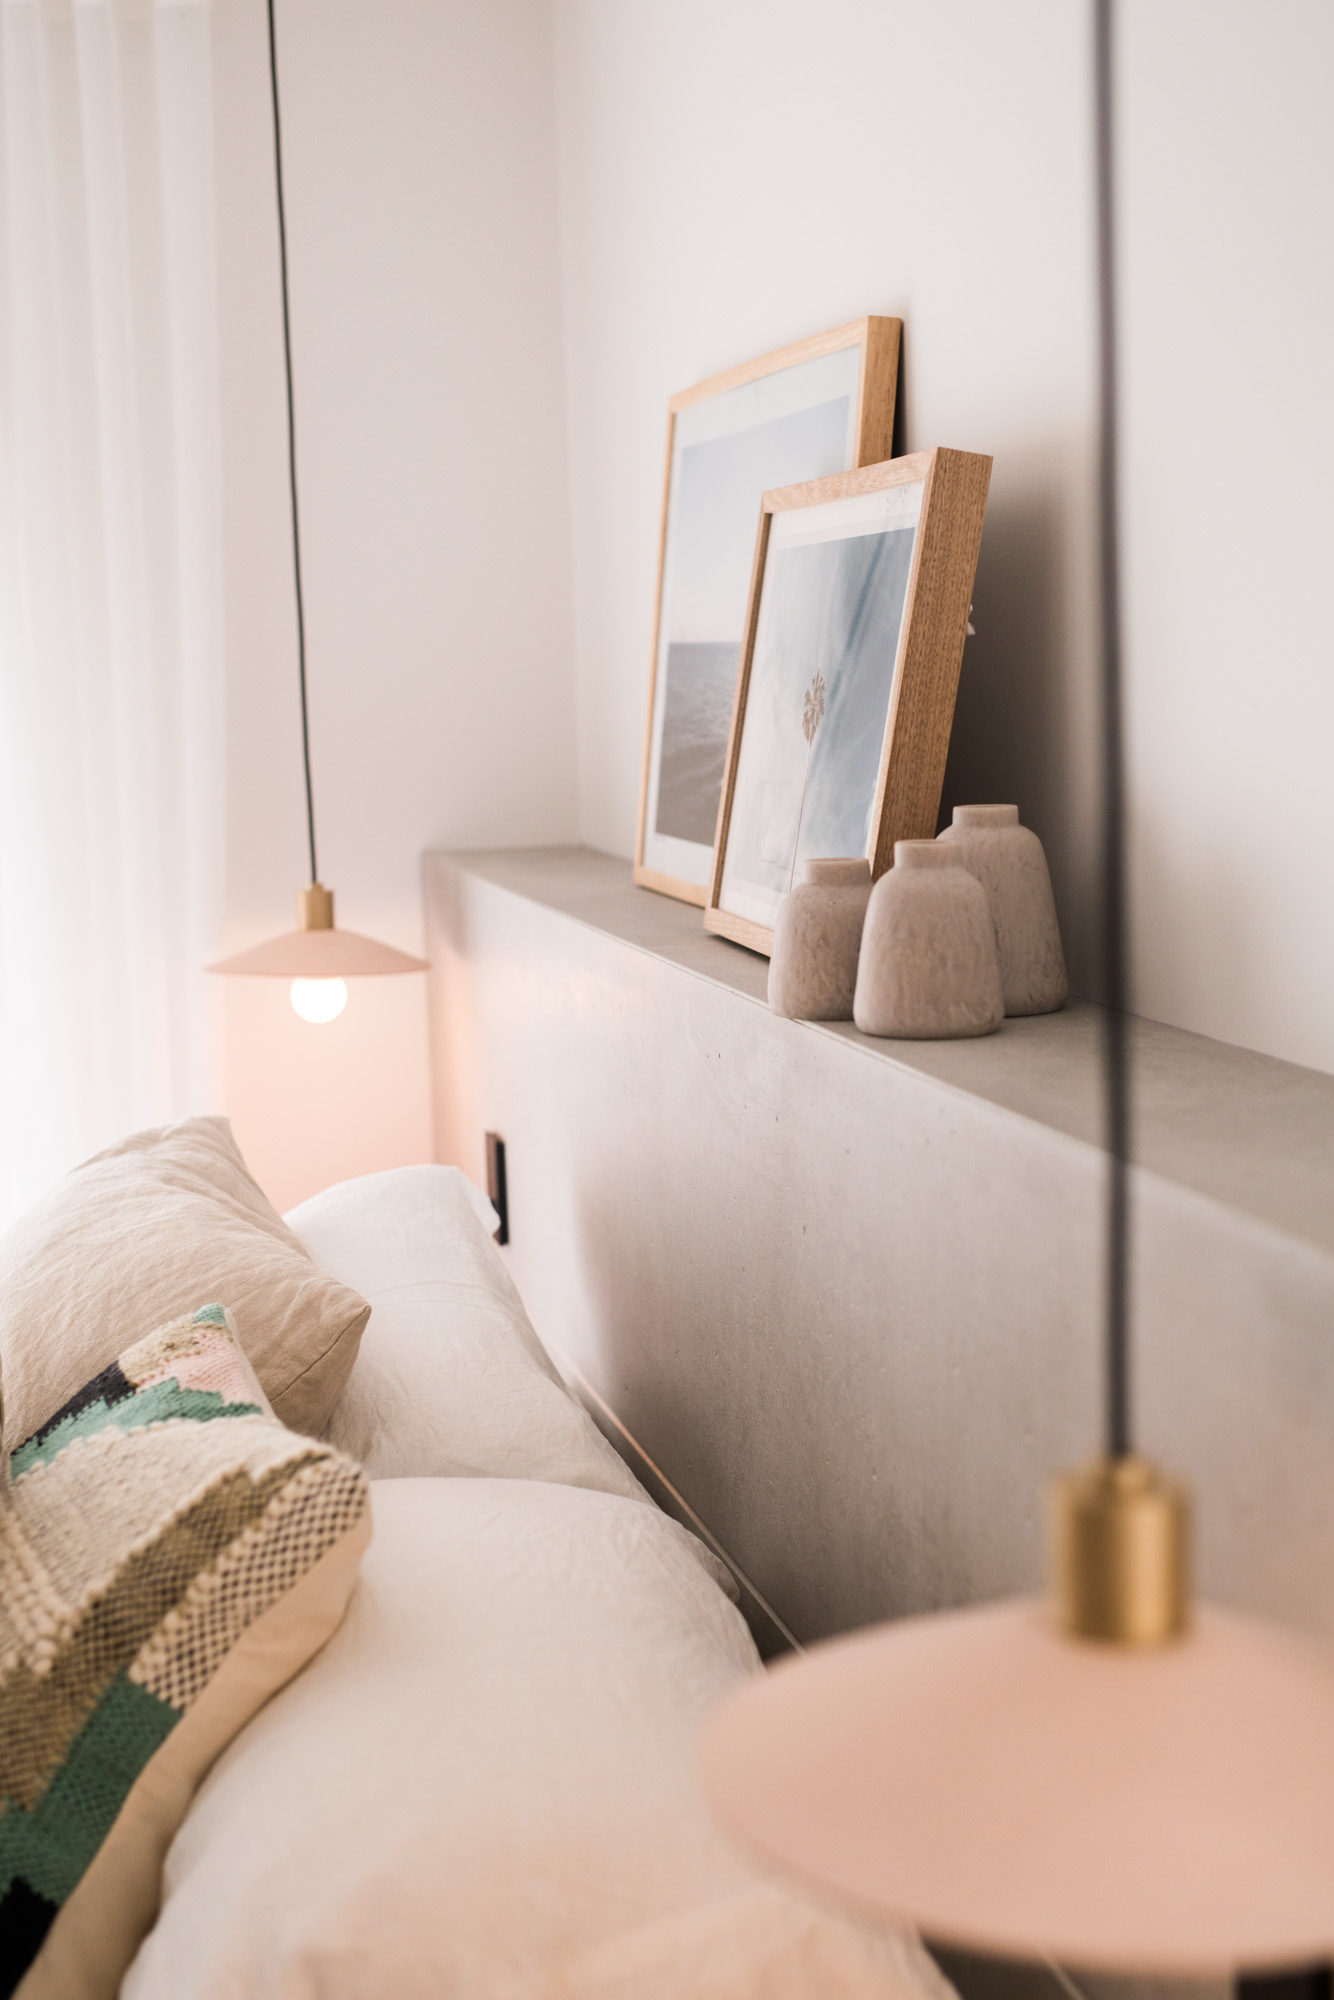
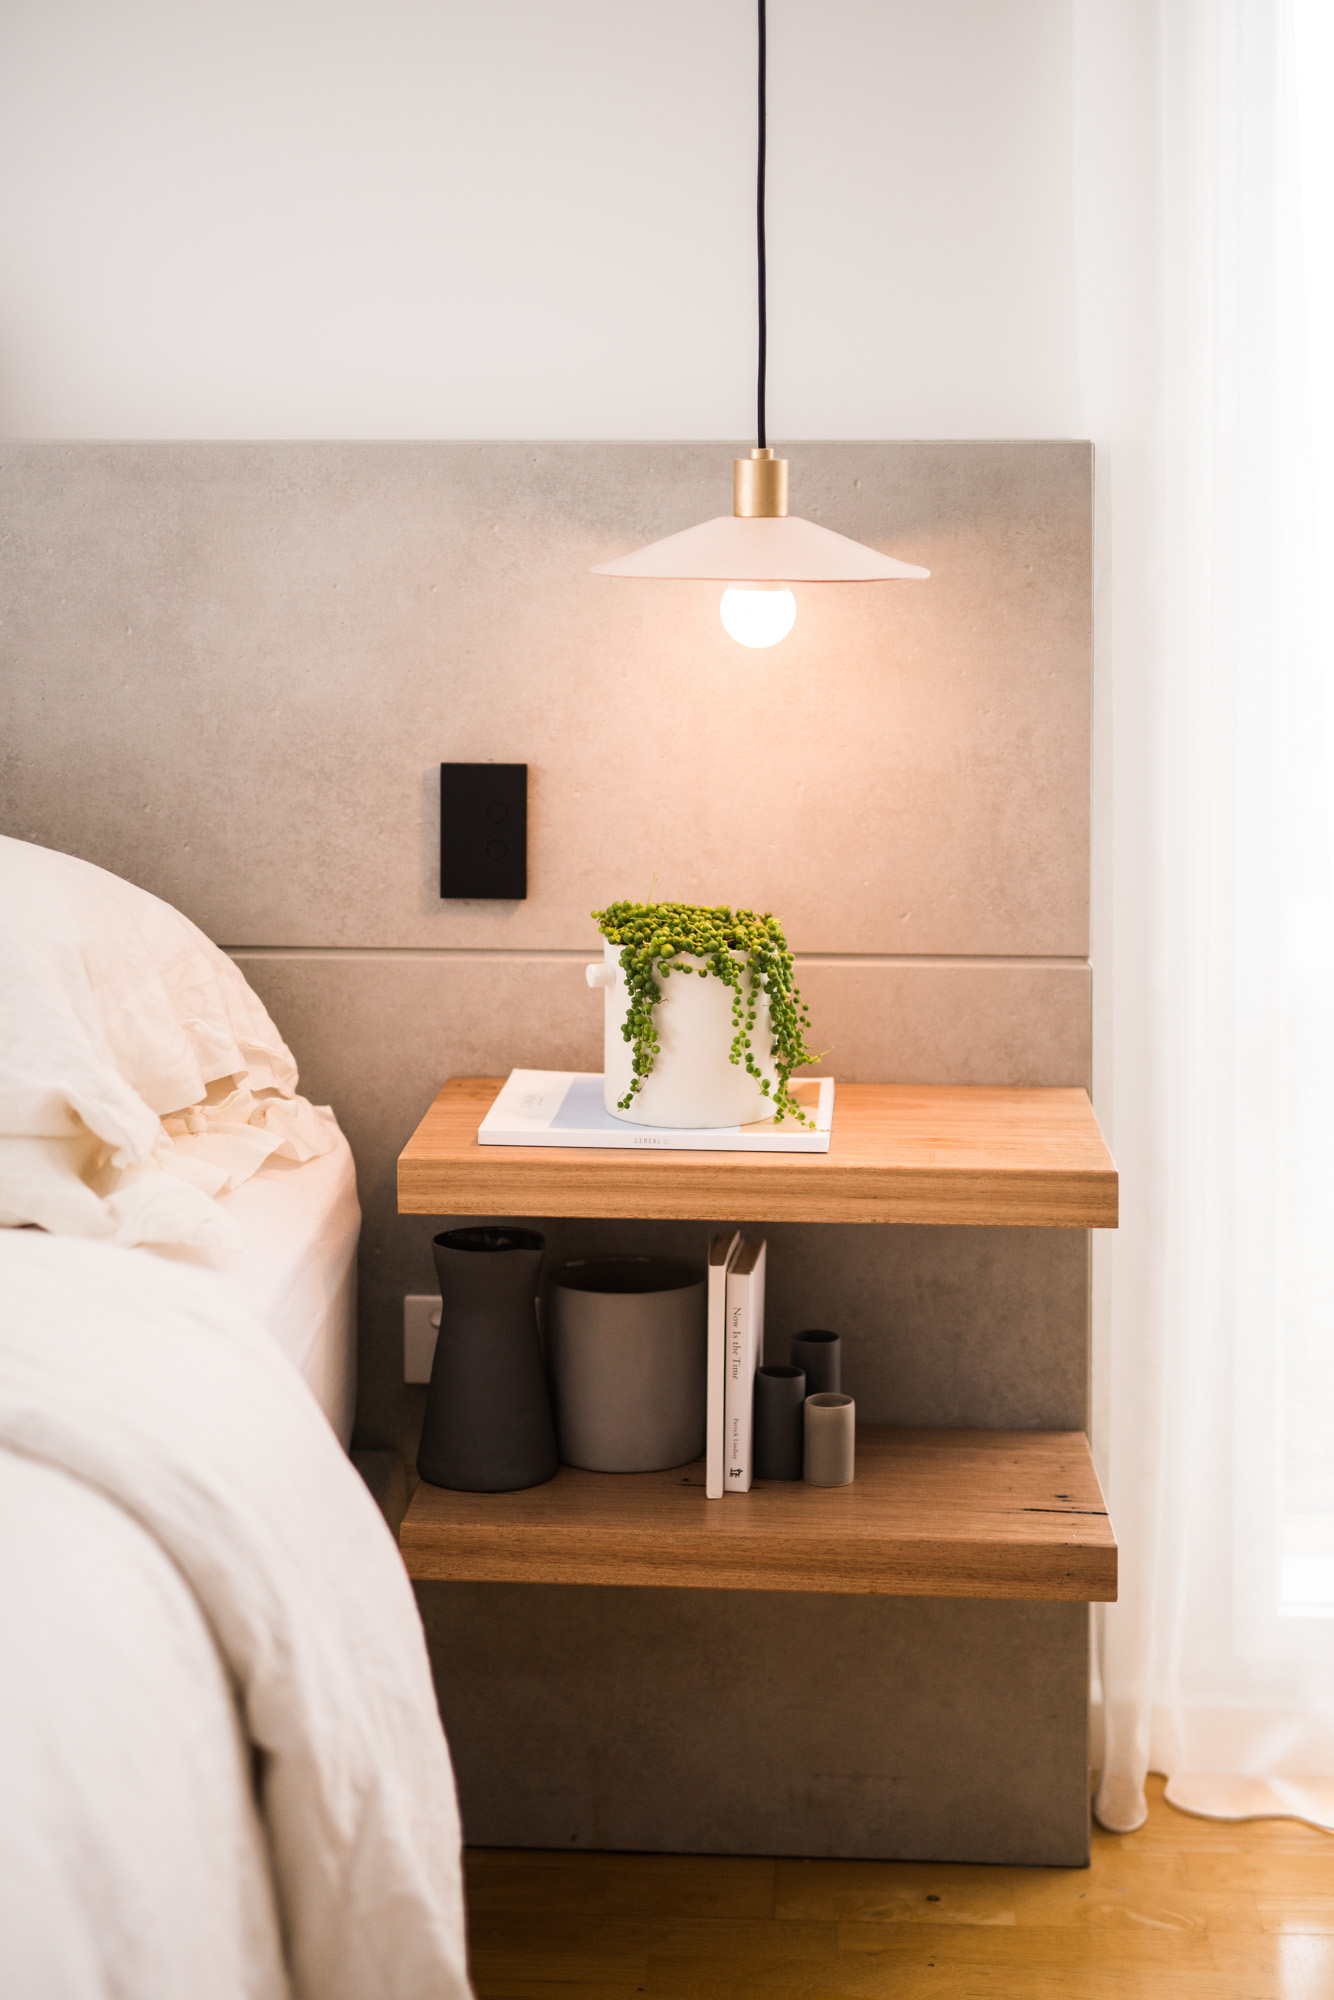
Step 7 : Custom Bedhead
We have also created a custom bedhead using the same CSR Cemintel Concrete panels. Attach the panels using the same method as the wall. When it comes to the corners we’ve cut and mitred them, however you can use the CSR Cemintel pre-formed corners.
Step 8 : Seal It Up
To finish it off, seal any joins using the colour-match sealant. Now you’re ready to furnish and decorate!