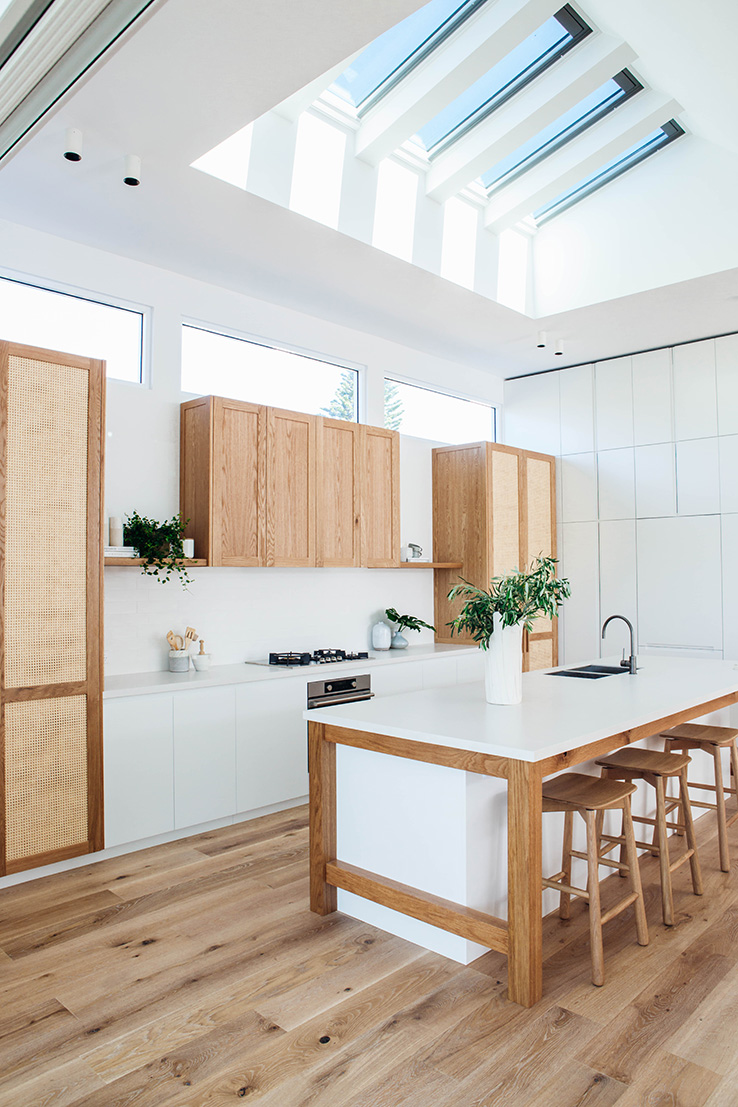
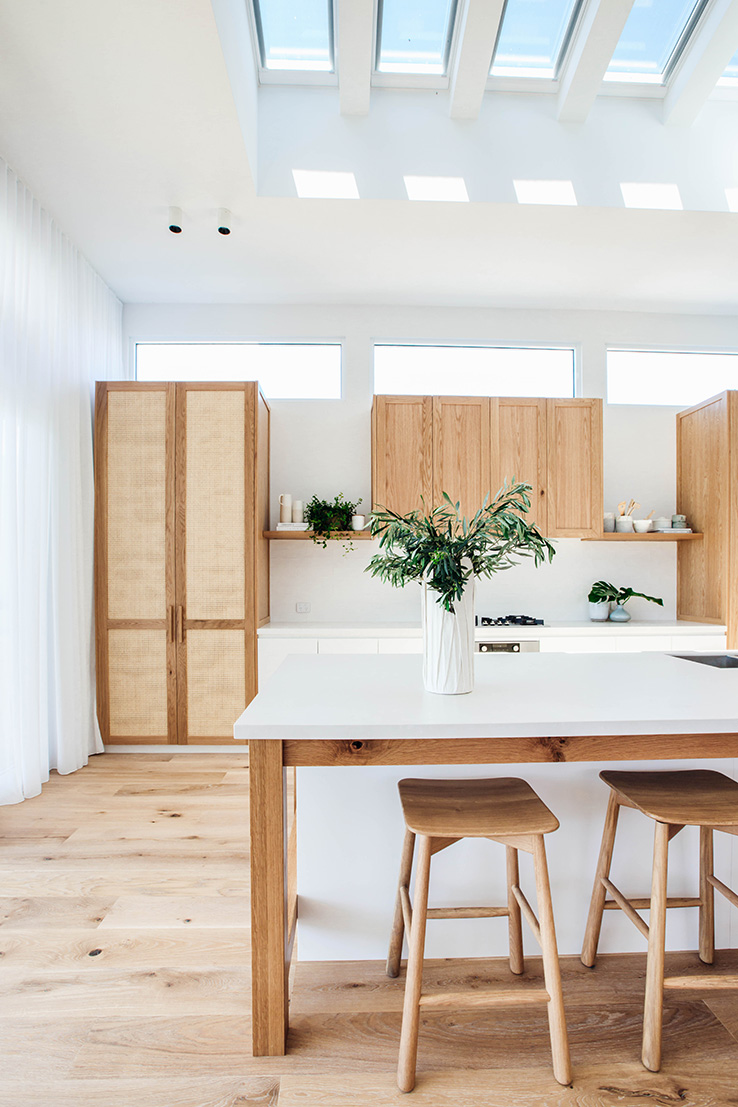
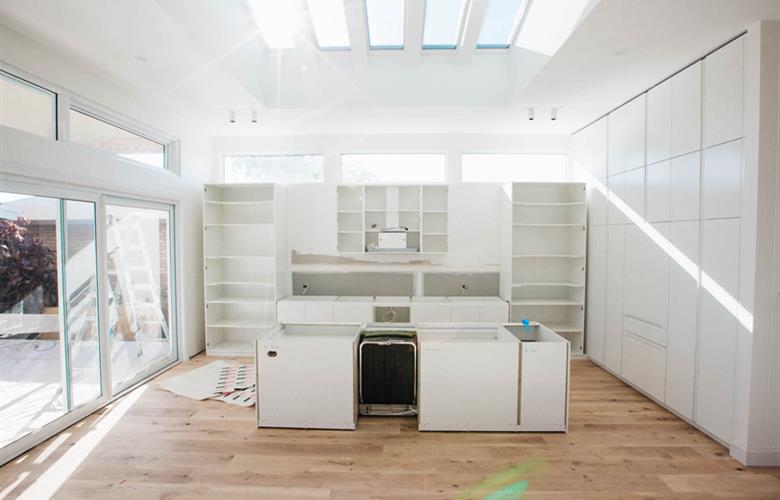
Adding Velux Skylights with a splayed light shaft capitalises on natural light and can be incorporated into any existing roofline, renovation or new build. In the Long Jetty Reno, we designed the void to be directly over the kitchen. A splayed light shaft does create a beautiful architectural feature, but is also a really practical solution for adding natural light and ventilation to your home.
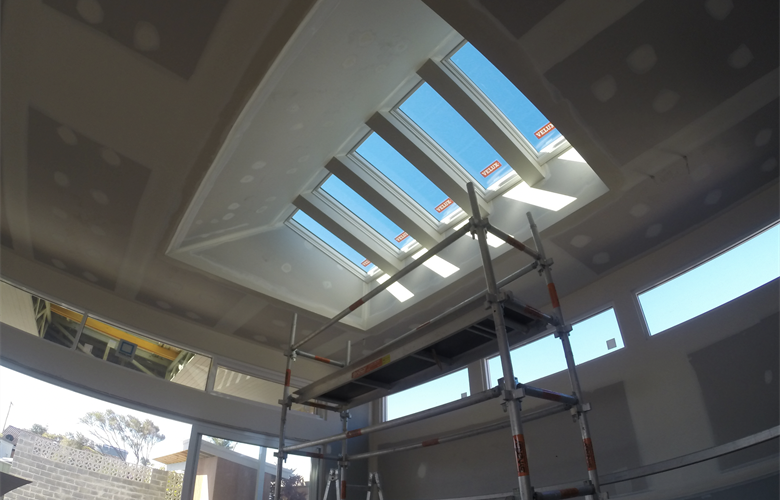
Step 1 : Install Velux Skylights
Once the Velux Skylights have been installed from the exterior, it’s time to come inside to frame up the void to create an architectural feature and capitalise on all that natural light.
Step 2 : Framing Up the Light Shaft
The gyprock will tuck behind the rebate in the skylight – this is your starting point for the frame on the bottom and the sides of the light shaft. Use a spirit level to ensure you’re plumb when setting out the frame.
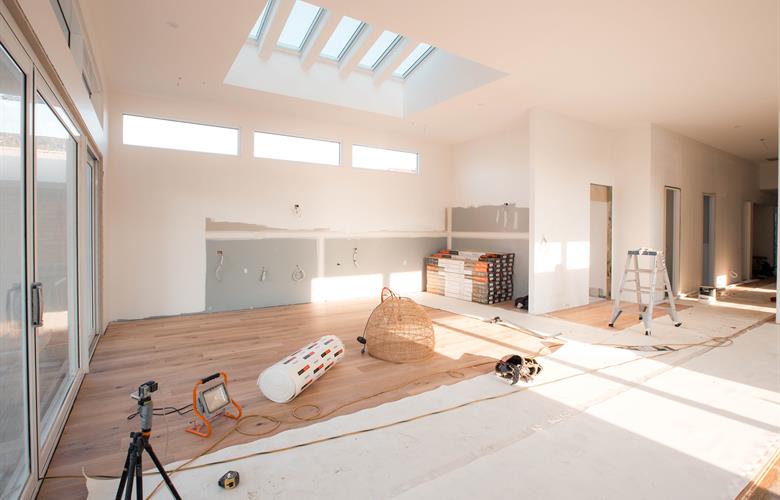
Step 3 : Establish a Starting Point for the Splay
Locate the back end of the rebate for your starting point and make sure your angle flows from there, raking from this point and down towards the ceiling height.
Step 4 : Gyprock & Finish Off!
The gyprockers will be able to install the sheets, set the plaster, and sand – ready for you to paint!