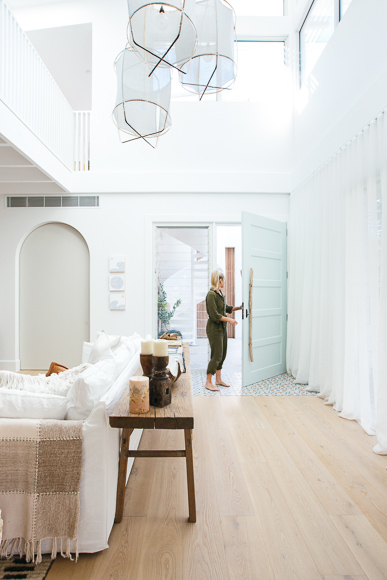
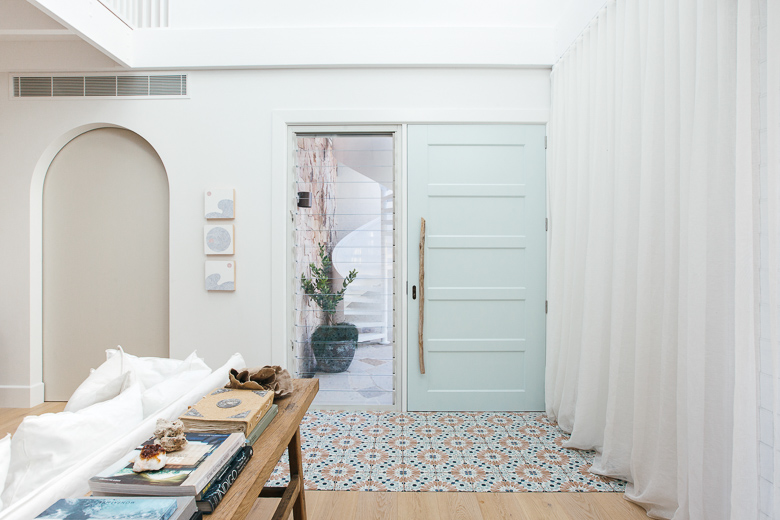
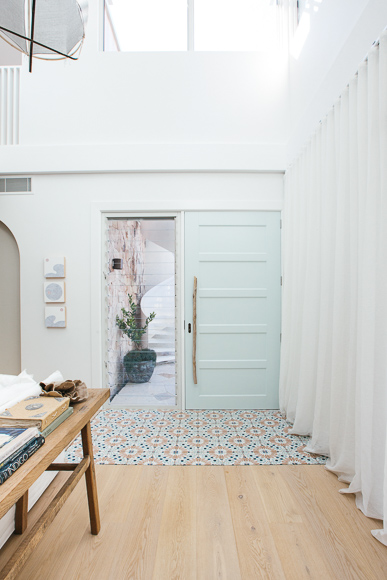
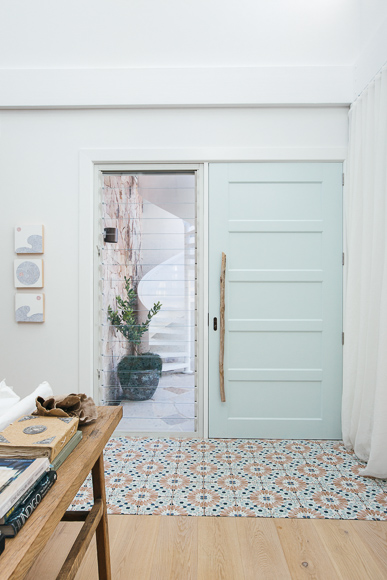
There are plenty of amazing door handles on the market but we’ve opted for the more organic approach with these beautiful piece of driftwood. This certainly adds another textural element to our home and we’re going to show you just how easy it is to do it yourself.
Step 1 : Place Driftwood Against Door
First step is to place the driftwood against the door to get the desired position. The trick here is to get the flattest part of your piece of wood sitting against the door. There’s no right or wrong – but it’s a good idea to have a second person around to give you their opinion.
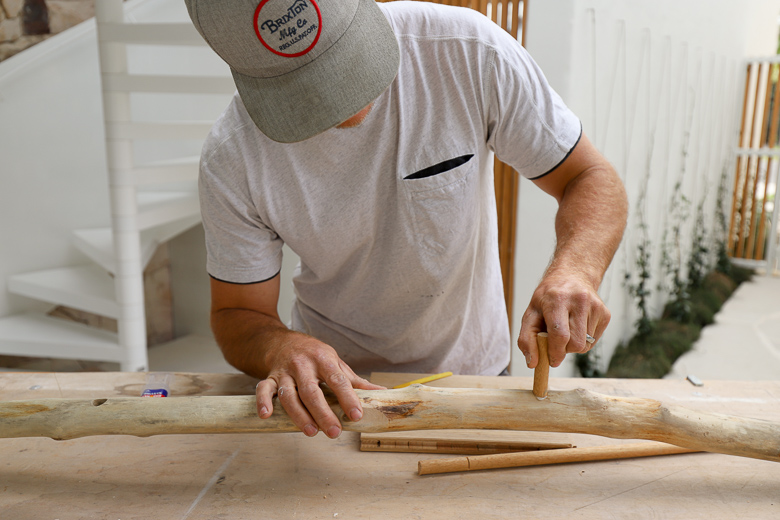
Step 2 : Mark for Timber Dowel
We’re attaching our driftwood with two pieces of timber dowel, so we need to mark out where that dowel is going to sit. Make marks on the driftwood towards the top and bottom of the driftwood and that will indicate where we’re going to drill holes for the dowel.
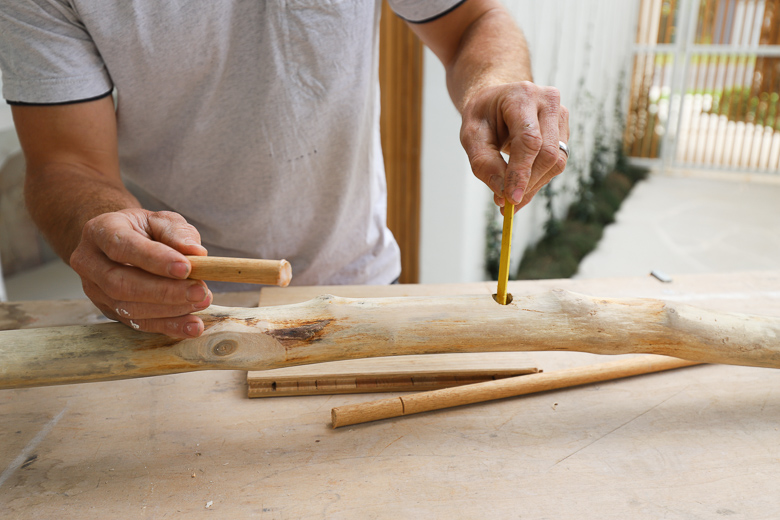
Step 3 : Drill Holes
Use your 16mm spade bit to drill holes about 20-25mm deep into the dowel at the marks and then lightly sandpaper to remove any timber burrs.
Step 4 : Cut 2 Lengths of Dowel
Mark and cut 50-60mm lengths of timber dowel using handsaw.
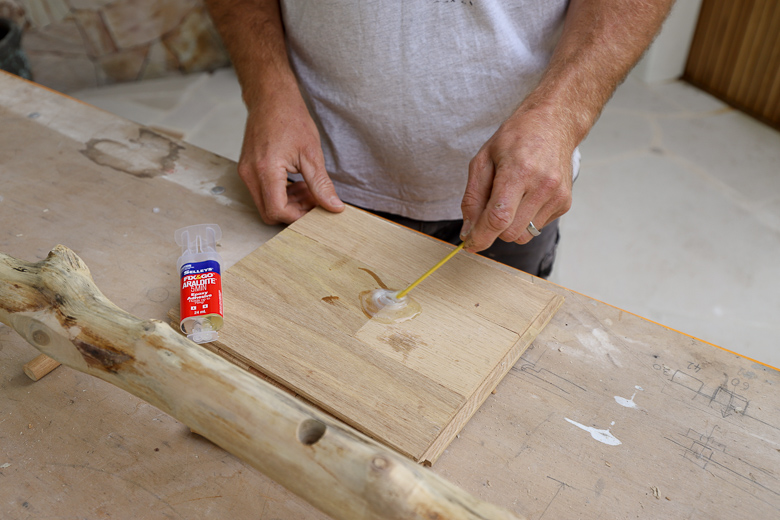
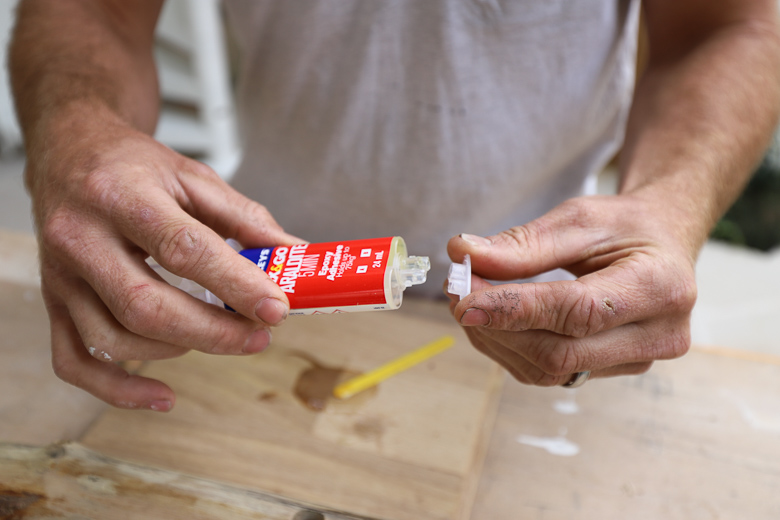
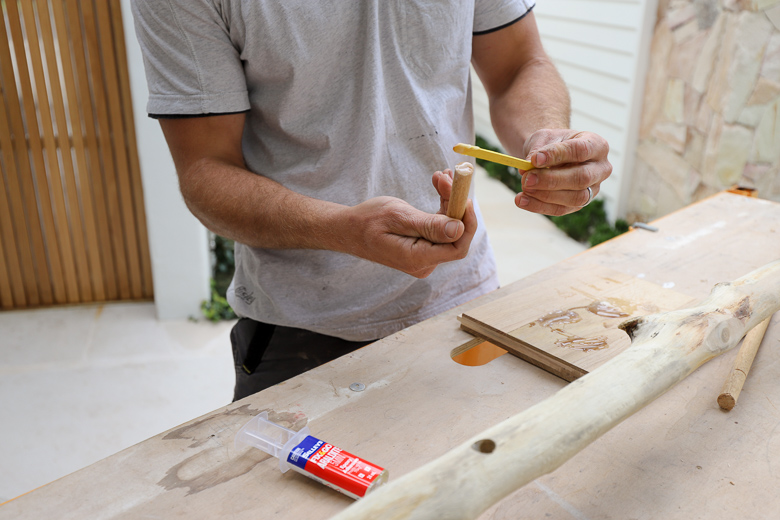
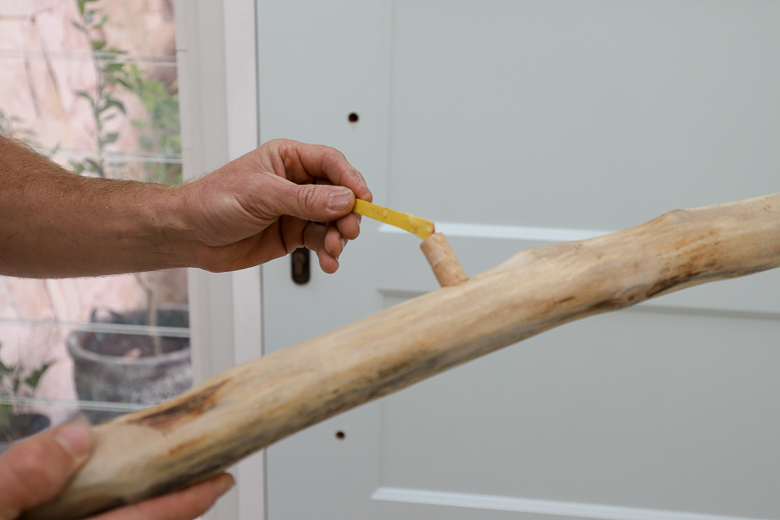
Step 5 : Apply Araldite & Bring Together
Snap out reusable cap and snip off the ends of the syringe. Squeeze equal parts of both liquids onto a disposal surface. Give a thorough mix using the paddle pop stick, and the glue will remain workable for about 3-5 minutes. Replace the cap onto the Araldite. Apply the glue to both the inside of the holes and the outside of the dowel, and slip the timber into the holes. Let the glue set for about 30 minutes, but allow a longer bonding time in colder weather.
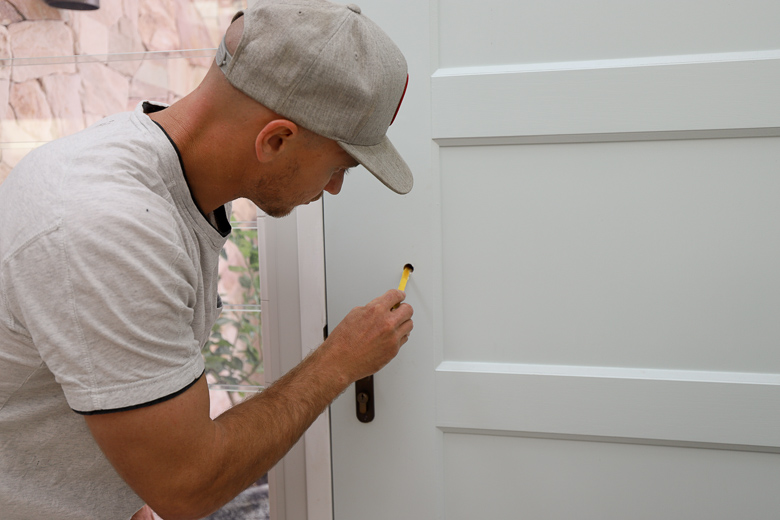
Step 6 : Mark Positions of Dowel onto Door
Once dowel is set, mark their position of the door handle onto your door.
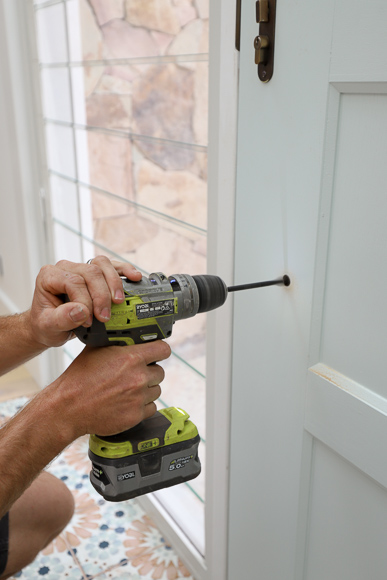
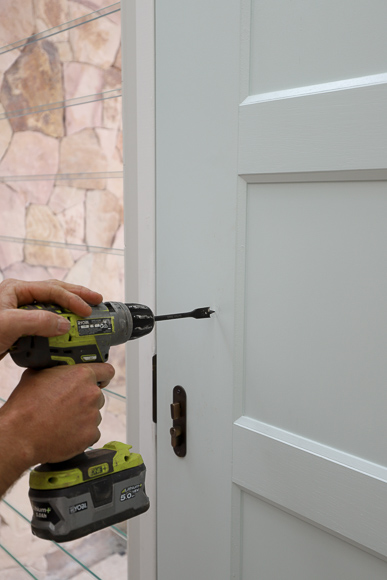
Step 7 : Drill Out Holes on the Door
Use the spade-bit again to drill holes into your door – about 20-25mm deep. Dry fit the driftwood handle before applying any glue to ensure correct positioning.
Step 8 : Apply Araldite & Bring Together
Mix some more glue as before, and place on the inside of the holes in your door and the outside of the dowels already fixed to your driftwood handle and bring them together.

Step 9 : Leave Glue to Set & Bond
Once your handle is set in place, leave to set for 30 minutes. Maximum strength will be achieved within about 16 hours.