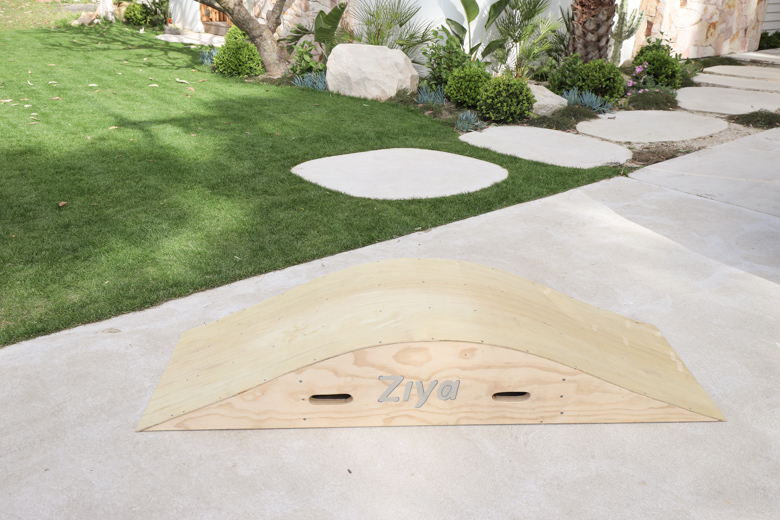
Our kids are at that age where they love their scooters, bikes and skateboards, so to make it more fun around the home we’ve made them a little skate ramp! It’s a neat little design that doesn’t take up too much space in the garage and the kids love it, so we’ll show you how to do it!
Step 1 : Determine the Size of your Skate Ramp
Determine the size you would like to make your skate ramp. Obviously the ability of your kids will have a part to play here. We’ve decided to make our skate ramp 300mm high and 1600mm long.
Step 2 : Draw Shape of Ramp onto Plywood
We are going to make the structural component from 30mm ply sheets. We will call this our bearer. So once you have worked out the overall length and height we will draw the shape of our skate ramp onto the ply.
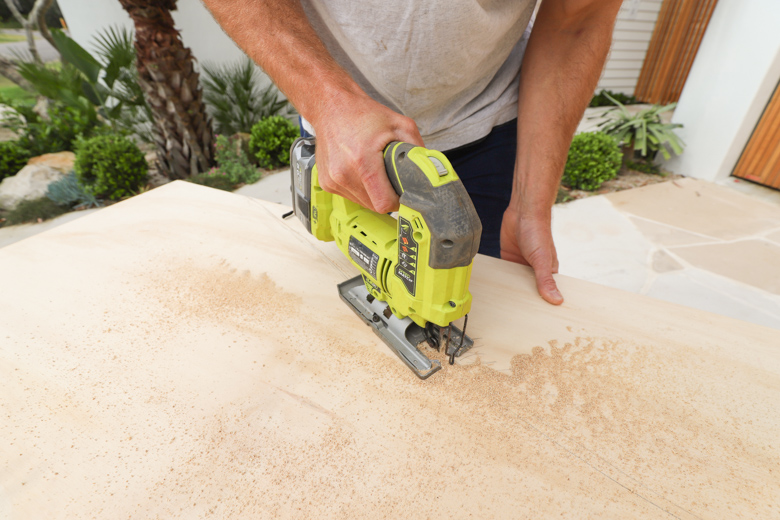
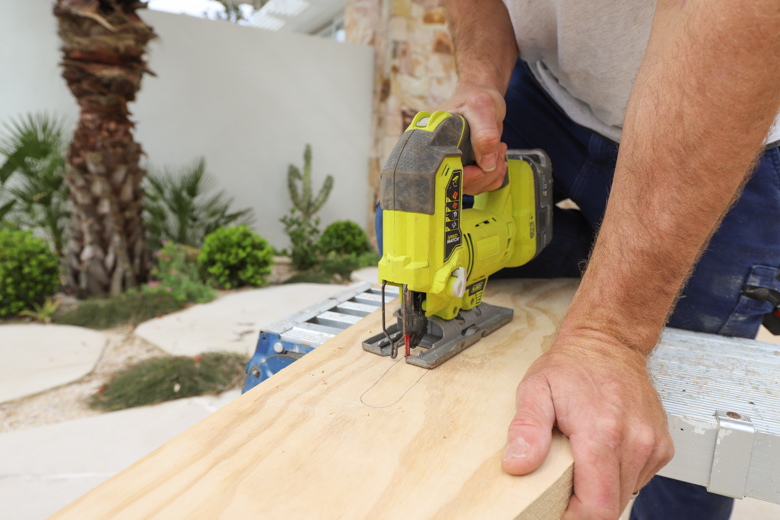
Step 3 : Cut Out the Shape of the Ramp
Once you’re happy with the shape of your bearer you can then cut it out using your circular saw or jigsaw. Use safety glasses.
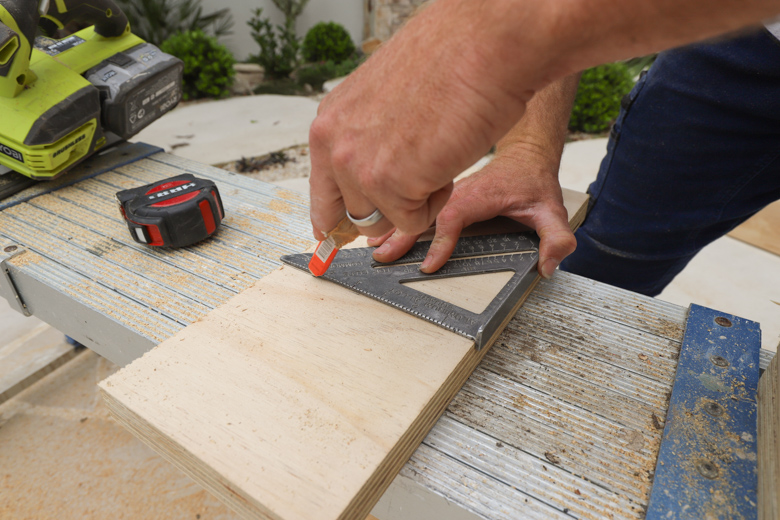
Step 4 : Use as a Template to Trace Remaining Bearers
Now we have our pattern bearer, we can then trace the shape of this onto the remaining ply and cut as many as we need. I’ll need 2 more. If you want your ramp wider you can just cut extra bearers.
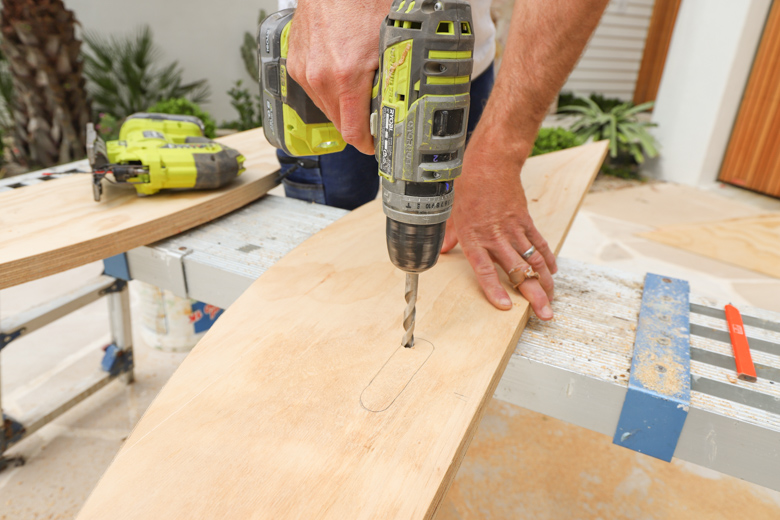
Step 5 : Cut Handgrips on the Two Outside Bearers
On my outside bearers, we’re going to cut a small section out to create handgrips. Use a jigsaw to do this, but pre-drill a small hole first so you can start your jigsaw blade off.
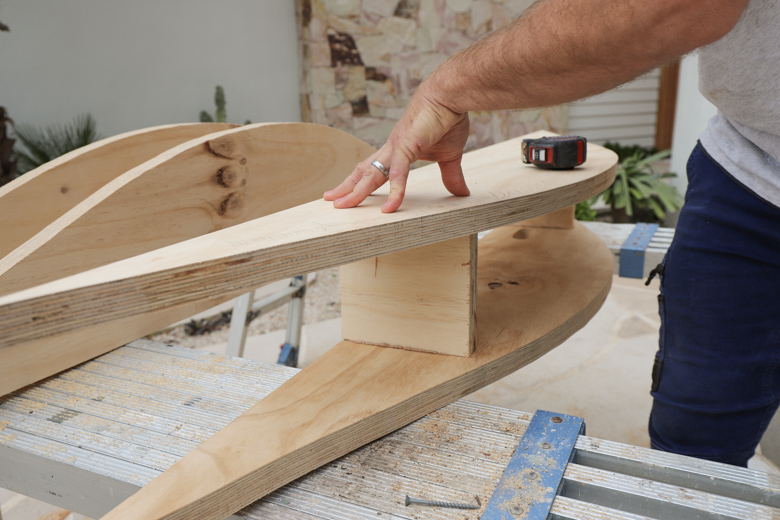
Step 6 : Connect Bearers Together Using Noggins
Now we need to connect our bearers together. Using some off-cuts of ply, cut some noggins to the same height of my ramp.
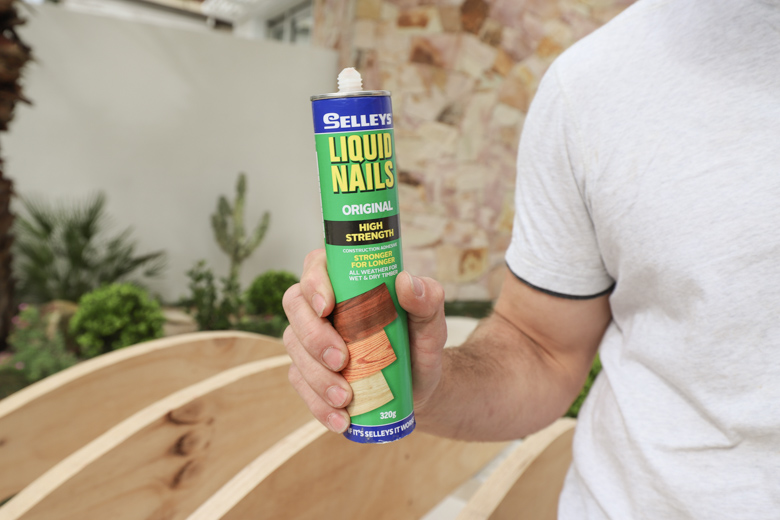
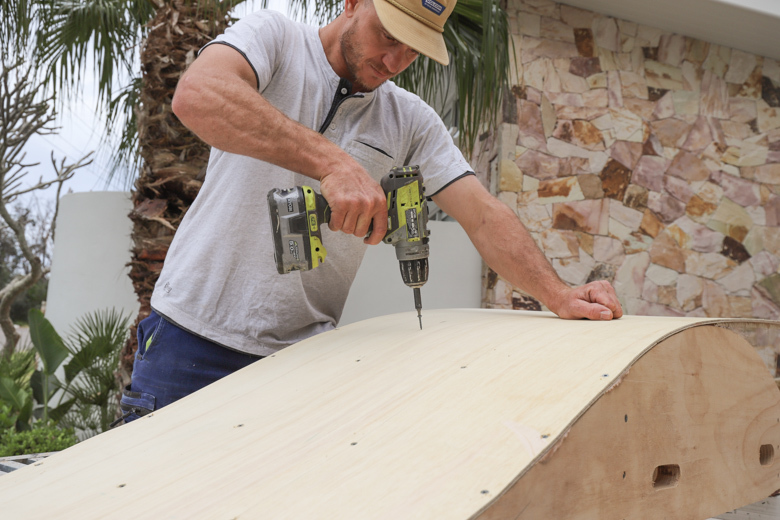
Step 7 : Apply Selleys® Liquid Nails® Original on Ends of Noggins and Fix into Place
To fix it altogether, apply Selleys® Liquid Nails® Original on ends of noggins and fix into place with the screws against the side of the bearers. Pre-drill to help guide the screws and to avoid splitting the timber. Now we have the base of our skate ramp – and it feels nice and solid!
Step 8 : Cut 8mm Ply to the Length and Width of the Ramp
Using the 8mm ply sheets, we will cover the top of our ramp. The 8mm ply has great flexibility to roll over those curves and then we double it up to give it strength. Cut the ply to length and width of the skate ramp.
Step 9 : Back off Ends of Ply to Create a Smooth Transition
Slightly undercut the back of the ply to create a smooth transition. This allows for the an easy transition on and off the ramp – basically so the kids don’t face plant!
Step 10 : Mark Screw lines on Ply where Bearers are Located
Before attaching the ply sheet to the ramp, mark out some screw lines on the ply to indicate where the bearers are to ensure a nice straight screw line.
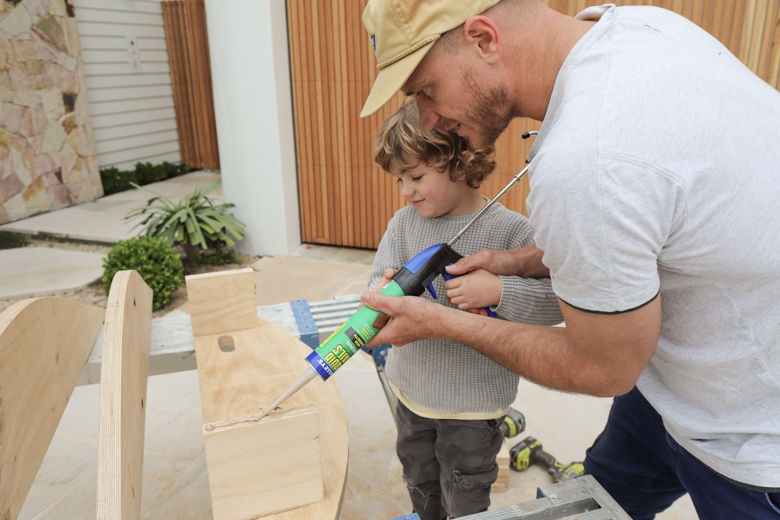
Step 11 : Apply Selleys® Liquid Nails® Original on Top Bearers
Squeeze out the Selleys® Liquid Nails® Original along the tops of all the bearers. This will make sure there’s a really good bond in between the ply and tops of the bearers.
Step 12 : Lay Ply on Top of Bearers and Screw Down
Lay the first sheet of ply on top of the bearers and screw down, working your way from one end to the other.
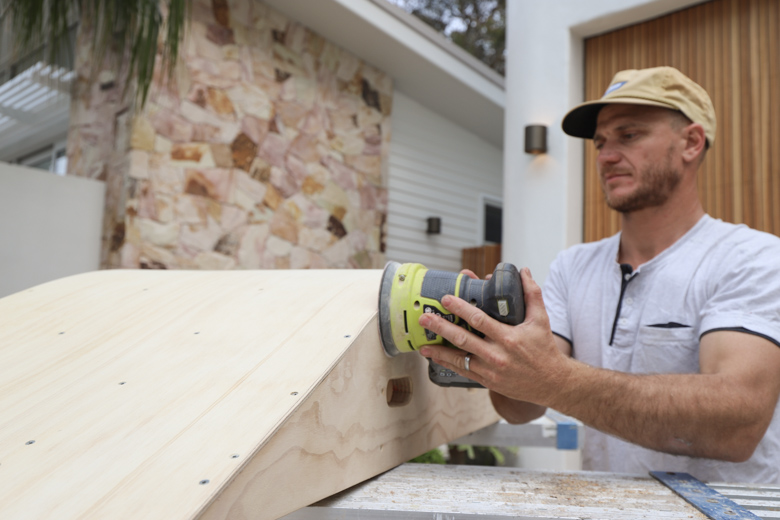
Step 13 : Give a Light Sand to Any Splintery Edges
Give a light sand to any splintery end of the ply. A this point, we painted the kids names onto the sides for a fun and personal touch.