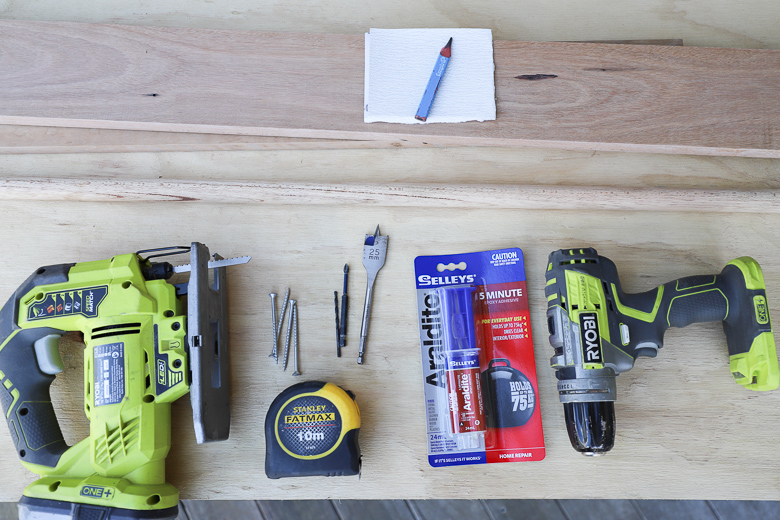
Finding storage solutions can often be a challenge, but we’ve come up with this little build which is super easy. It’s perfect for a bedroom or an entryway – and we’ll show you how to do it.
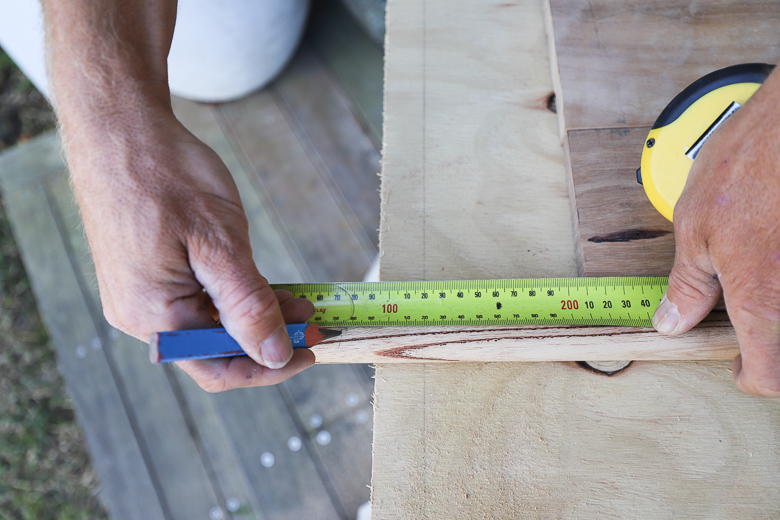
Step 1 : Measure & Mark
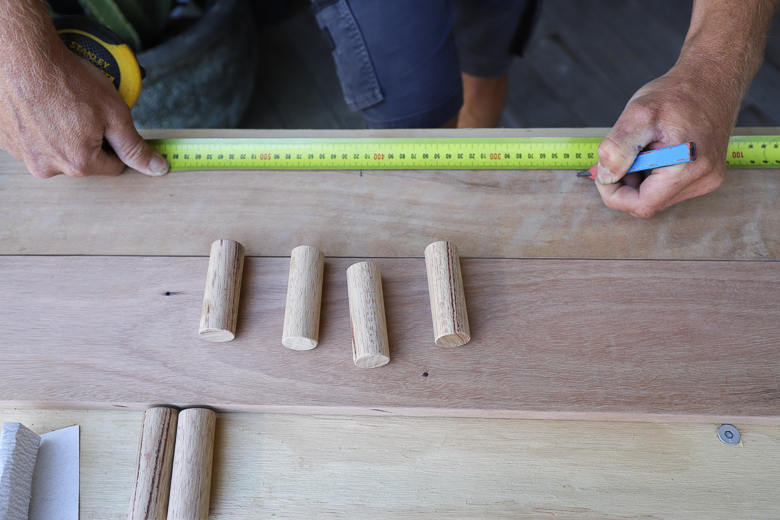
Measure and mark the length of the shelf, and the same for the mounting rail. You can make this any length you like; we’ve chosen to make ours 1 metre long.

Step 2 : Cut Timber to Length
Once marked, cut the timbers for the shelf and mounting rail to length. Cut the dowel into short lengths for the hanging knobs. Mark and measure out the position of the dowel knobs along the mounting rail.
Step 3 : Drill Out Position
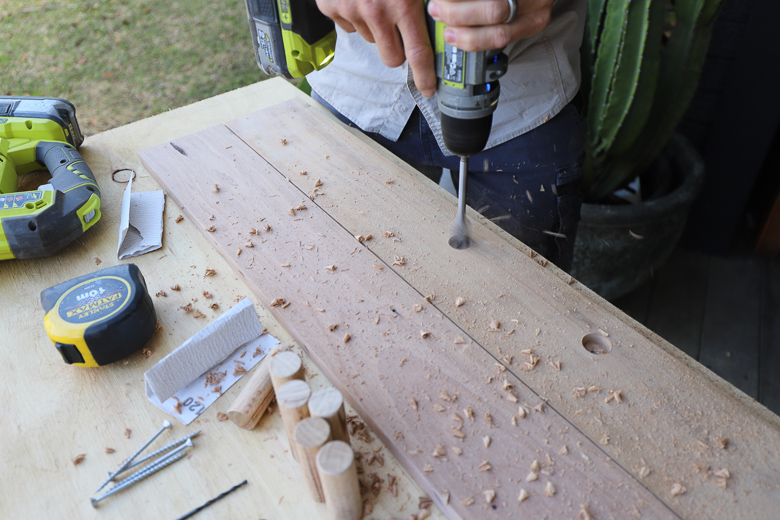
Drill out the position of the timber dowel knobs using a 25mm spade bit – the same size as the timber dowel.
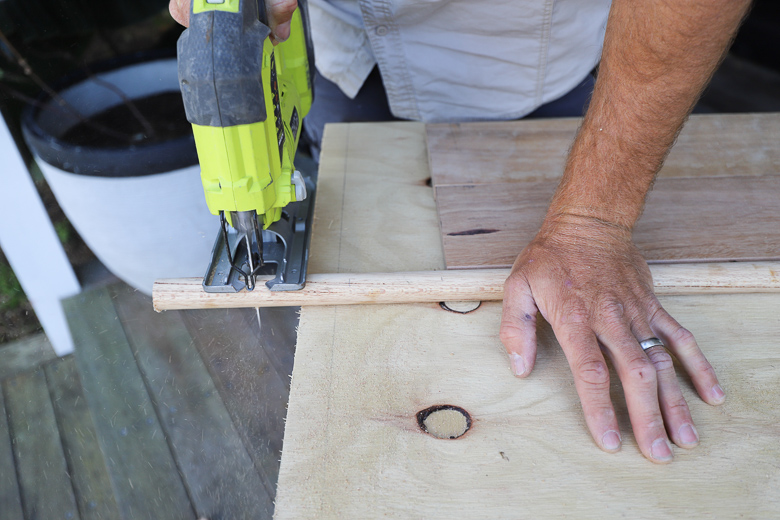
Step 4 : Mark & Cut Curved Edges
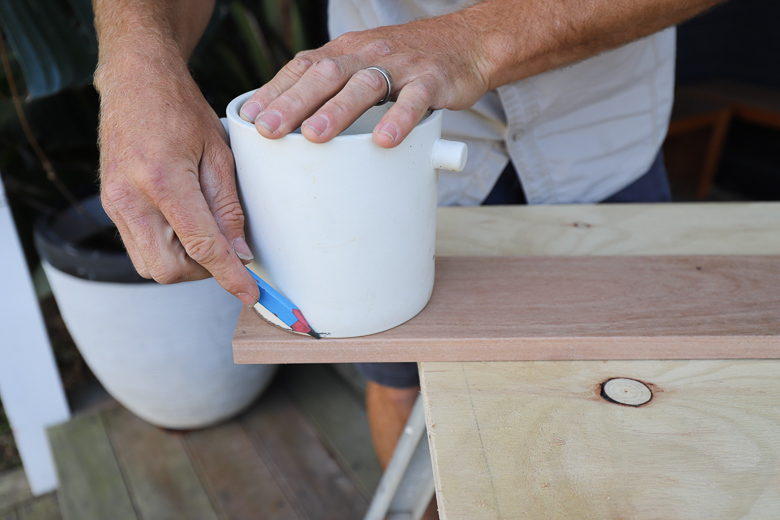
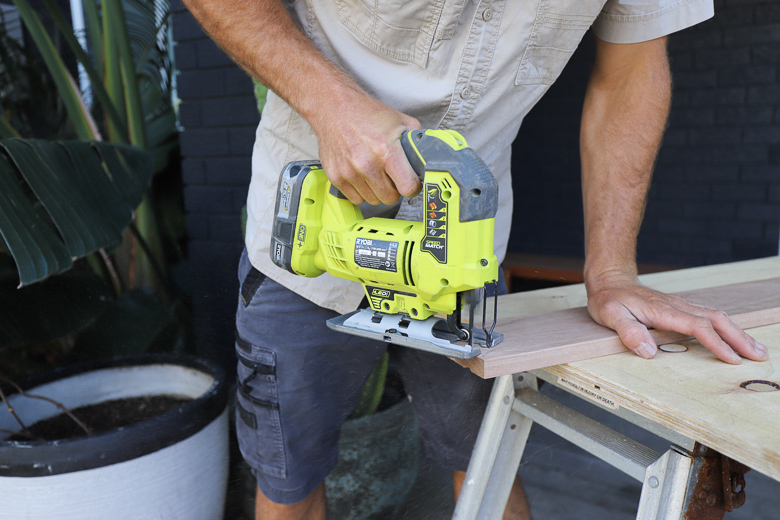
We’ve chosen to curve the edges of our shelf for a decorative touch, and to do so we need to mark the edges. Use anything that’s round to mark out a nice curve. Cut it out using a jigsaw.
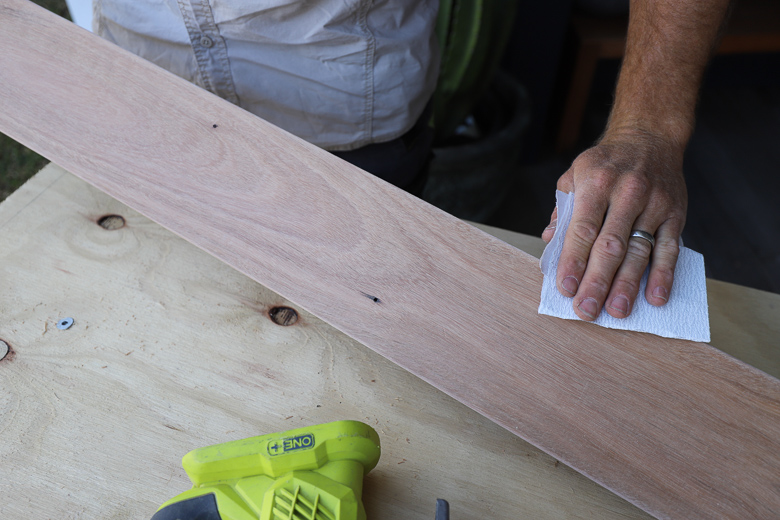
Step 5 : Dress Timber
Lightly sand the timber to finish it off, ready to assemble.
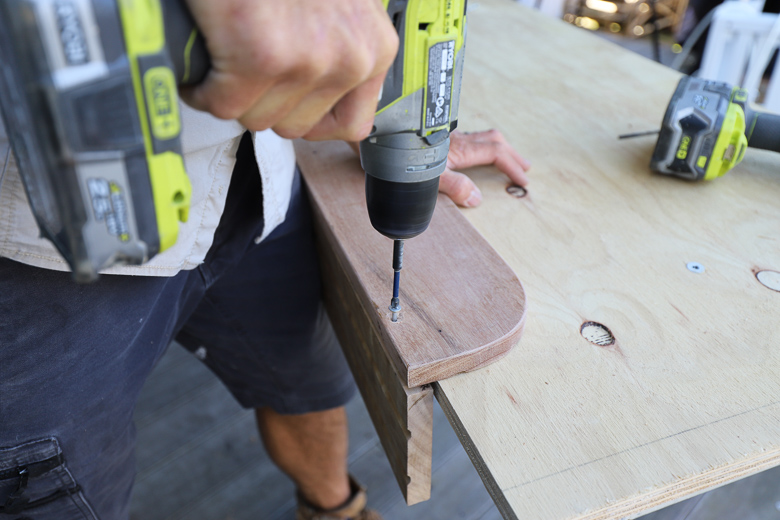
Step 6 : Screw Shelf & Mounting Rail Together
Once you’ve pre-drilled the shelf, screw it together with the mounting rail.
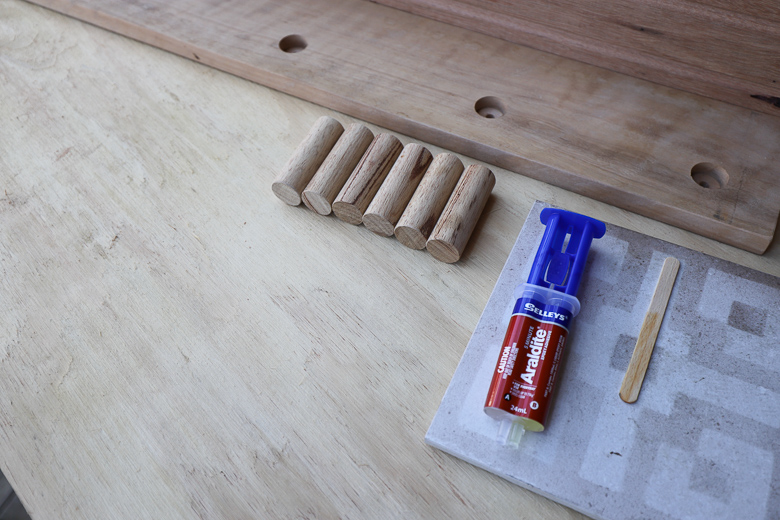
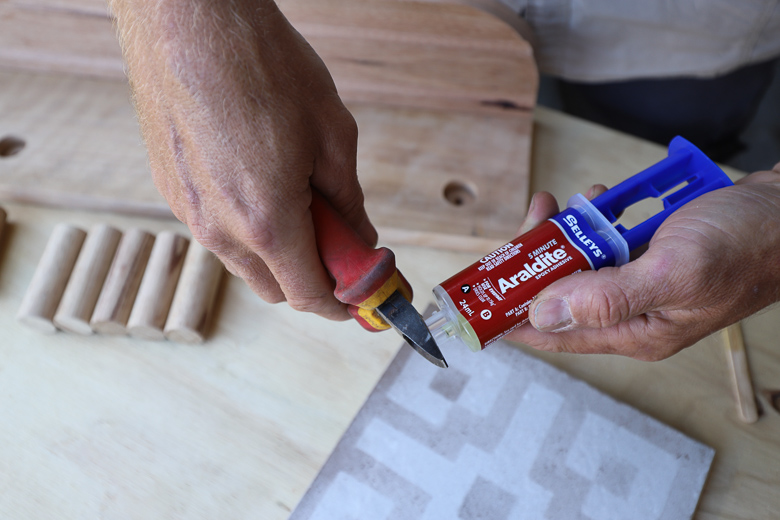
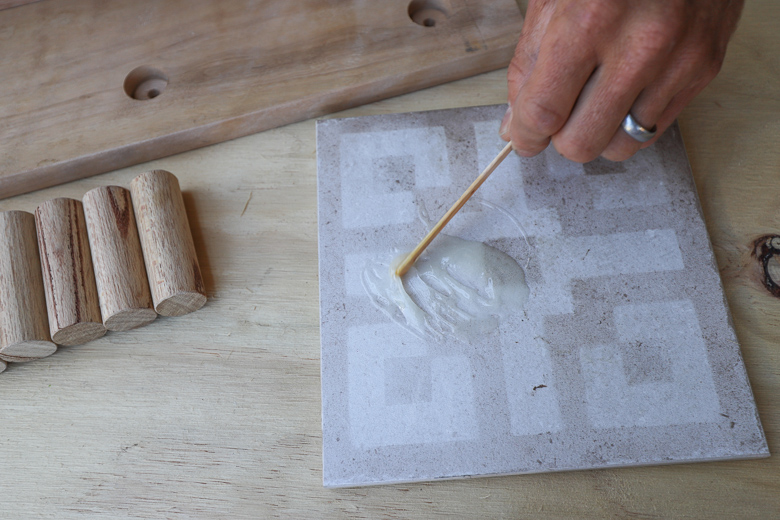
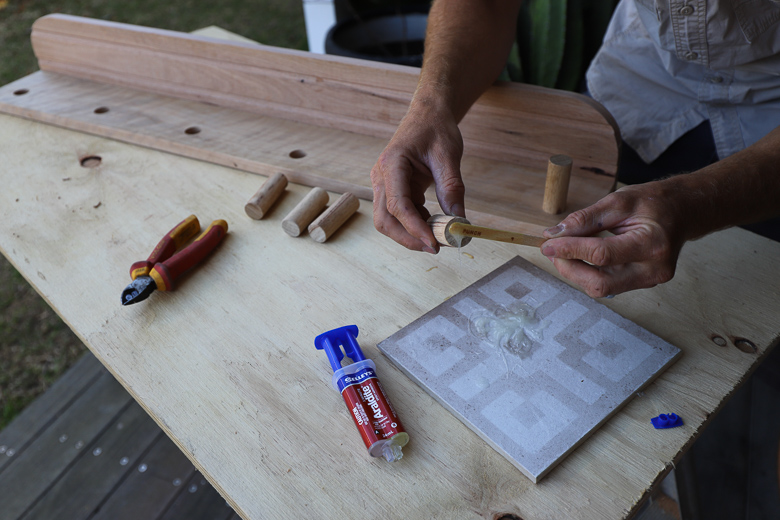
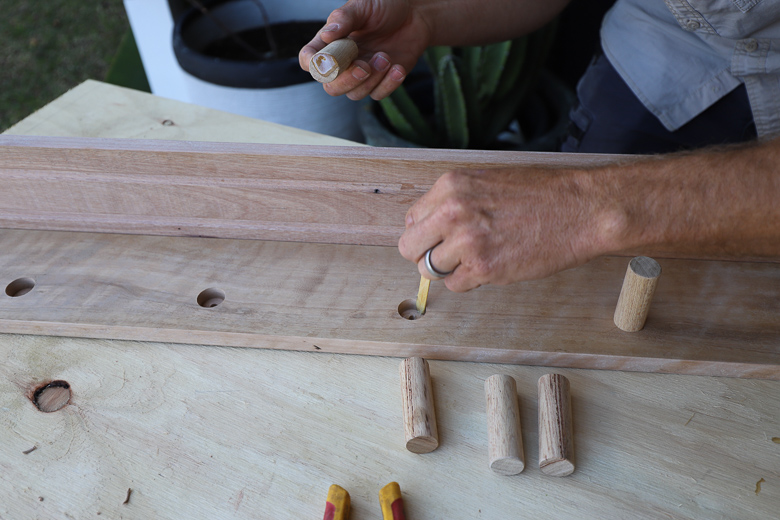
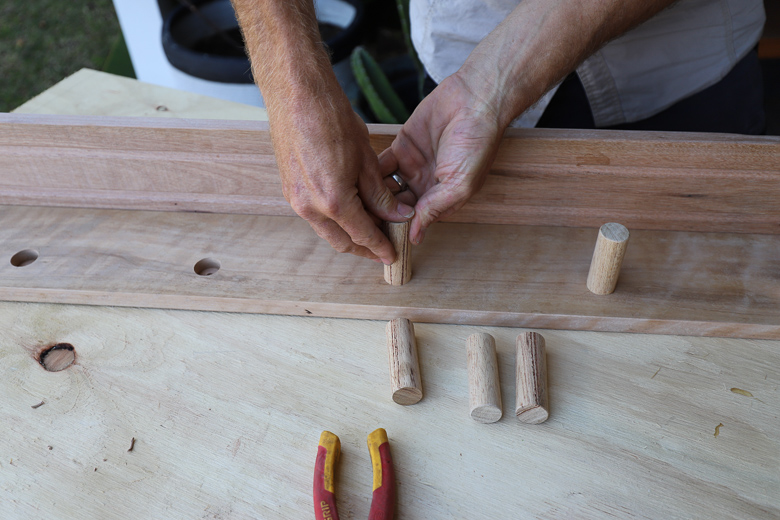
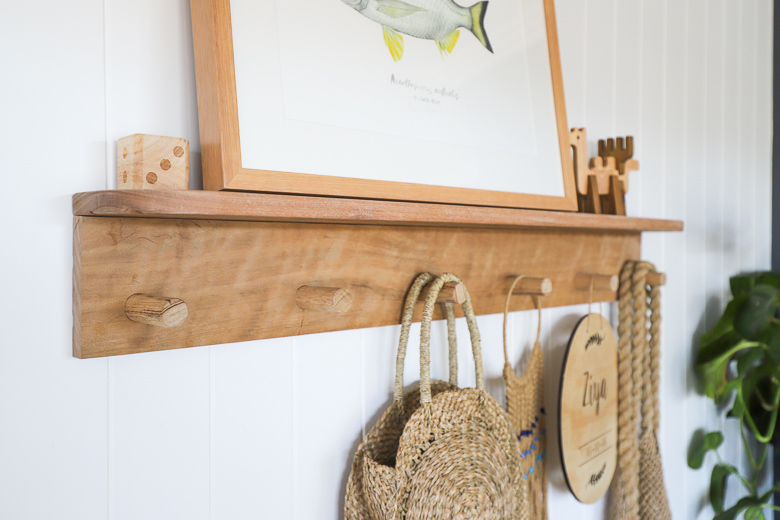
Step 7 : Fix Knobs Into Position
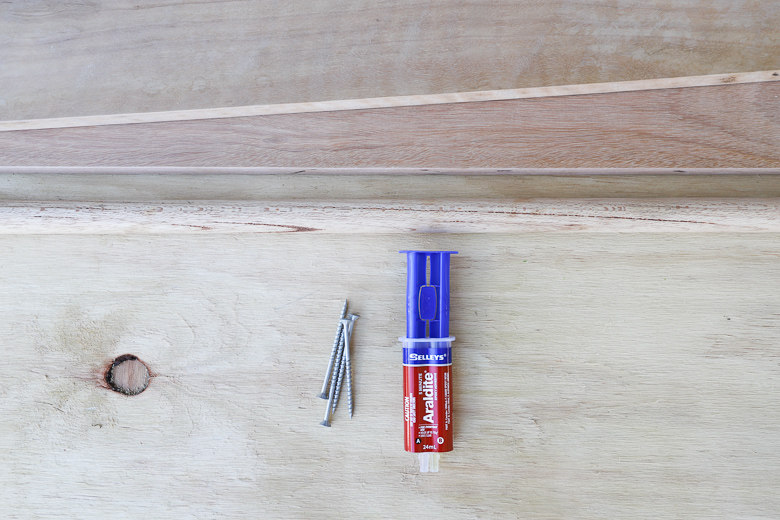
Use Selleys Araldite 5 Minute Epoxy Adhesive to fix the knobs into position. Apply glue to both surfaces – some on the end of the timber knob and some inside the hole. Insert the timber knob so it’s a nice firm fit. The initial bond of the glue will take in just 5 minutes, but we’re going to leave it for a full 16 hours to achieve maximum strength.
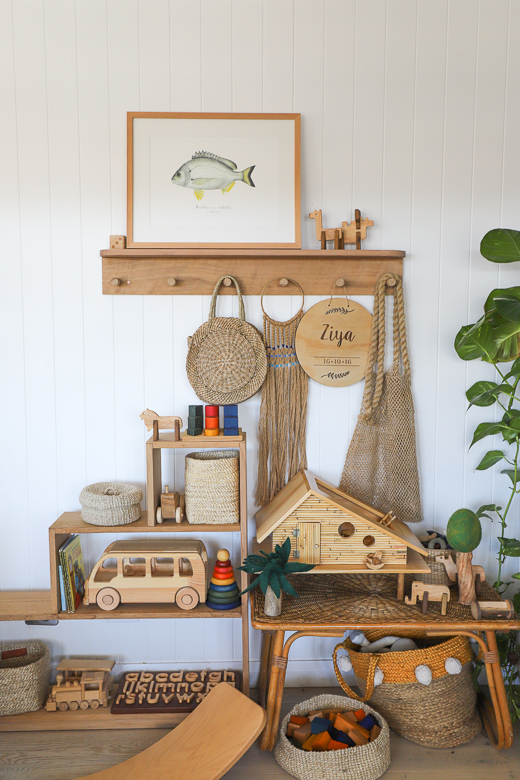
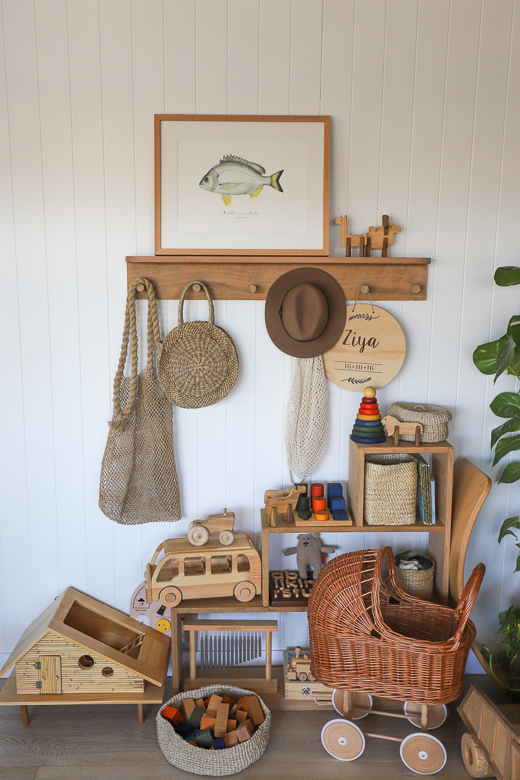
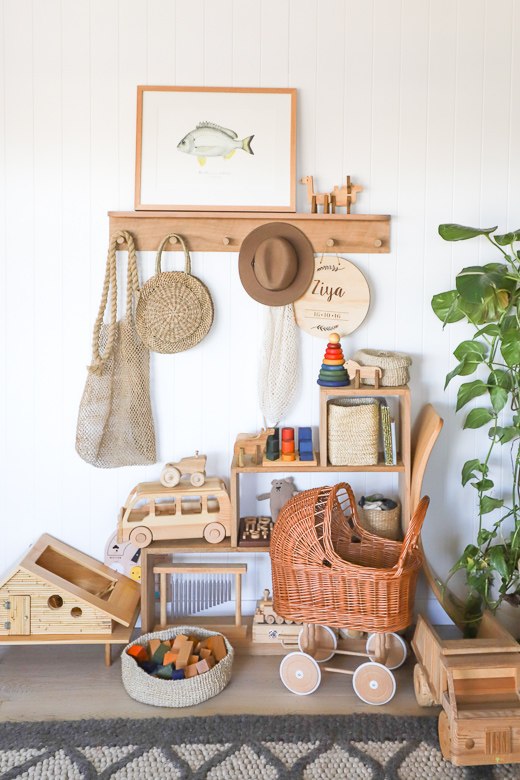
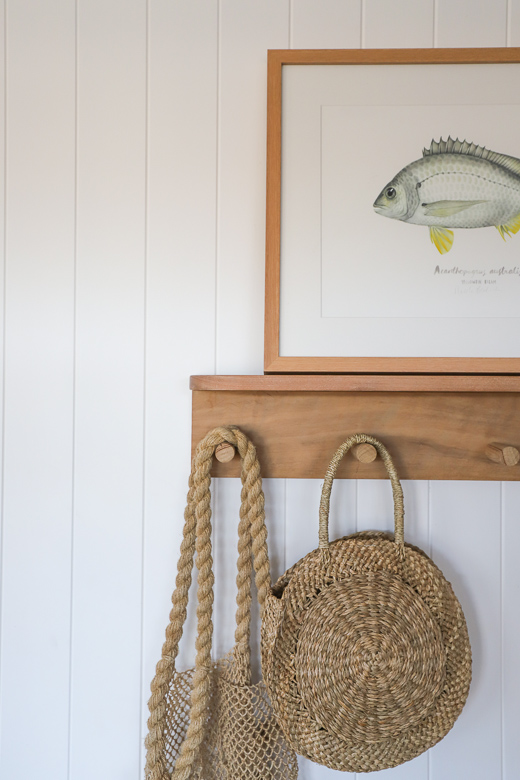
Step 8 : Hang & Style!
Now you can get creative, and organised!
This ‘How To’ brought to you by Selleys.