Creating an outdoor BBQ area adds value and makes the most of unused outside spaces around your home. We have recently created a space at our place that we’d like to share with you. First things first: decide how big you want the BBQ area, considering the size of your actual BBQ, and then how much bench space you’d like either side. Remember to choose a well ventilated area.
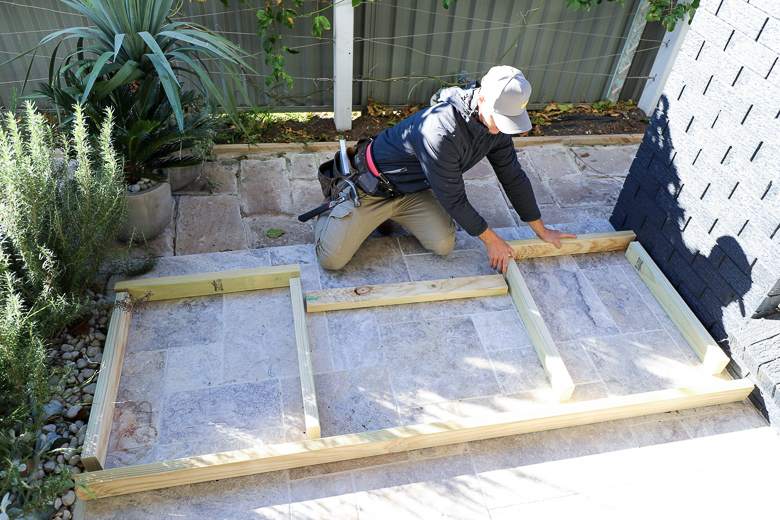
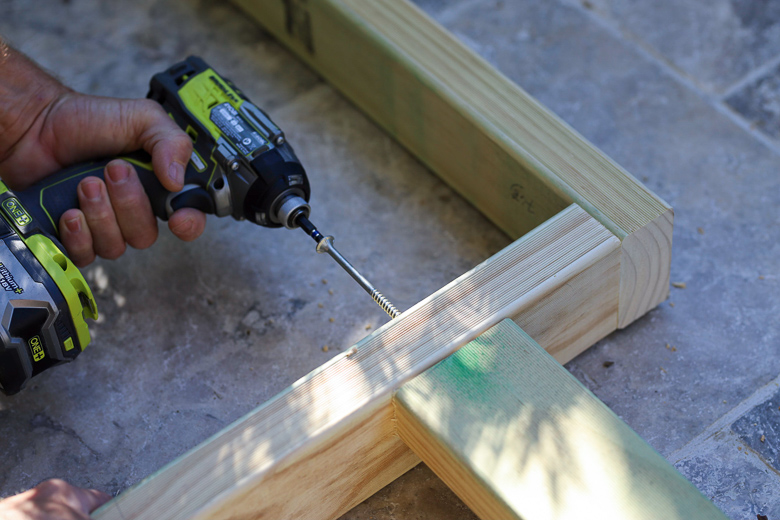
Step 1 : Start on the Framework
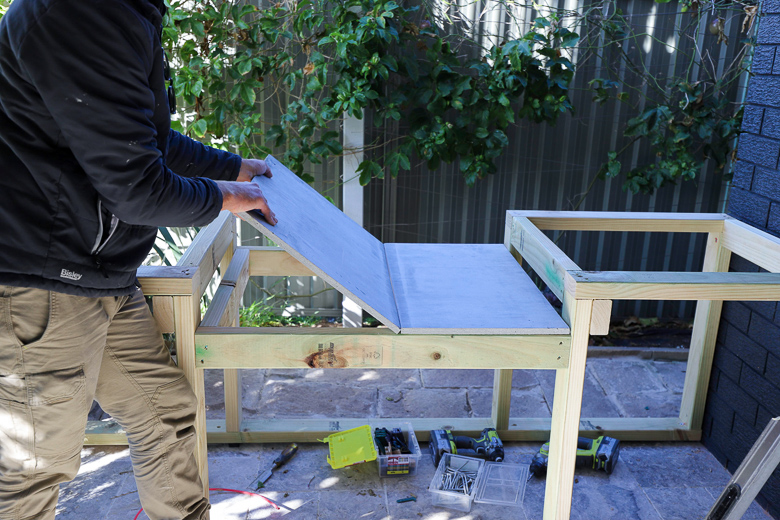
It’s time to get started on your frame. I’m going to build two frames: one for the front and one for the back of our BBQ bench. I’ll also allow a recess for the actual BBQ in my frame. Cut 1 x bottom plate, 4 x vertical studs and 3 x top plates. My overall BBQ bench height is 950mm, so I’ll minus 120mm to allow for the bench top thickness, which makes my frame an overall height of 830mm. Now it’s time to lay my pieces out, and nail and screw them together. Lastly, make sure you keep the bottom plate of the timber frame off the ground using a 10mm packer – this creates airflow to ensure the frame won’t hold water and will therefore last a long time.
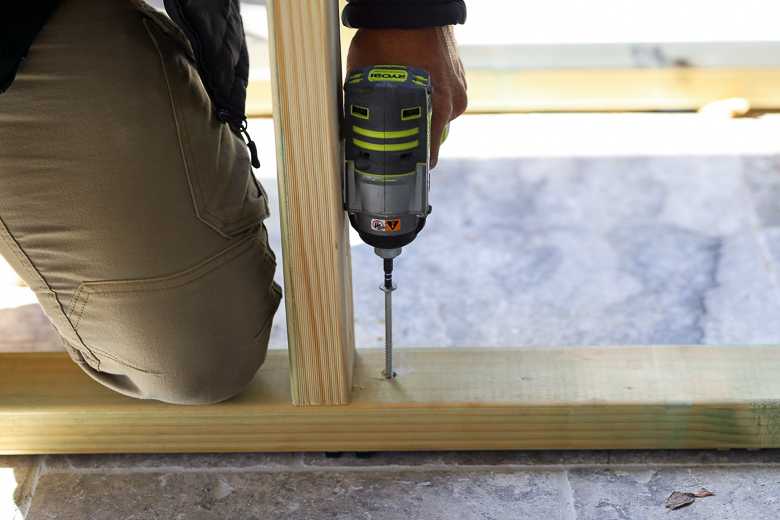
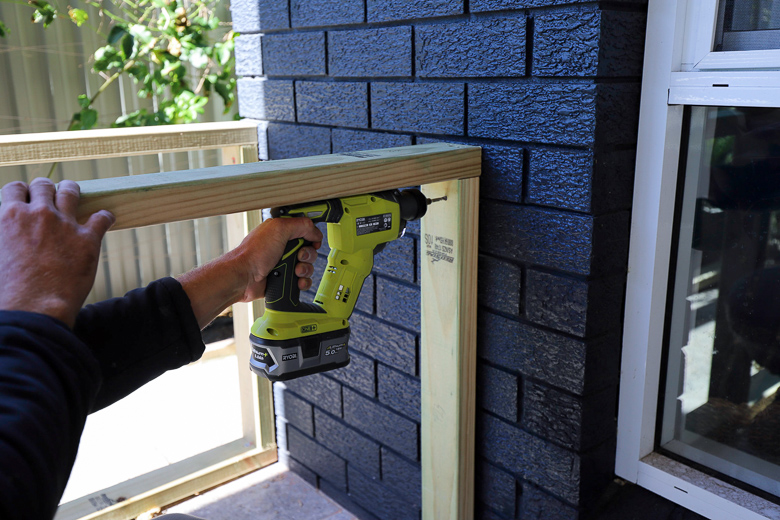
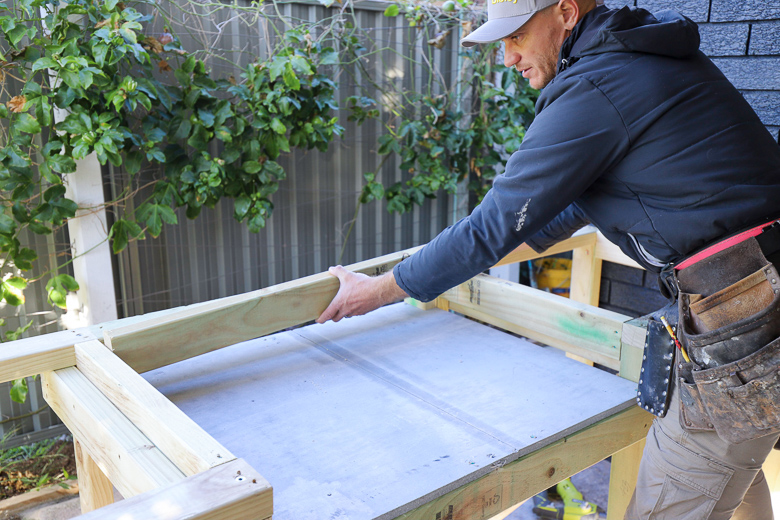
Step 2 : Fix Down Your Frames
I’m screwing down my frames into position against the exterior wall of our home and down to the floor. At this point, make sure your frames are level. Next, connect the two frames with more timber to make one solid and complete unit.
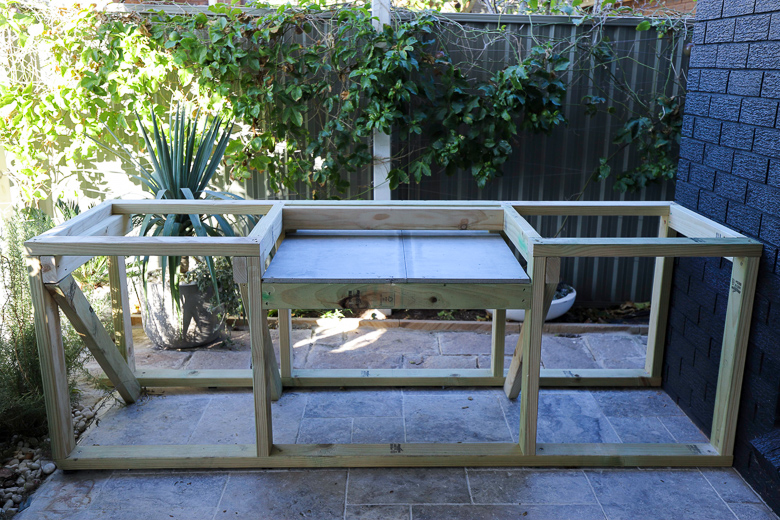
Step 3 : Complete the Recess
Insert the fibre cement sheets into the recess you’ve created for the BBQ and secure with nails or screws. Frame in the rear of the recess, remembering to keep adequate distance for ventilation. The fibre cement surrounds of the recess are important as they form non-combustible protection to the timber framing.
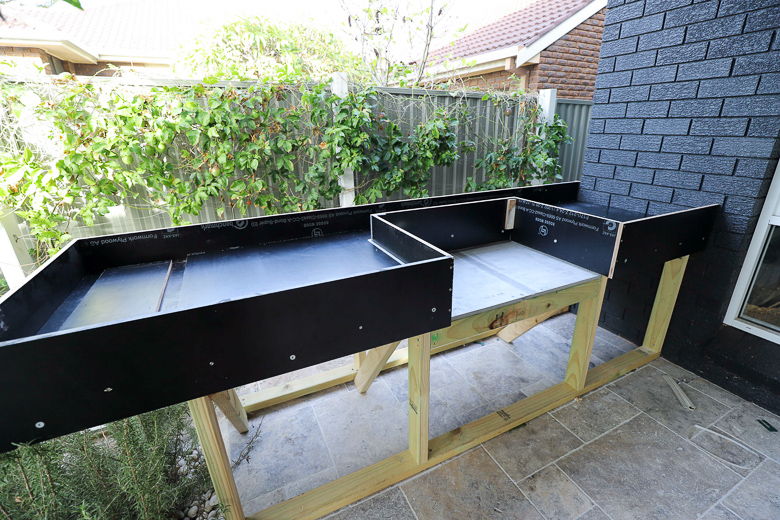
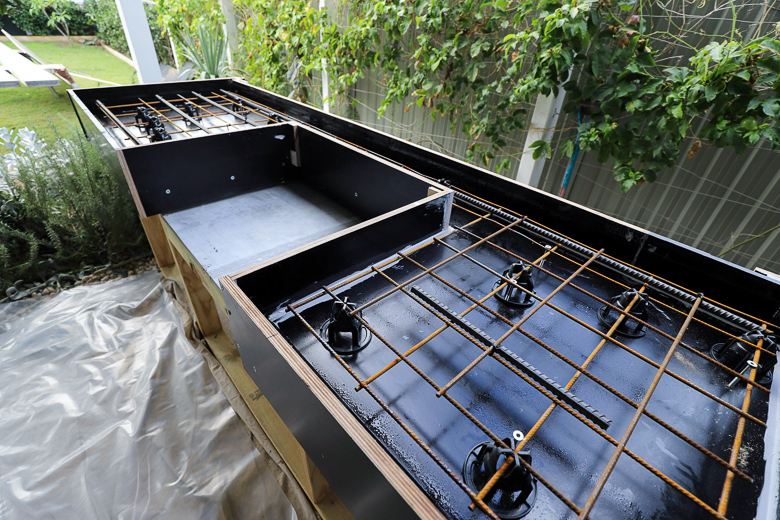
Step 4 : Install the Formply
Install the base of your formally and fix down. At this point you need to determine the desired height of your bench top and form the sides accordingly. Using screws for this will allow for easy removal once your concrete is set.

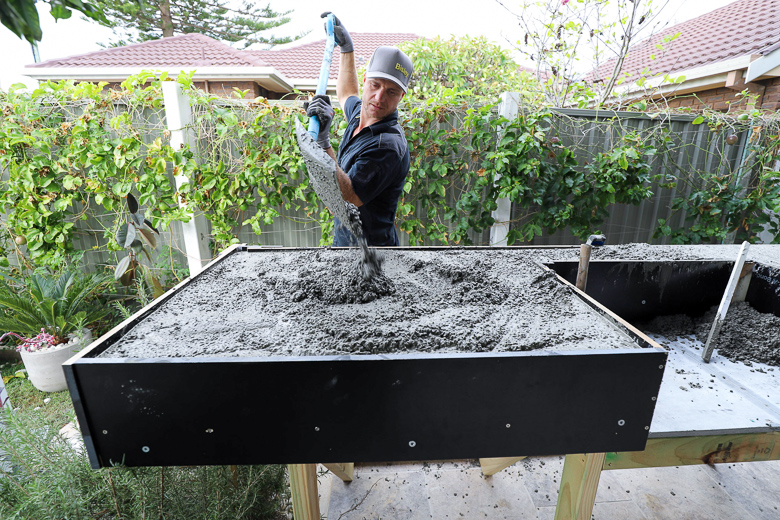
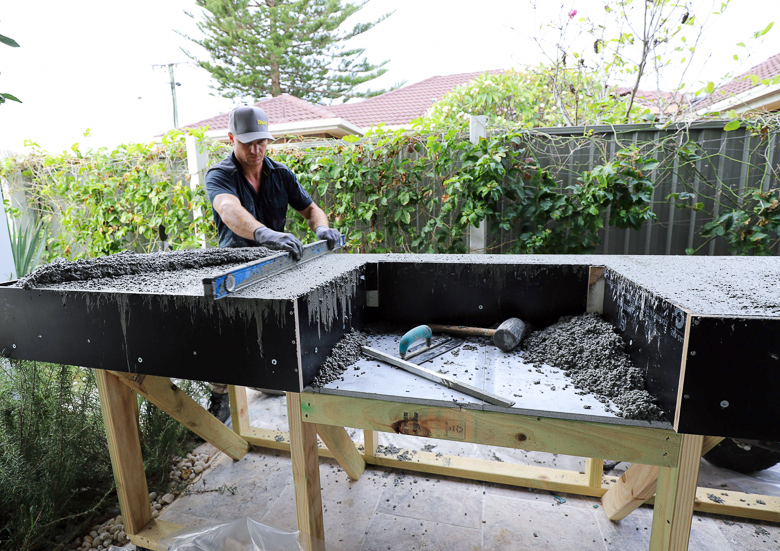
Step 5 : It’s Time to Concrete
Place concrete mix into the mould, tapping around the sides of the formwork as you go to ensure the concrete mix settles and you eliminate any air bubbles. Slightly overfill the mould, which allows you to screed the top of the concrete off and achieve a nice smooth finish on the top face.
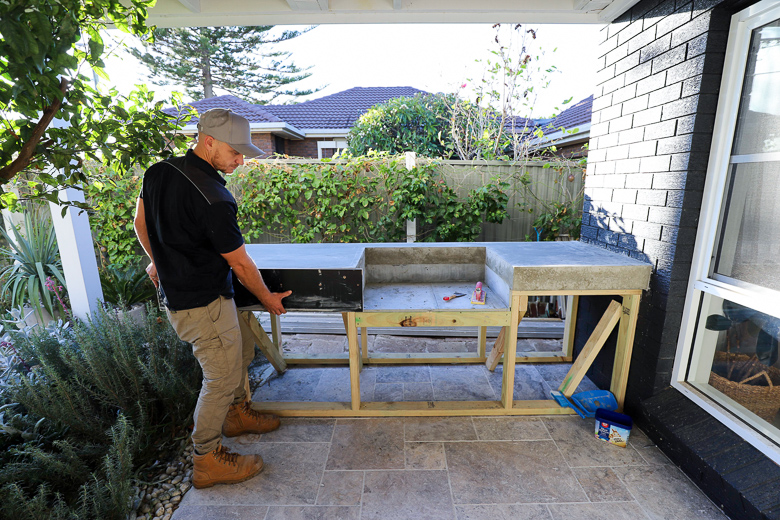
Step 6 : Remove Formwork
After 24 hours, remove the formwork. If you find there are air bubbles in the sides, simply fill using a cement mix. This will require another 24 hours to set.
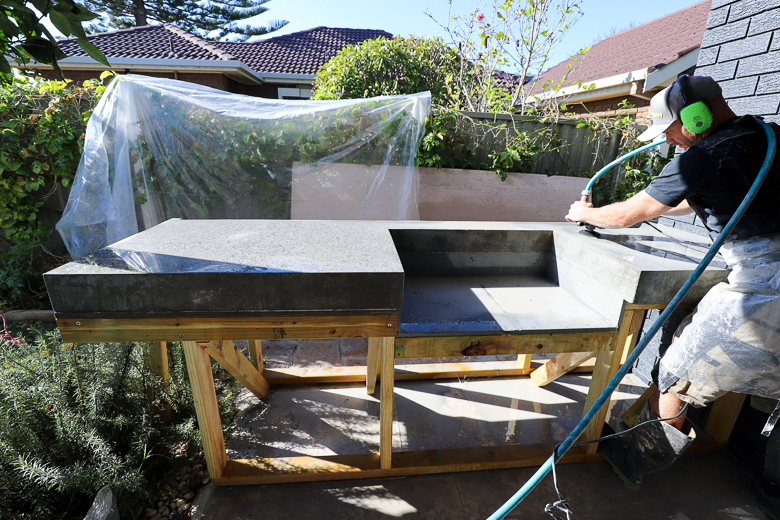
Step 7 : Polishing
Once the concrete slab has been left to cure for three days, you can polish the surface. Decide what level of polish you’re after. I’ve decided to fully expose the aggregate but you can do a lighter polish if you’d rather a smooth grey concrete finish.
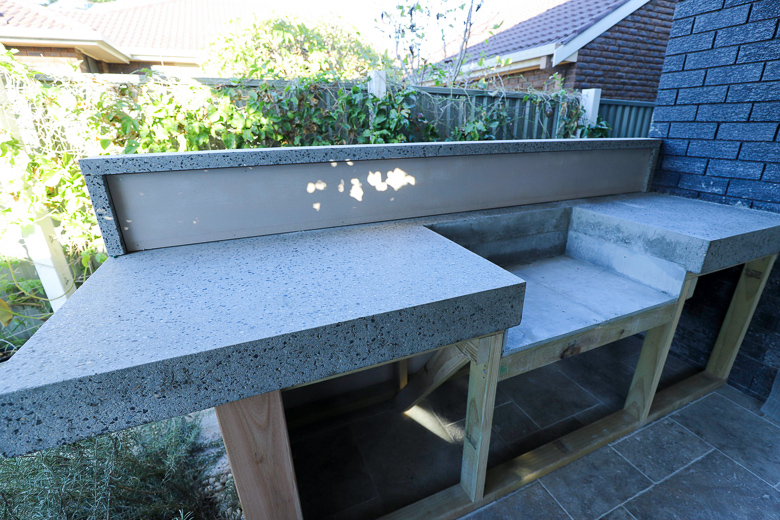
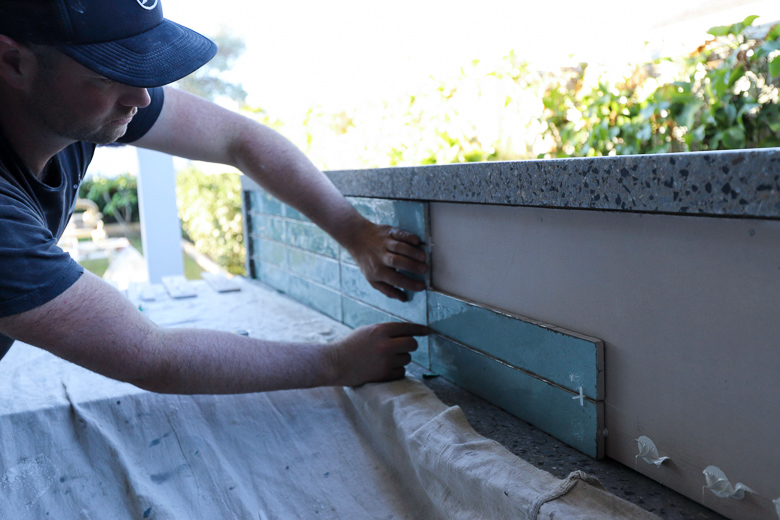
Step 8 : Creating a Splashback
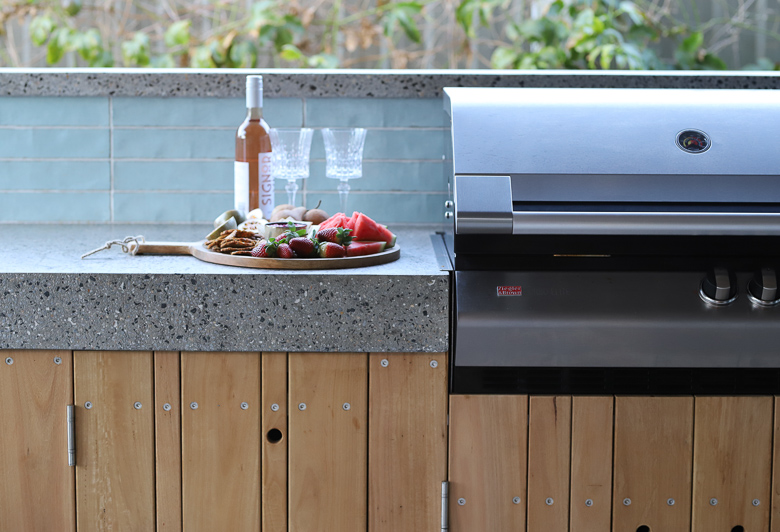
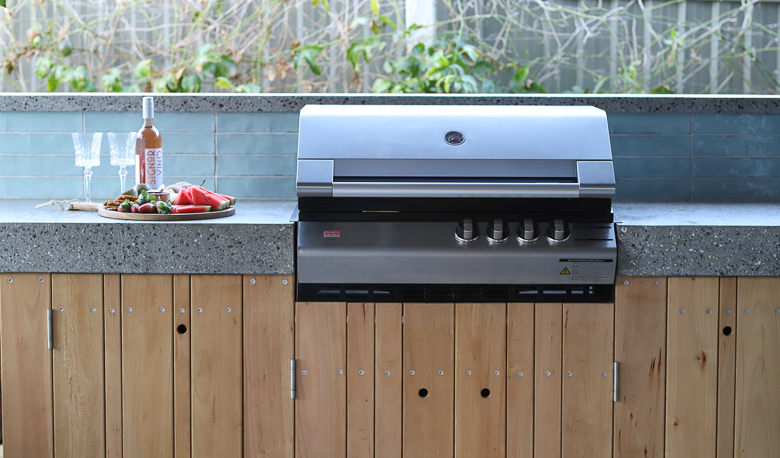
Creating a splashback is optional. I’ve built mine using a timber frame, cladded with villaboard and surrounded by a concrete border. I made separate moulds and cast these at the same time as my bench top. You can then tile the villaboard with your choice of tiles.
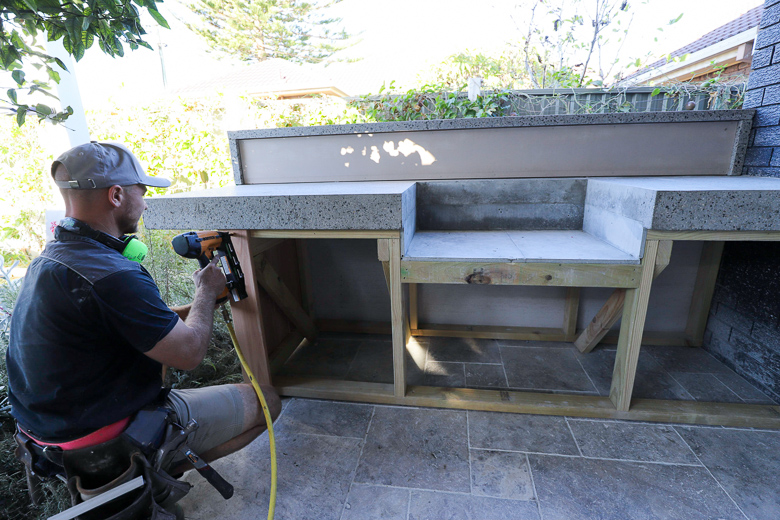
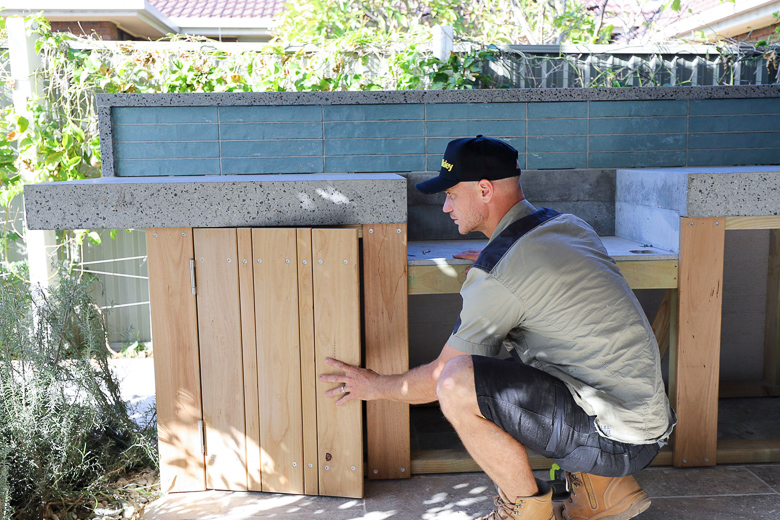
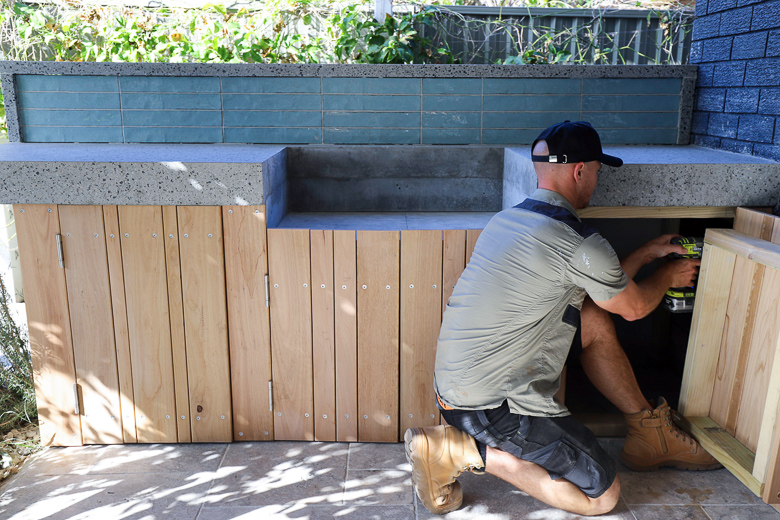
Step 9 : Install the Doors
I’ve created a timber frame for the doors, and cladded them using 135mmx18mm blackbutt decking boards.
Step 10 : Seal the Concrete
Ensure the surface is free of dust, dirt and completely dry before applying any sealer. The choice of sealer is entirely up to you – they are mostly available in a glossy, satin or matte finish – we’ve chosen matte. Depending on the sealer you choose, follow it’s application instructions. It’s most likely that you’ll need to apply numerous coats to seal the concrete adequately.
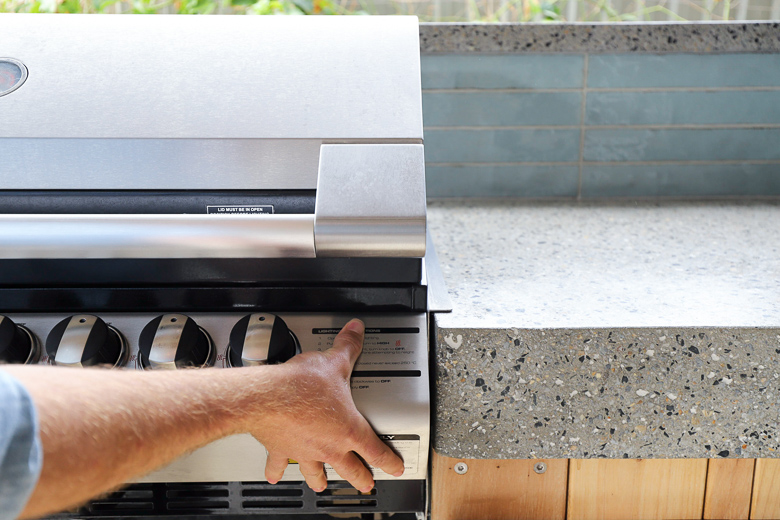
Once the sealers have been given adequate time to cure, you can fit the BBQ into place. Depending on your BBQ, you’ll need to drill a hole to allow for the gas point.