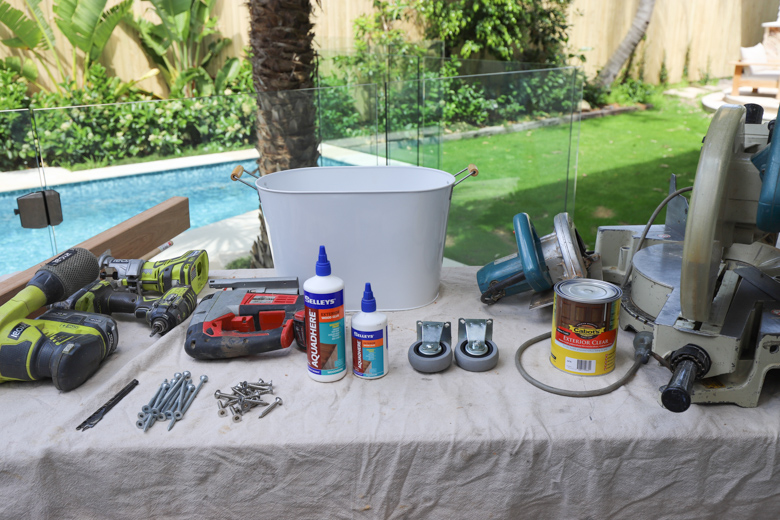
We’ve done plenty of projects for inside the home and now it’s time to show you one for outside! This is one DIY that’s been put to good use this summer using some leftover timber and Selley’s®. As always we’d love to see you guys give it a go – make sure you share it with us!
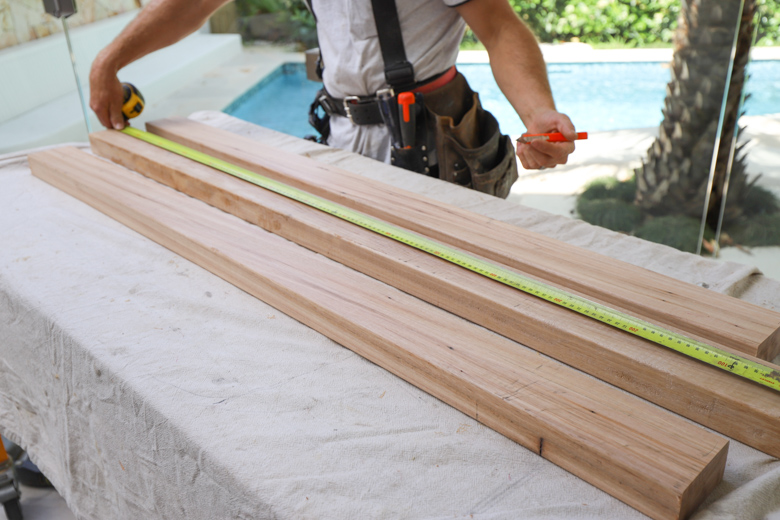
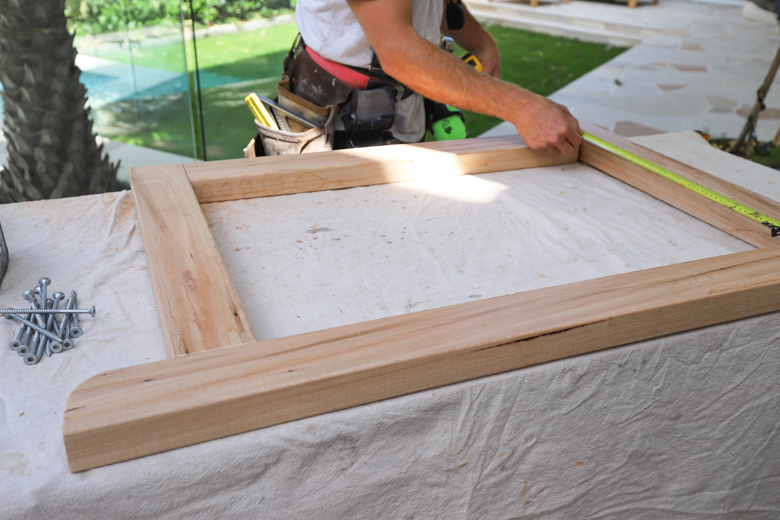
Step 1 : Measure and Cut Timber to Length
Determine the overall bar cart size – and remember you can make it any size you like. We made ours 1200mm wide by 760mm high. You’ll need a top rail, a bottom rail and two legs for the first frame. Our cutting list will be 1 x 1200mm Top, 1 x 780mm Bottom and 2 x 630mm sides. Use the drop saw to cut to length.
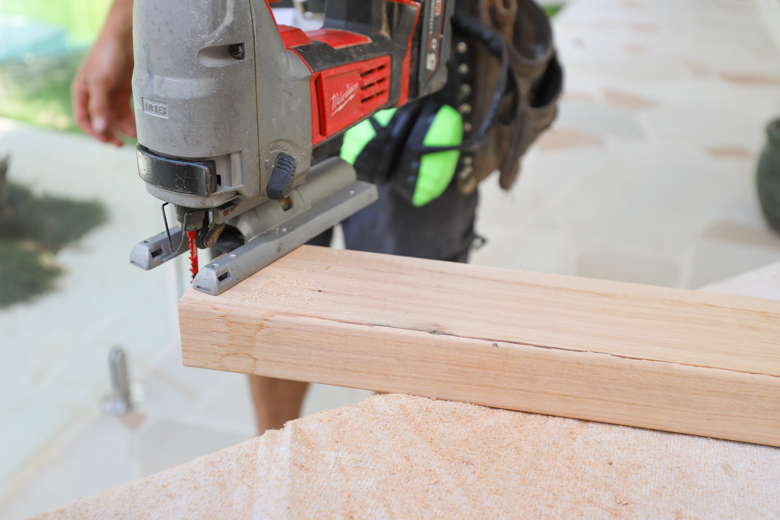
For a decorative touch, we’re cutting curve into the ends of our top rail, use a jig saw to cut.
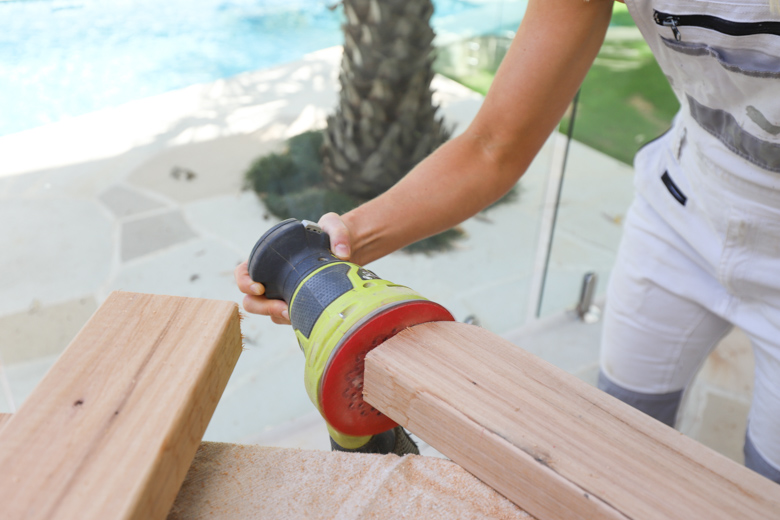
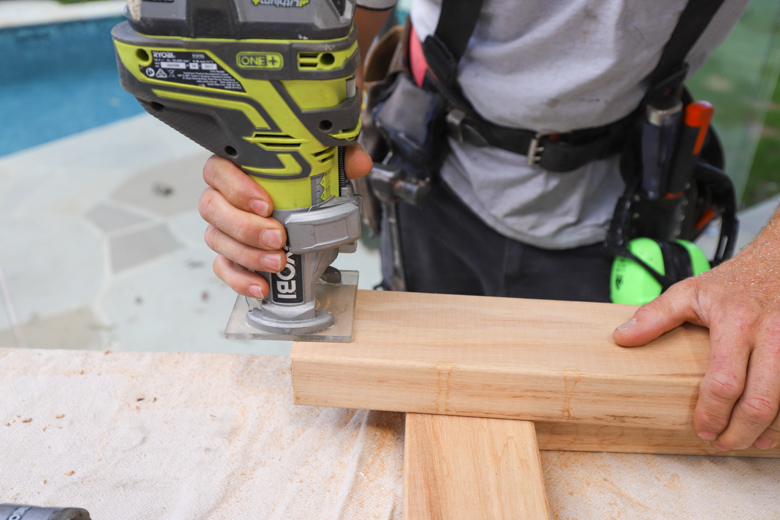
Step 2 : Sand or Trim your Cuts for a Smooth Finish
Use a trimmer to shape in any imperfections and give yourself a nice round finish. Sand to smooth it all off.
Lay out the timber, ready to glue and screw together. Pre Drill using a spade bit.
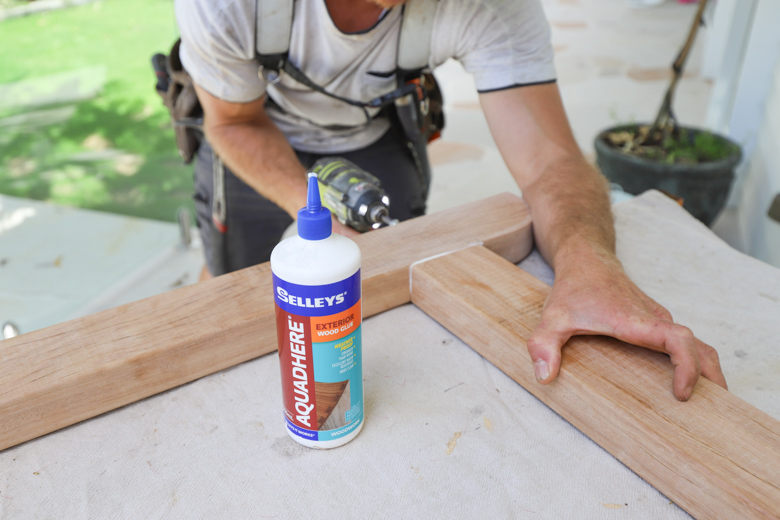
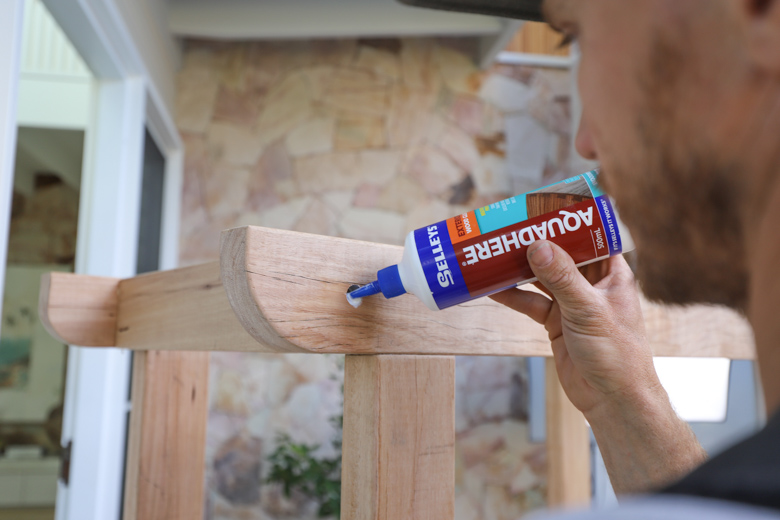
Step 3 : Apply Selleys® Aquadhere® to End Grain of Timber
Using Selleys® Aquadhere® Exterior Wood Glue for the ends will stop the timber from twisting and moving over time and hold it together nice and tight. Don’t be scared to use a little bit more than you need because it can be wiped off with a damp cloth.
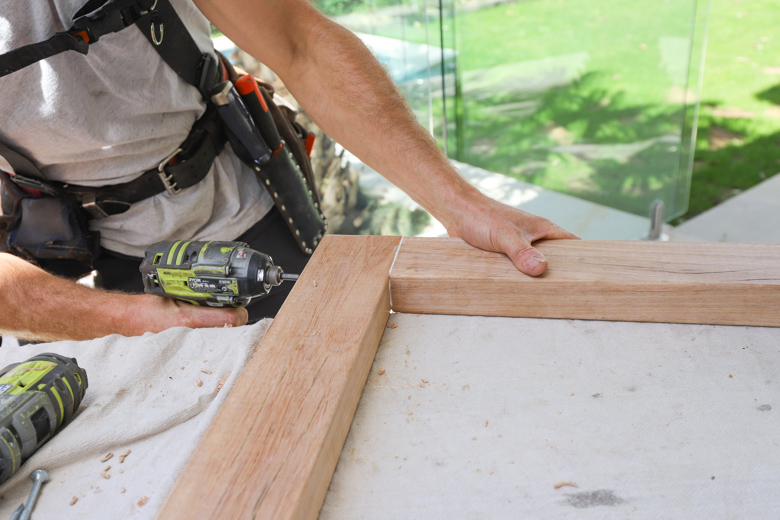
Make sure you put two screws at each joint.
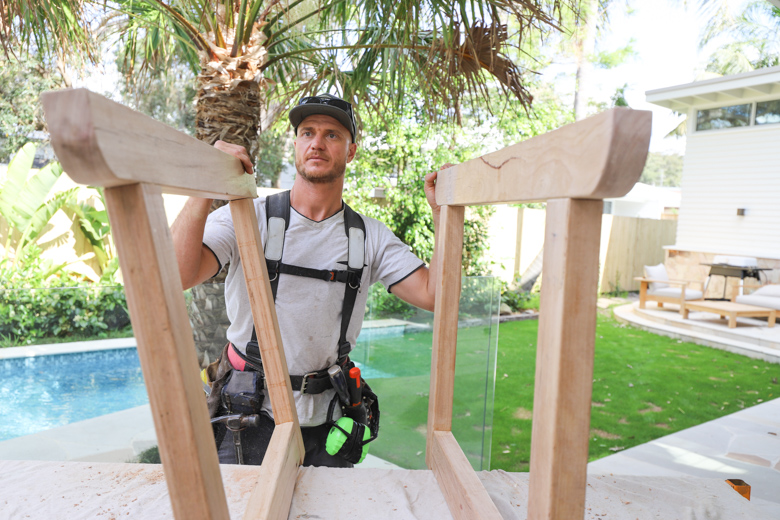
Step 4 : Now Make a Second frame by Repeating Steps
Follow steps 2 and 3 to create a second frame for the opposite side.
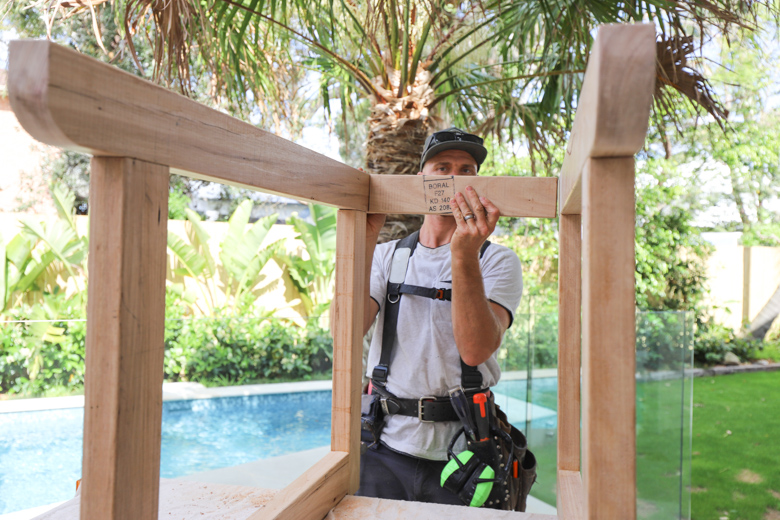
Step 5 : Cut 4 Internal Rails at the Same Size
Cut 4 rails at the same size to connect the two frames together at the top and bottom at either end.
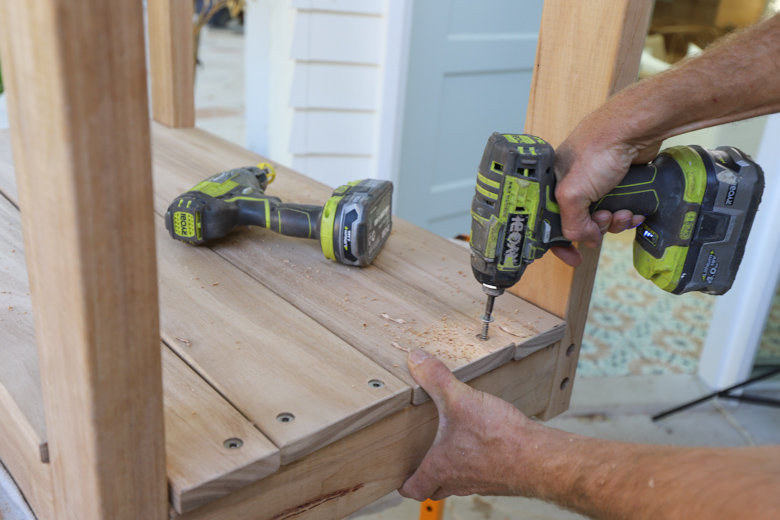
Step 6 : Pre Drill, Glue and Screw Rails to the Frames
Repeat step 3 to pre drill, glue and screw the internal rails to your two frames.
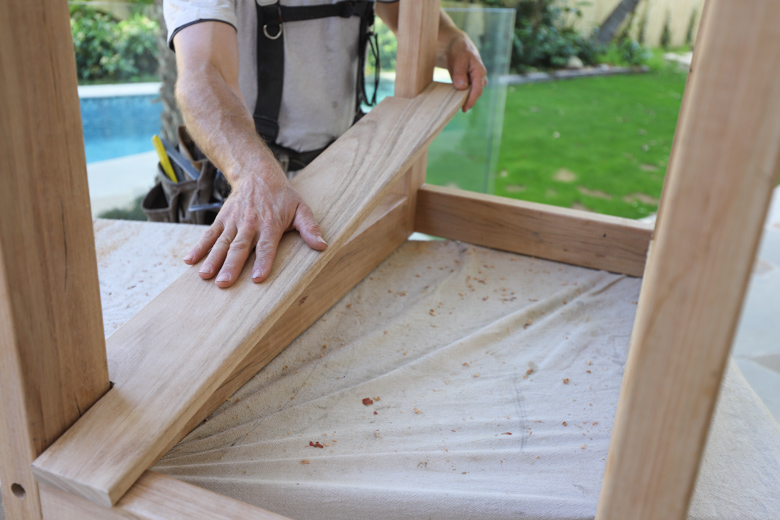
Step 7 : Attach Decking Boards to the Base of the Trolley
We’re covering the base of our trolley with decking boards to act as a perfect platform for storage. Cut the decking boards and fix them down to the two rails at either end.
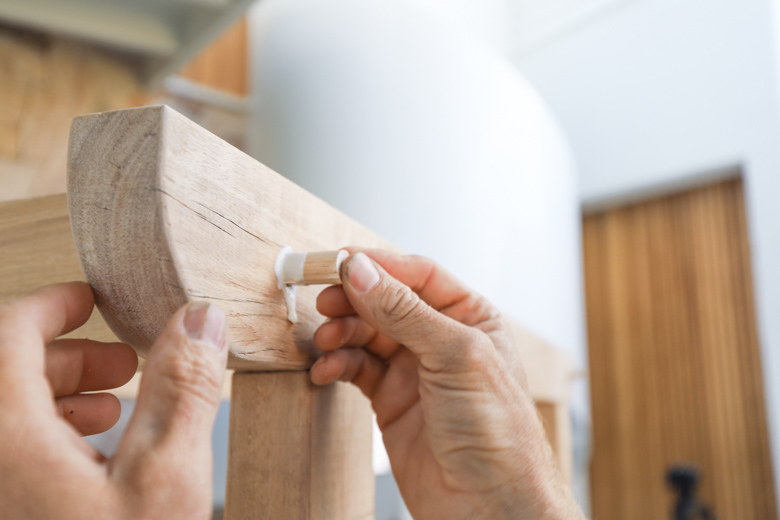
Step 8 : Conceal Holes with Timber Dowels & Aquadhere®
Cut short lengths of dowel, apply Selleys® Aquadhere® and slip the dowel into the holes. Leave to set for 1 hour before cutting the ends off, and sanding to give a nice flush finish.
Step 9 : Pre Drill and Fix Wheels in Place
Screw castor wheels into place.
Step 10 : Attach Decking Boards to the Top of the Frame
Attach decking boards to the top to finish it off nicely. As we mentioned previously, we’re rounding off the corners for a nice decorative touch.
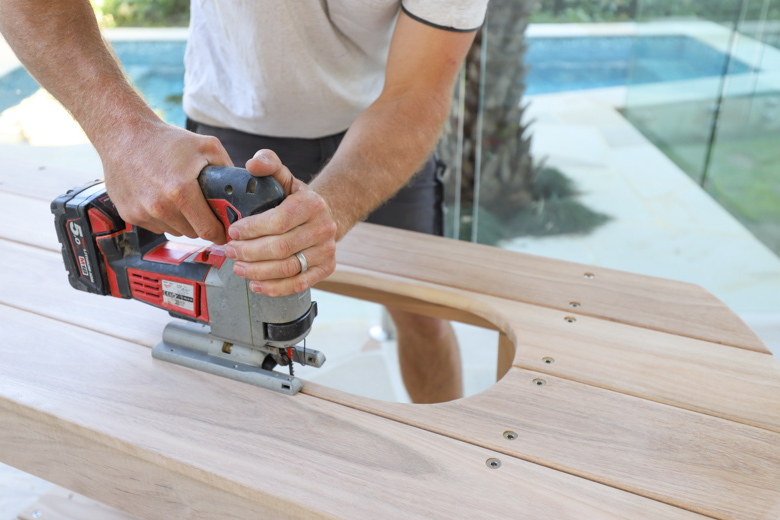
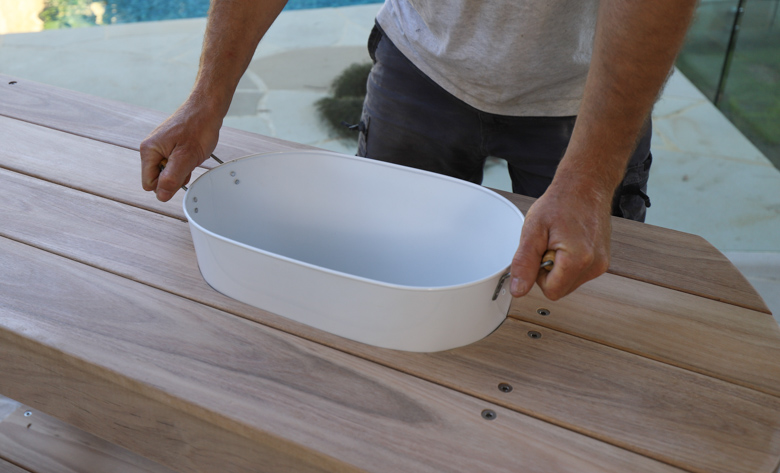
Step 11 : Trace Position of Ice Bucket and Cut Out
Place the ice bucket on the top of the bar, trace around the base, and then use a jig saw to cut out as you’ve marked. Once you’ve made your cut out, you may find you need to support the decking boards. If so simply attach an off-cut of decking board underneath.
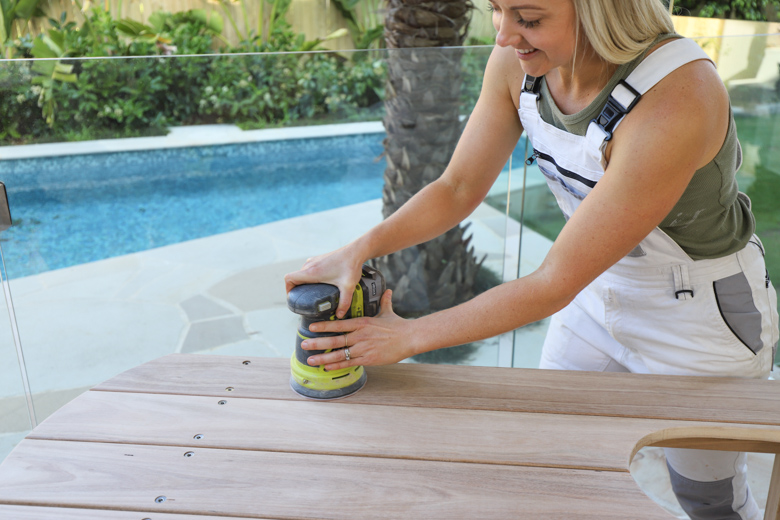
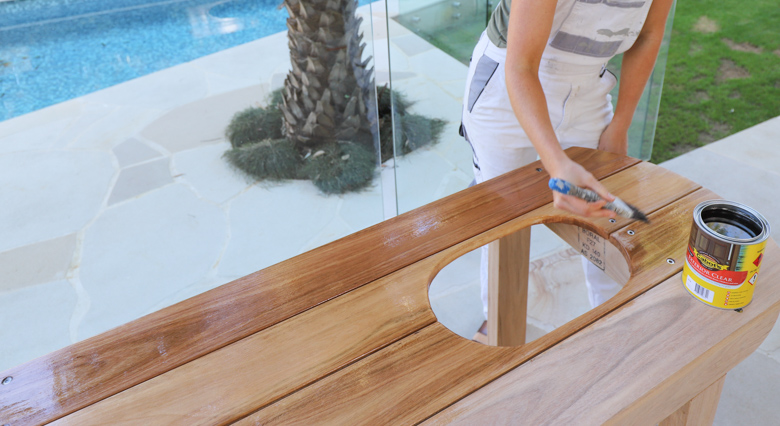
Step 12 : Trim Dowel, Sand and Coat the Drinks Trolley
Now that the glue is set (see Step 8) use a handsaw to trim off the dowel, and give the whole trolley a good sand and coat of polyurethane to protect the timber.
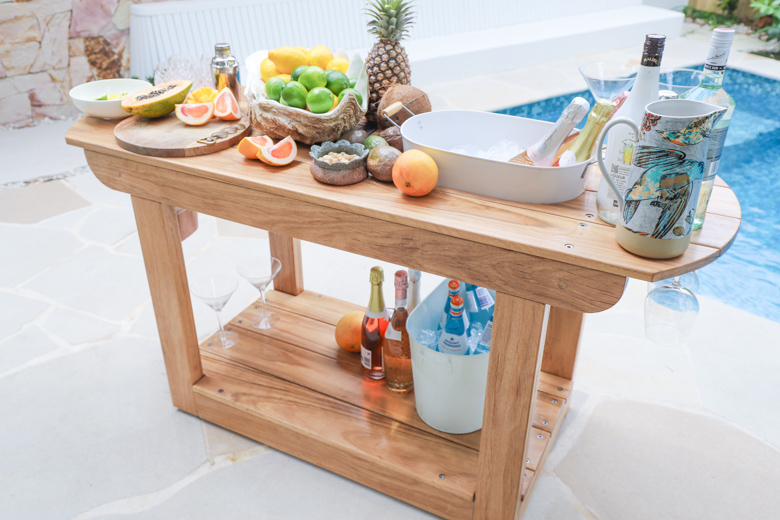
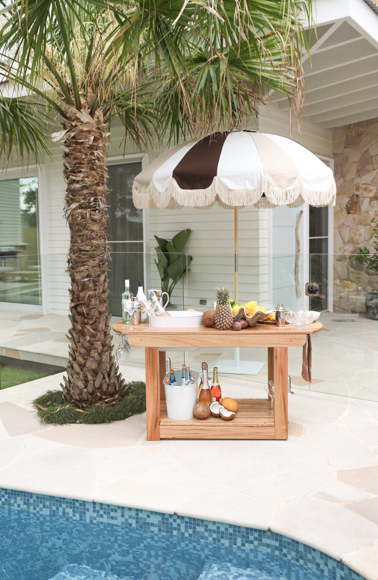
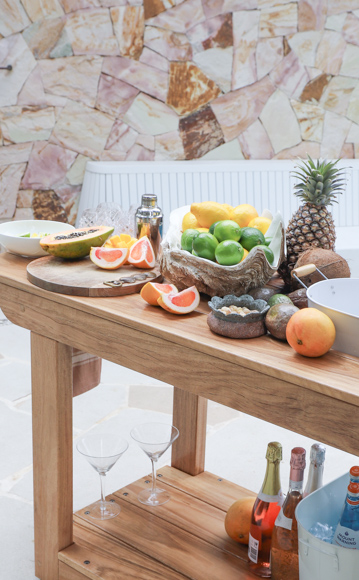
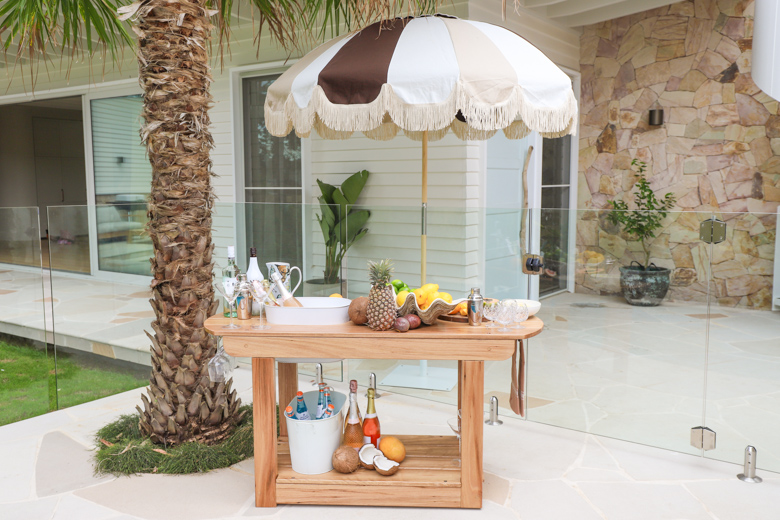
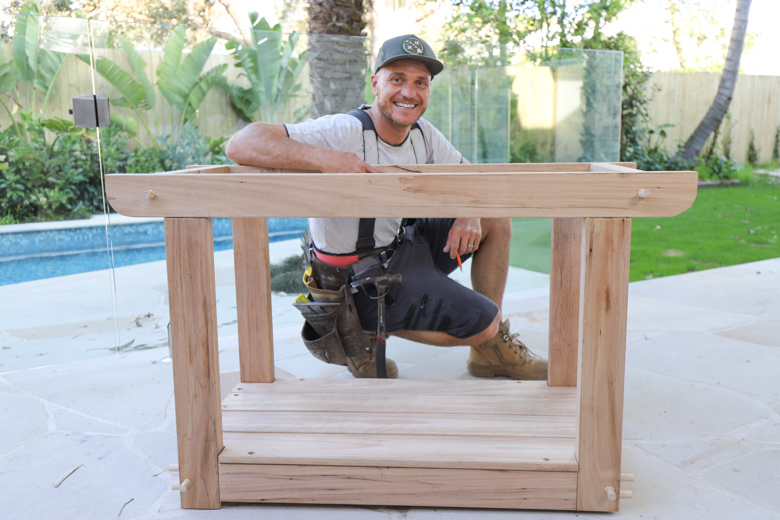
Now your drinks trolley is complete, it’s time to bring the fruit, cocktails and the good vibes!