We’re kicking goals inside but we can’t forget our plans outside – in particular we have a pool to build! Although we’re only a stone’s throw away from the beach, there’s nothing like having a pool to enjoy with the family and it will help create the ‘villa’ style feel we’re after in our garden. Prior to submitting our plans to council, we engaged our good friend and renowned landscape designer Mon Palmer to assist with the pool location. Originally the pool was next to the rumpus room, however, moving it to the other side of the yard allowed more seating area off the kitchen/living areas and created a backyard more visible from the kitchen – which was always at the top of my list from a design point of view. Involving a landscape designer early on helped us to think of things we may not have otherwise considered until later on in the build, and by then it may have been too late to make changes.

The pool is located in the north corner of the yard.
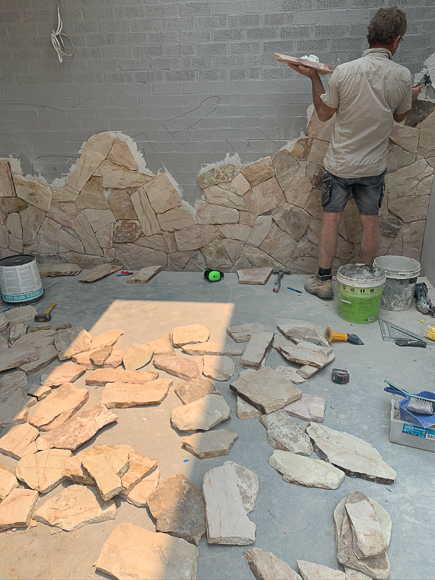
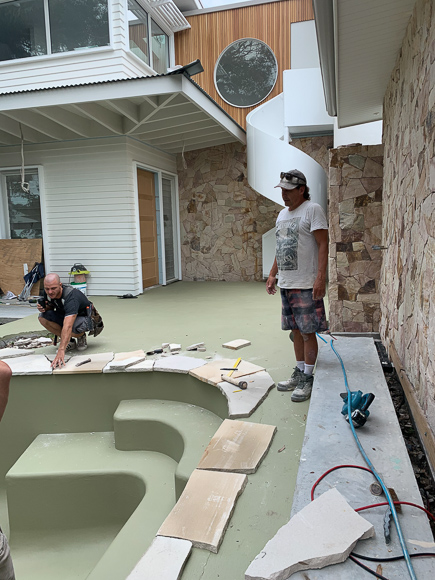
In keeping with our ‘Australian coast meets Mediterranean villa’ feel we’ve selected Santorini wall cladding from Stone Style to break up the James Hardie Linea 150 weatherboards and rendered surfaces. We started this process with Garry (Kyal’s step-dad) who came from South Australia to help us, but we definitely underestimated how long the stone work would take! We ended up also recruiting Marty and Neil from Stone Co Stone Masons to jump on board, and without them I think it would have taken us until Christmas 2020! We’ve chosen to lay in a dry stack with no grout so the process is time consuming.
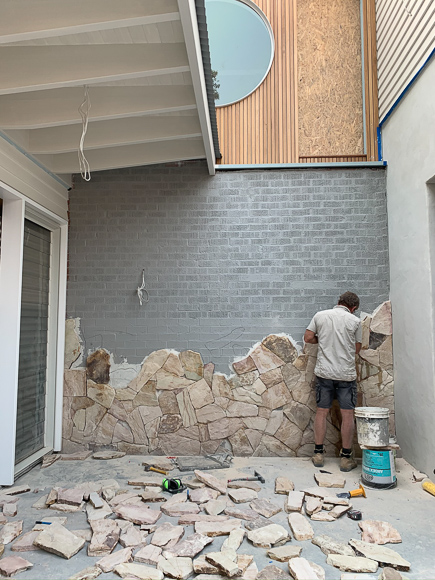
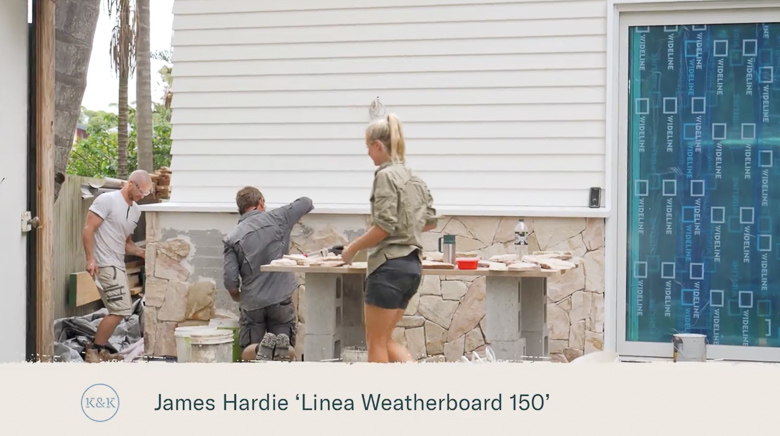
The Santorini wall cladding breaks up the horizontal lines of the weatherboard.
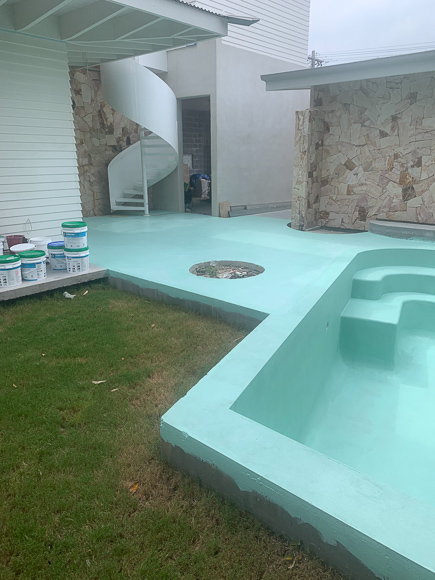
The pool was formed up months ago – just after the original slab pours occurred – and no matter how much progress is made onside, all the kids see is the unfinished pool shell! What a process building a pool is… From forming up, concreting, rendering, waterproofing and tiling – there’s a lot of people and different trades involved and you can begin to see why they cost so much!
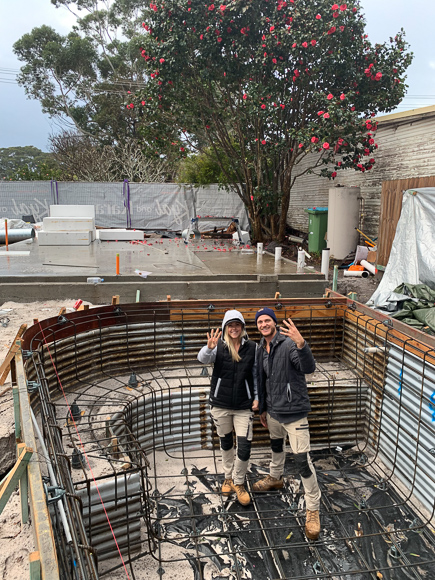
The pool formed up. Behind us you can see the studio slab.


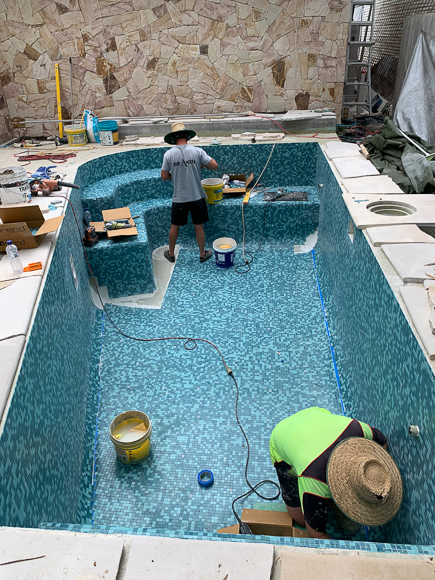
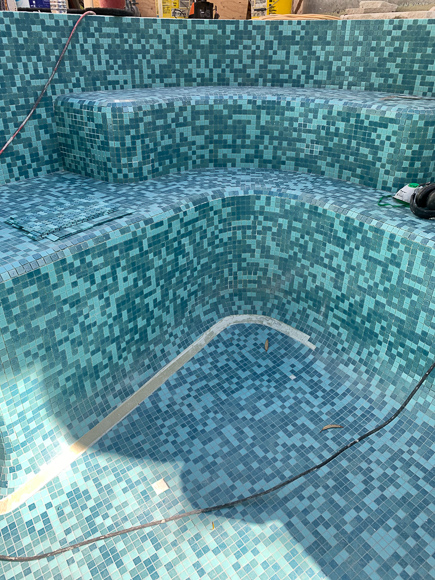
I’ve chosen a turquoise tile called ‘Mos Splash’ from Beaumont Tiles, which is a lot brighter than the muted, sandy colour palette of the rest of the exterior but will make the water a really beautiful tone. The boys at DTR Tiling have done the most amazing job – the craftsmanship of getting those mosaics to flow seamlessly around the curved and rolled edges finishes the interior of the pool off perfectly.
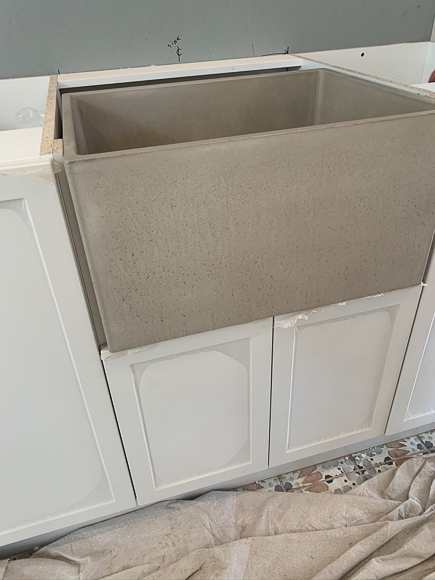
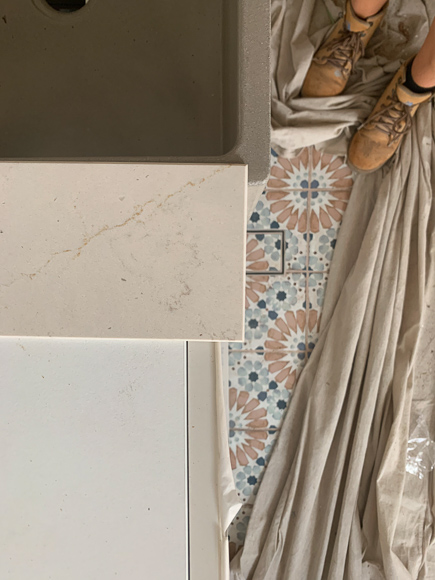
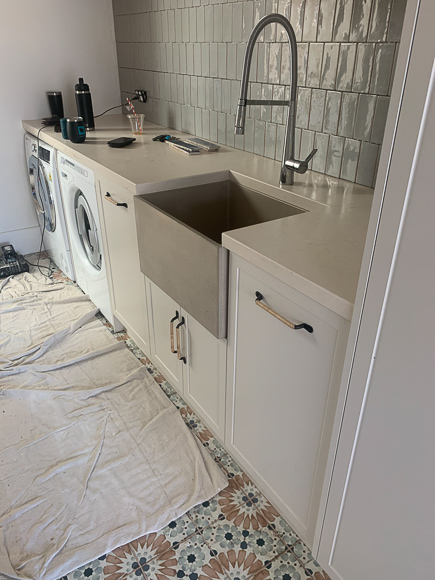
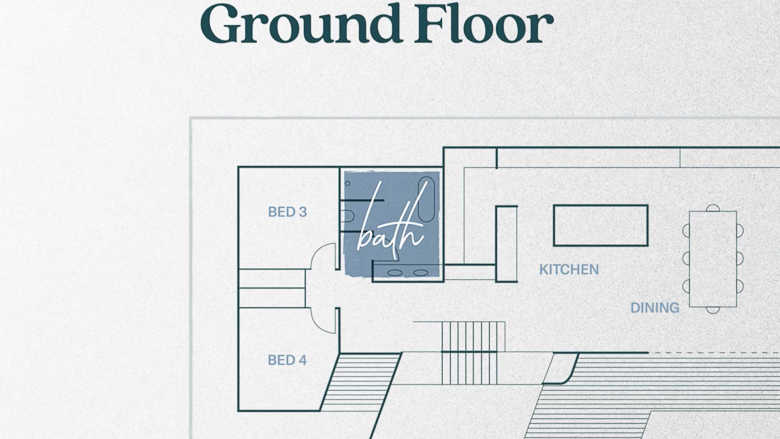
Moving inside, it’s time to get the wet rooms downstairs sorted. Our laundry acts as a thoroughfare from our garage to the house and will likely be the way we enter our home as a family day to day. We allocated a section of this as our ‘Mud Room‘ and I’ve worked with Jasper Design Group to design storage specific to the purpose of storing hats, bags, jackets and anything else that makes sense to store at the entry/exit of our home – plus somewhere to sit.

The laundry acts as a thoroughfare from the garage through to the living.
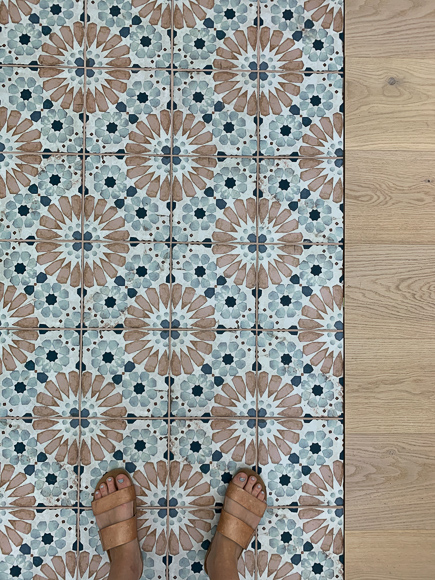
The ‘Serie Grafton Tawny’ patterned tile from Beaumont Tiles was my inspiration for this whole space. I knew I wanted to use it from the moment I saw it! As the tiles are a big feature, I’ve pulled back on colours elsewhere and chosen the Polytec ‘Ascot’ thermo doors in ‘Amaro Matt’. The Jasper team have done a great job on this.
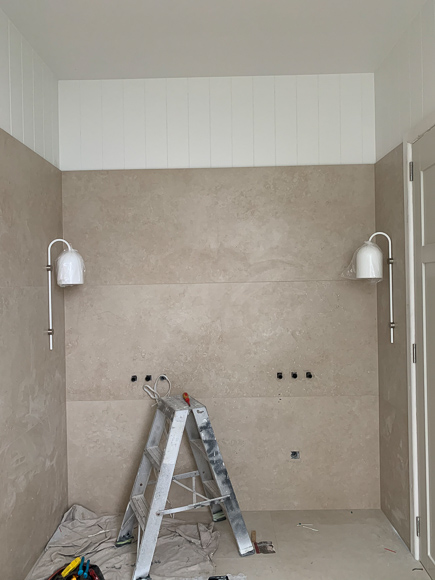
Again, the tile choice has swayed other decision made for the main bathroom. At the beginning of the build, I locked in ‘Timeless Marfil’ from Beaumont Tiles. What’s unique about this tile is it’s size! Measuring 2397x797mm it’s a beauty! We were after a minimalistic, seamless look in this bathroom – so this tile is perfect with its early travertine look and minimal grout lines once laid.
The main bathroom at the rear of the home.
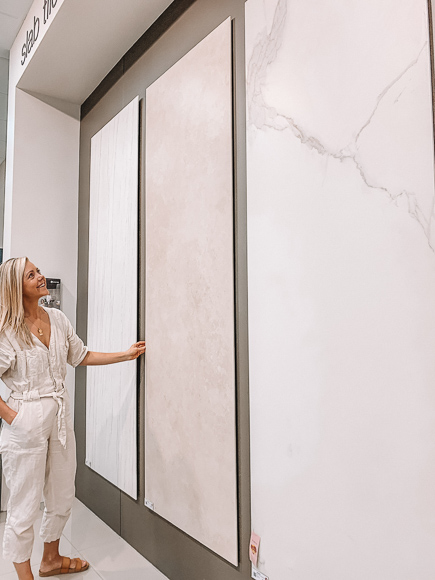
In store at Beaumonts choosing the slab tile for the main bathroom.
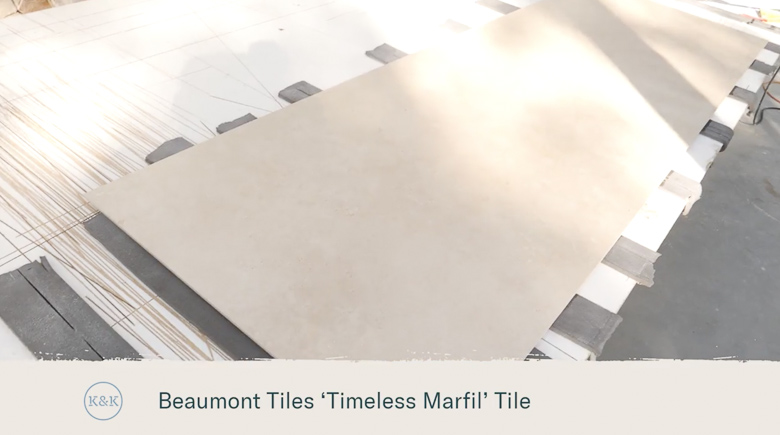
The slab tiles are 6mm thick.
We’ve included two opening Velux skylights over the shower area, and run Easycraft Easyultra up from the top of the tiles to meet the ceiling and those skylights.
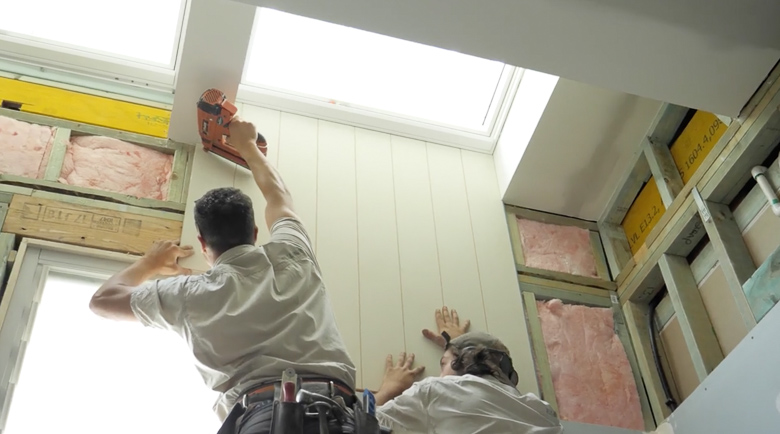
The boys installing Easycraft Easyultra VJ panels, which run up to the Velux skylights.
A custom length Angourie Vanity from our Loughlin Furniture x KK Homewares collaboration range, flanked by two Duomo Stem Wall Lights from Nightworks Studio will fill the vanity space and a matte white Fienza Nero bathtub from Beaumont Tiles has a spa-like feel sitting in front of a subtly curved wall tiled in Craquel bone gloss tiles, also from Beaumont Tiles. It was important to me that we bring some curves into this room, and I love how this little wall has turned out and changed the whole feel of the room. Read more about it here.
Ready for the Loughlin Angourie Oak vanity.
Click here to watch Blue Lagoon Build Episode 6 – Let’s Dive In
Blue Lagoon Build series is proudly brought to you with the support of RAMS Home Loans.