Nothing inspires us more than our picturesque Central Coast beaches and we’re going to use this as inspiration to create a beautiful art gallery wall. This is one of our favourite pictures of our little family down at Bateau Bay; we spend so many afternoons down here and I love the memories it conjures up, plus the coastal colour palette of this picture is perfect as a starting point for our gallery wall.
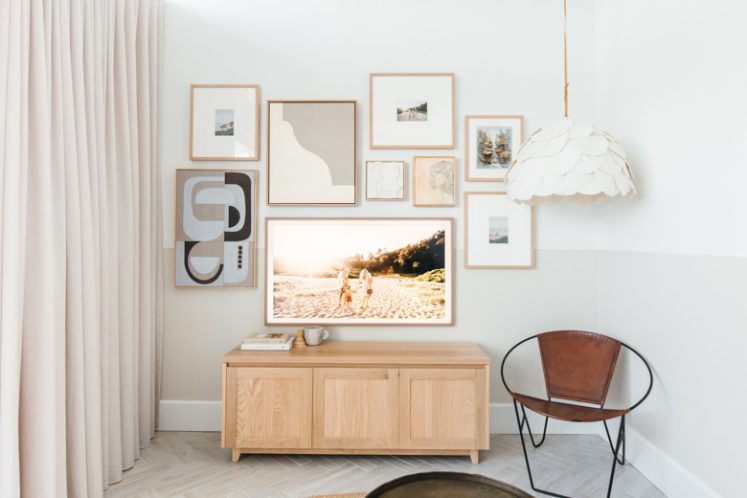
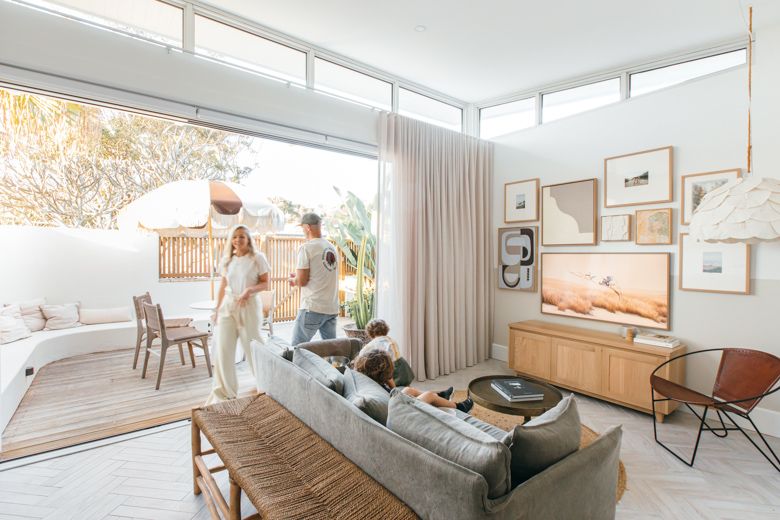
We’re creating this gallery in the lounge area of our studio at Blue Lagoon Build, which is a beautiful light filled space but we’ve always felt it’s missing a touch of personality. The lounge room wall has always bothered us as the existing TV is quite dominant, but with The Frame TV from Samsung, that’s exactly what we want so our beautiful family photo becomes the focal point. When not in use, the TV is transformed into a work of art.
There are no rules when it comes to creating a gallery wall, but there are a few key steps….
Step 1 : Gather the artwork
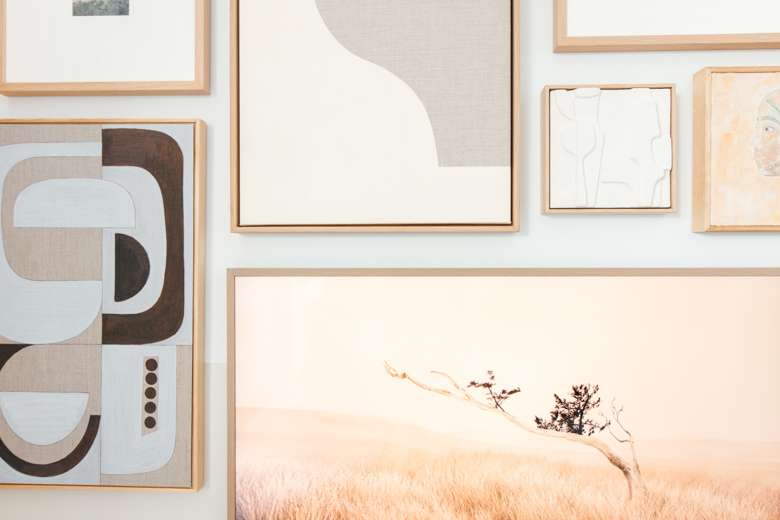
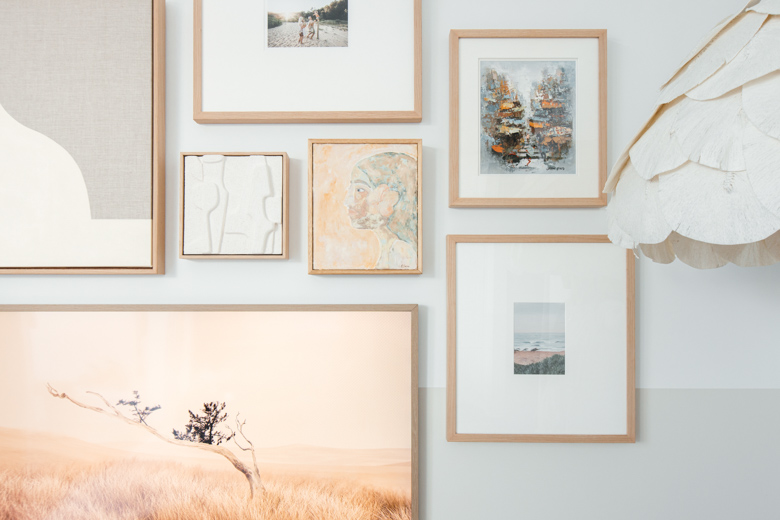
I wanted a nice mix of photography, original work and some cost effective prints. It’s an eclectic mix but I’m sticking to a relatively pared back colour palette the suit the relaxed tone o the studio space, so I think it will work. I’m creating interest by mixing up the size of the artwork with some smaller and more detailed pieces, as well as some larger minimalistic pieces.
Art doesn’t have to be expensive, there are so many ways to bring gallery to life without breaking the bank. I have some vintage pieces, some small oil paintings from a local artist and even a beautiful sculptural tiles that’s been framed. We’re using oak frames for a consistent look, but for a more eclectic look you could mix up the frames. I love the idea of creating artwork yourself and as you can see here, I have a couple of pieces that the kids have done. If you’re a after a fun family vibe bring in some colour with the kids handprints and even tea towels that have been framed.
Step 2 : Work out your layout
There are a few ways to do this and again, there is no right or wrong technique. It all depends on how relaxed or formal you’d like your gallery wall. We’re laying our pieces out on the floor to work out a rough pattern that suits, but if you want you could use some painter’s tape to mark out exactly where each piece will go on the wall. Or, if you’re feeling brave, start hanging and go with the flow!
Step 3 : Hang your pieces!
It’s a good idea to start with your biggest piece, so in this case we’ve already mounted The Frame TV and we’re going to create our gallery around it. We’re keeping our spacing relatively consistent, but again there is no right or wrong. For a more relaxed look, vary the spacing.
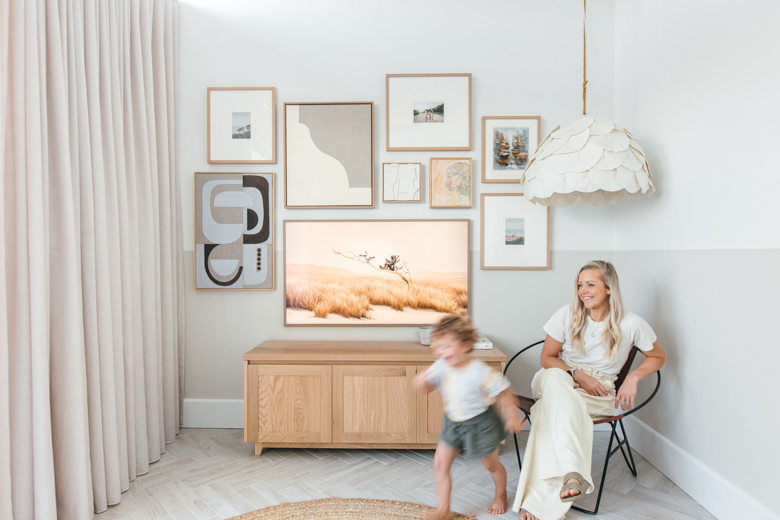
It’s hard to believe that this was a plain wall and now it’s an art gallery filled with character!