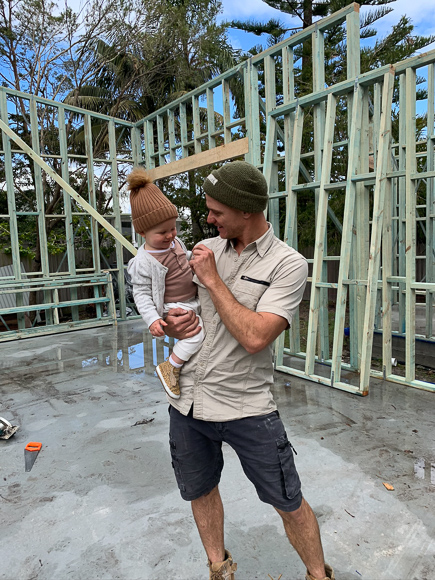
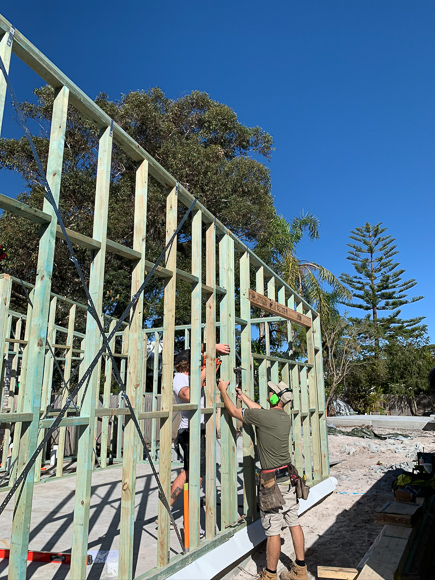
With the studio complete, it’s time to focus our energy on getting the main house locked up – and it’s going to need a LOT of energy! We’ve had our ground floor frames made up offsite by National Frame and Truss. Working with a professional frame and truss manufacturer has given us the ability to resolve potential issues before they arise. Building can be such a big problem solving journey and we’re so grateful to have the guidance of companies like National Frame and Truss. The day they arrive is a monumental occasion, but it’s not until the boys start standing the wall frames that we truly comprehend the scale of this build.
We’ve designed the main house to open out onto a central garden, with the pool to the far corner. We have an alfresco area adjoining the main kitchen/living/dining room as well as the rumpus. The back garden will be for our vegetable garden. The block faces north, so we’ve incorporated highlight windows and a large void over the living space to capture the north light. The studio and garage have been designed to act as privacy for the main central yard.
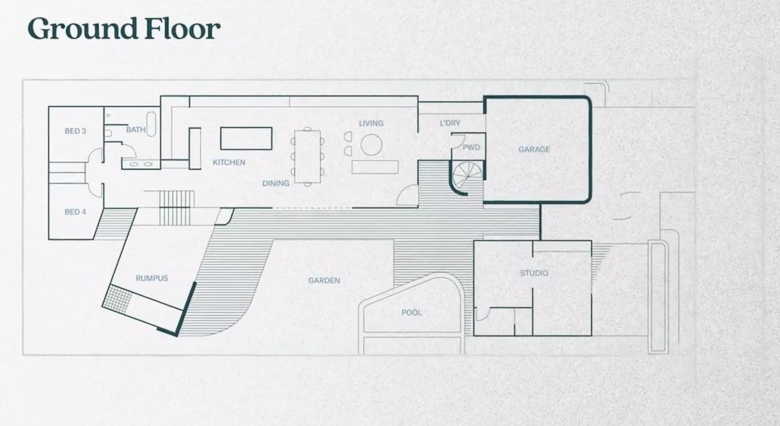
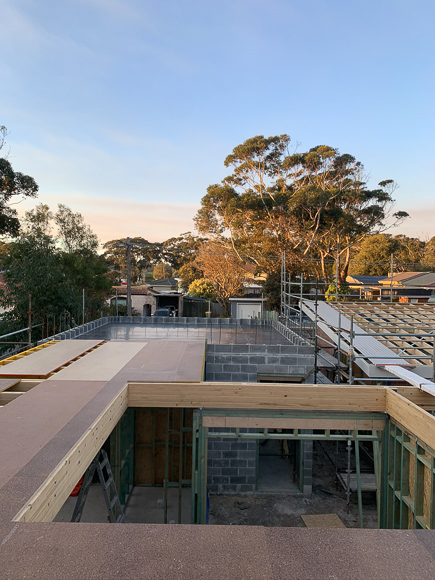
Ground floor of the main house
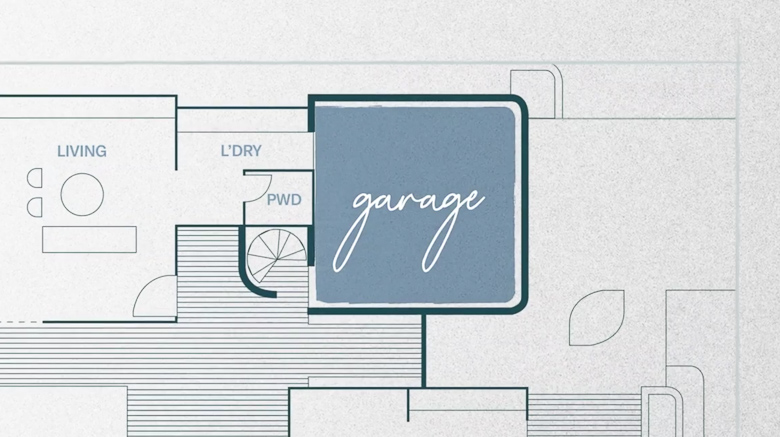
The corners of the garage wall are curved
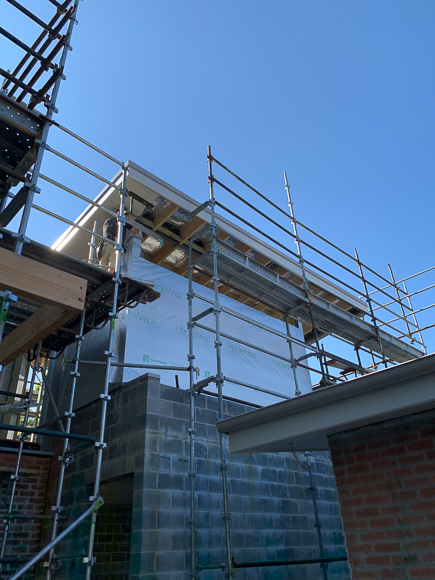
In keeping with our ‘Australian coastal meets Mediterranean villa’ we’ve incorporated subtle curves throughout this build, beginning with the garage at the very front of the property, which will be rendered to a rough Mediterranean-look render. Structurally we’re using blockwork to create the curve and then core filling with concrete to achieve structural stability. It certainly wasn’t a smooth process completing this – I’ve never actually seen Kyal as stressed as he was the day the concrete went in. BUT, it worked out in the end and the curves are looking amazing! Well… not quite amazing yet, but you can see the potential….
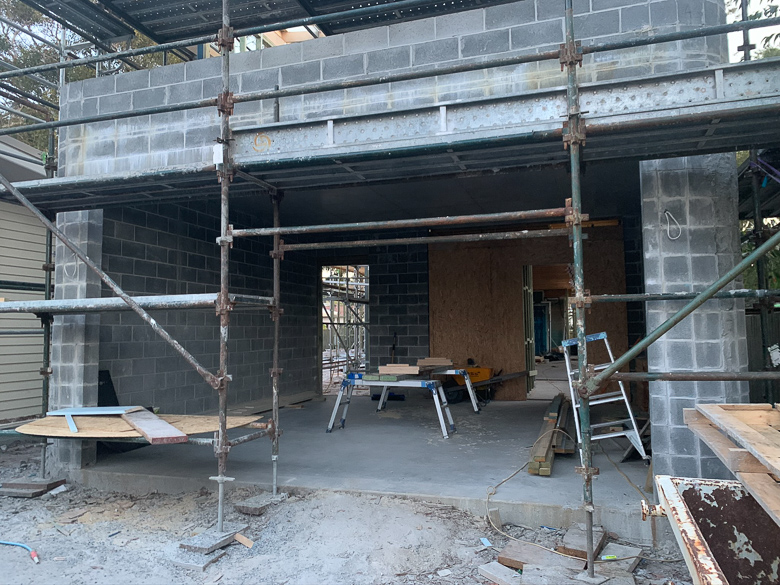
Blockwork forming the curves.. this will all be rendered
With our wall frames erected, it’s time for our Hyne Beams. One of the bigger things on our wishlist for this build was exposed timber ceilings in the main living area. We did a lot of research into our options, and our engineers at Westera Partners recommended Hyne Timber GL Beam. They are huge and span around 7.5m! These are a beautiful feature for our ground floor ceiling but more importantly form the structural floor for the upstairs level.
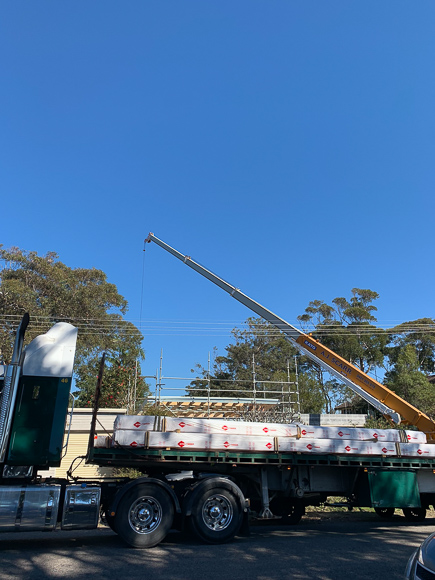
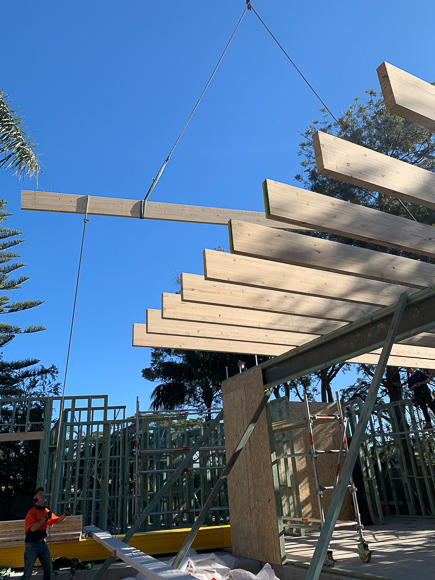
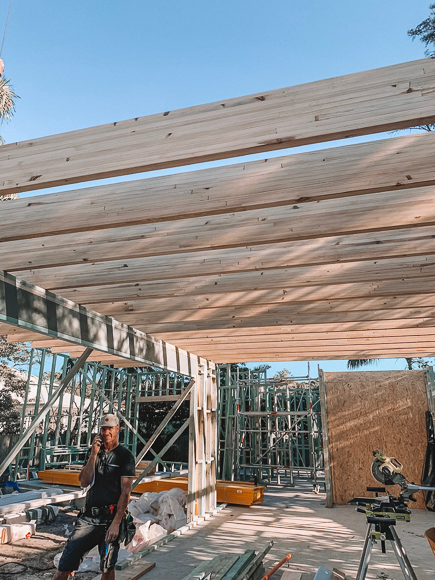
Hyne Beams spanning from one external wall to the other in the main living area downstairs

Once the second level wall and roof frames are up it’s time to get the roof on! We’re approximately 150m to breaking surf so we’ve opted for COLORBOND® Ultra Steel as our roofing material because of it’s suitability to environments where they may still be a smell of salt or salt spray in the air. It’s an easy material to maintain and has been tested in Australian conditions over the last 50 years.
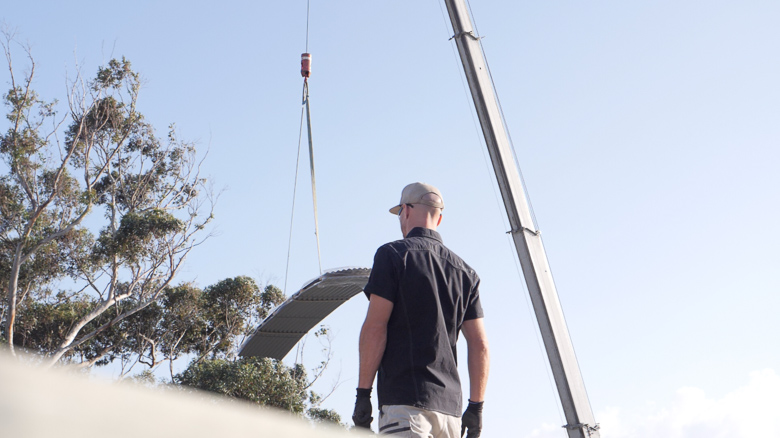
Craning the roof sheets onto the roof frame
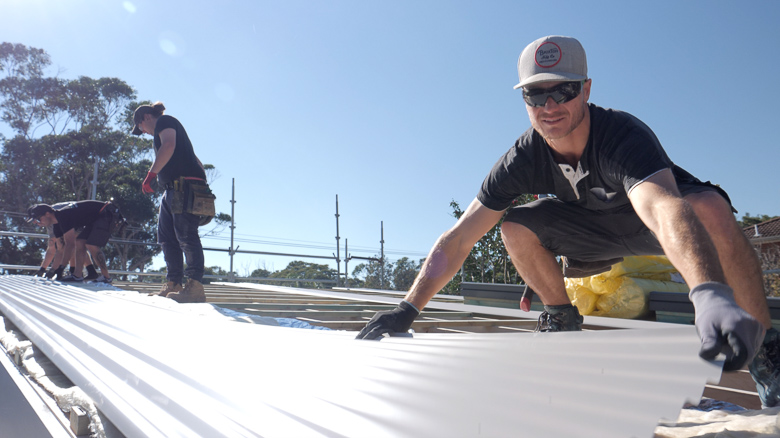
COLORBOND® Ultra Steel in the colour Dune®
When deciding on an exterior colour palette, I always consider my overall vision for the home, both inside and out to ensure a look that is consistent from indoors to outdoors. Similarly, and just as importantly is to ensure that the colour scheme works with the surrounding landscape. On all our jobs and with the overall look in mind, the roof colour is the first selection I make exteriorly. We’re surrounded by trees with national park and beaches across the road so it was important to me that whatever I chose worked harmoniously with this. Taking all these elements into account, I’ve chosen COLORBOND® Ultra Steel in a colour called Dune®. This is a warm, pale grey that invokes feelings of balance and neutrality. It has blush undertones and connects well with warm stone colours; standstone, sand dunes and coastal colours. I draw so much inspiration from these natural tones and wanted to ensure our home connects natural environmental elements. I’ve also had a beautiful sandstone cladding on my mood board which we’ll be using, so I’m excited to see these tones come together on this build. Getting the roof on is always a big milestone on any build or renovation, so I can sense the relief from Kyal’s perspective.
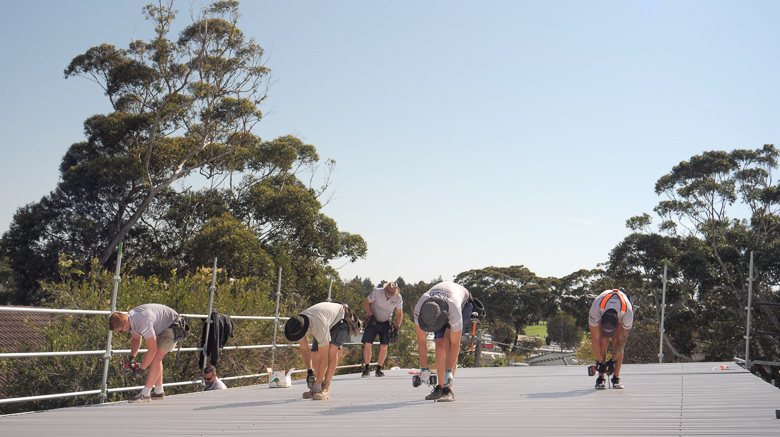
The team from ARC Metal Roofing getting the job done
We’ve also incorporated Velux Skylights in key areas, installed by Coastal Skylights. Upstairs, we’ve included six over the void area, three in the ensuite and two in the walk-in robe. Downstairs, we have three over the kitchen and two in the main bathroom. Skylights have always added so much value to any of our renovations and we’ve completed – the natural light they allow in always adds so much wow factor and the opening skylights allow for great ventilation and cross air flow.

Roof is on it’s window install time!
One of our initial concepts for this home was that it would be a home that feels connected to the surrounding coastal landscape with plenty of windows and natural light. From the initial planning stages, we’ve worked alongside Wideline Windows to ensure this happened. We’ve designed the home with raking windows on the northern and eastern aspects to capture that beautiful light, especially over the void of the main living area. There was a lot of back and forth initially to ensure that the home complied with the BASIX report, but we got there in the end. We’ve chosen windows and doors from the Wideline Paragon and Ascend ranges in the Textura® Surfmist finish. The finish is different to what we’ve chosen previously as they are a matt finish, and I love them! The Surfmist colour will tie in nicely with our eaves and external timber beams, which we’ll also paint in Surfmist.
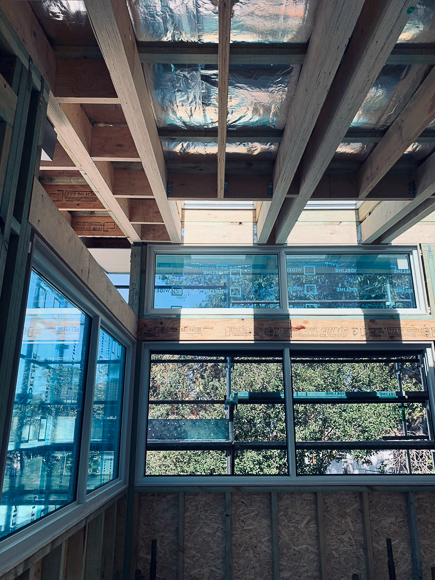
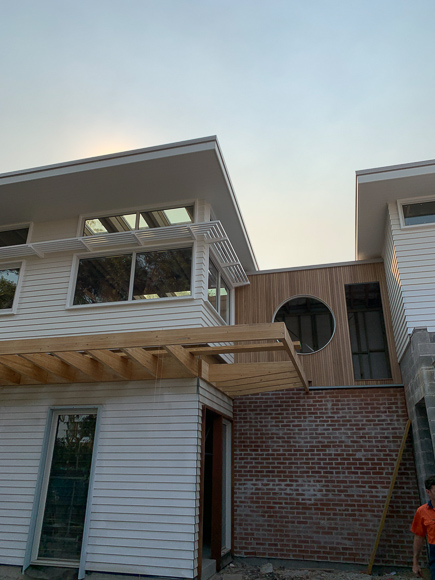
Windows in the void area situated over the main living area, designed to capture the north light .
With windows in, it’s time to get this house clad. For me, nothing says ‘beach house’ quite like crisp white weatherboards, so I knew early on that we’d incorporate a weatherboard cladding. We’ve chosen the James Hardie Linea 150mm-wide weatherboard as we love the shadowline it creates – a nice textural addition to the exterior of the home. Prior to cladding, we’ve used the HardieWrap™ weather barrier which provides a triple shield of protection against external weather penetration, internal condensation build up and external heat penetration.
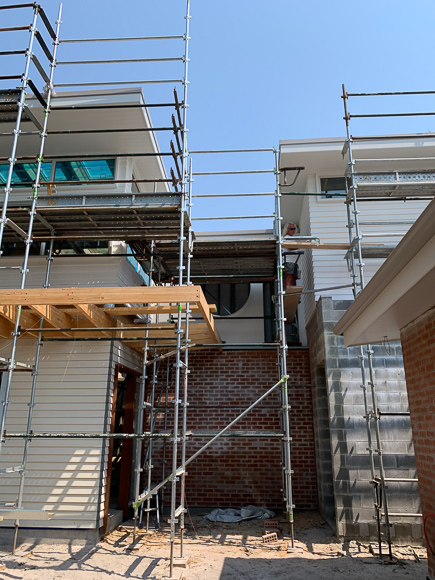
In keeping with our overall vision, we’re incorporating a mix of materials alongside the weatherboard to create interest and texture. For this build, we’ve decided to break up the horizontal lines of the James Hardie Weatherboard with vertical blackbutt cladding, which we sourced from Kincumber Mitre 1o. The masonry walls will be clad with sandstone wall cladding from Stone Style, but more on this in weeks to come.
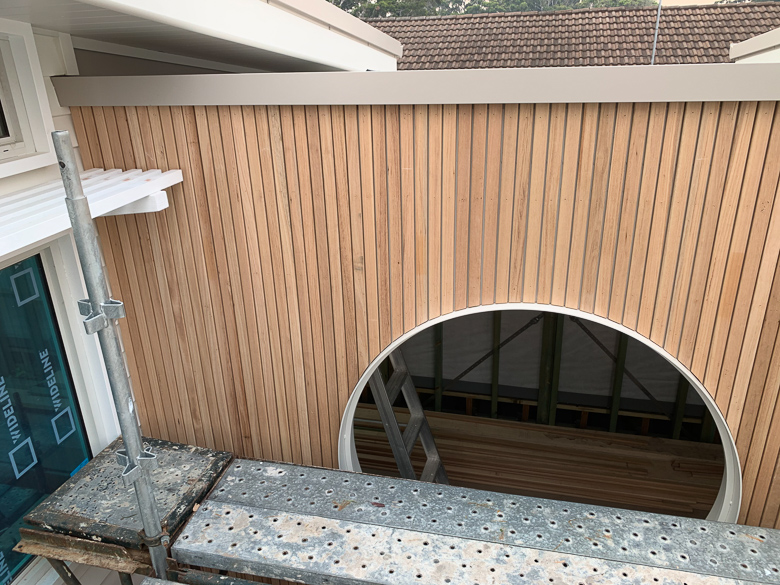
Blackbutt cladding around the port hole window
The scaffold comes down!
The final piece of the ‘lock up’ puzzle is the garage door, which is clad in Blackbutt batons. When it came time to designing the garage door we wanted it to tie in wth the Blackbutt cladding on the main house so we supplied Delta Garage Doors with 42x18mm Blackbutt batons and they custom made our door to suit. We then engaged the awesome team from Macquarie Garage Doors to complete the installation. After months of hard work, it’s all coming together and now our attention is shifting inside! As always, if you have any questions, feel free to send them through!
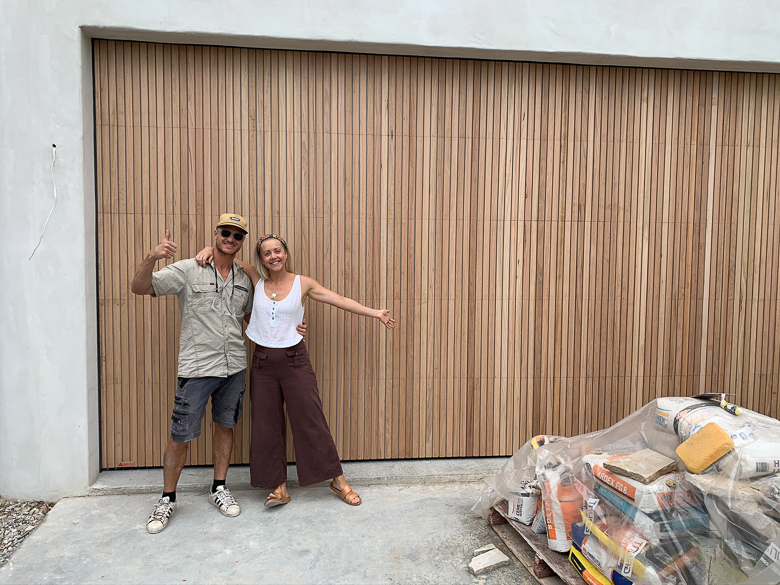
Garage door is on!
Click here to to watch Blue Lagoon Build Episode 3 – Beam Me Up
Blue Lagoon Build series is proudly brought to you with the support of RAMS Home Loans.