After years of planning this build, the day has finally come for us to pour the slab. Being able to physically see the footprint of the home definitely makes it all feel real. It’s every toddler’s dream to watch concrete trucks and cranes, specially when they’re building your own home, so of course I had to bring the kids along to check out the action from afar. Or maybe that was my excuse to come and watch. I couldn’t help myself and had to jump on the shovel too… At least now I can say I helped pour the foundation of our family home, even if it was for a quick 15 minute shovel.
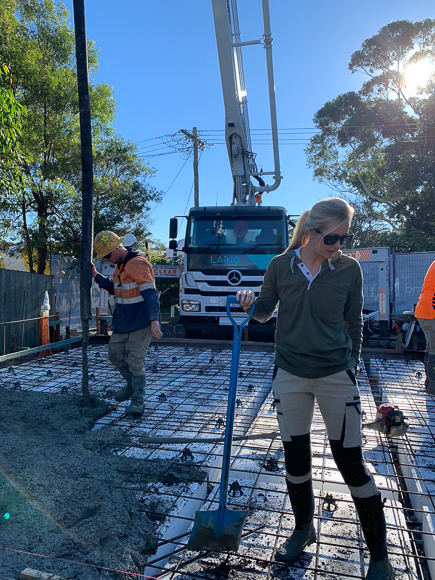
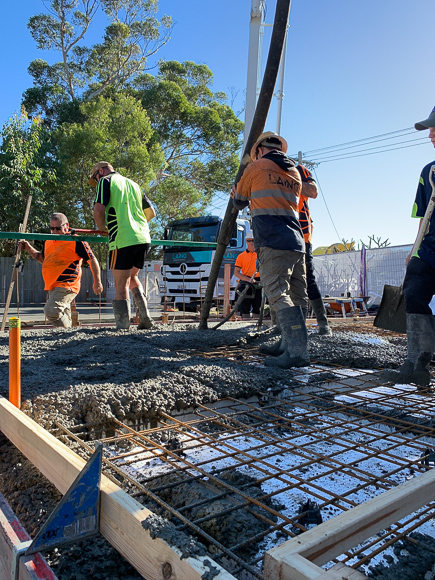
The Laing concrete pump in action
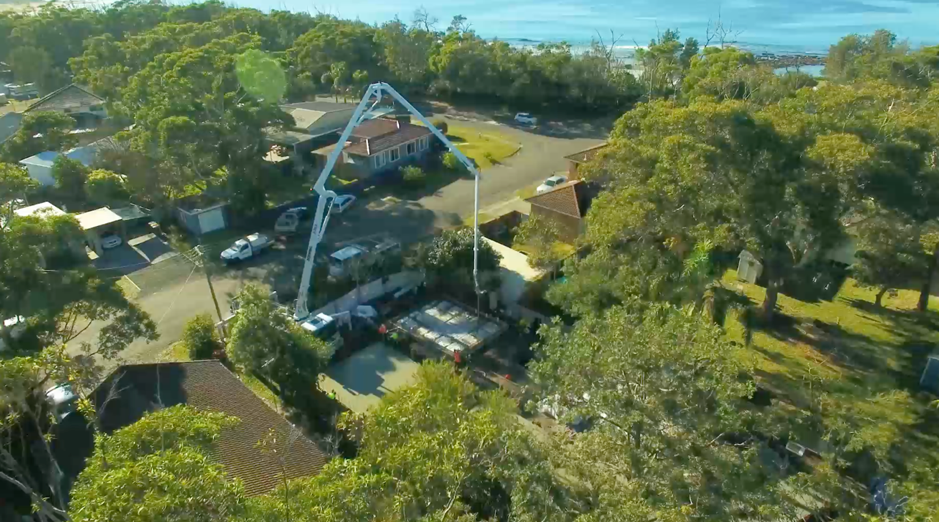
Having just poured the slab and done a walk through, I’ve already spotted something I’d like to change – and Kyal is obviously thrilled about that! When pouring a slab, you need to have already decided where your plumbing will be located, so that the pipes can be laid in the slab. Originally I’d designed the kitchen sink to be along the wall, but after deciding on a larger oven and to ensure I had enough bench space around it, I’ve moved the sink to the island bench…but this means cutting out the slab to run pipes over to the bench. We’re clearly off to a great start…but luckily we’re married so he can’t charge me a variation fee.
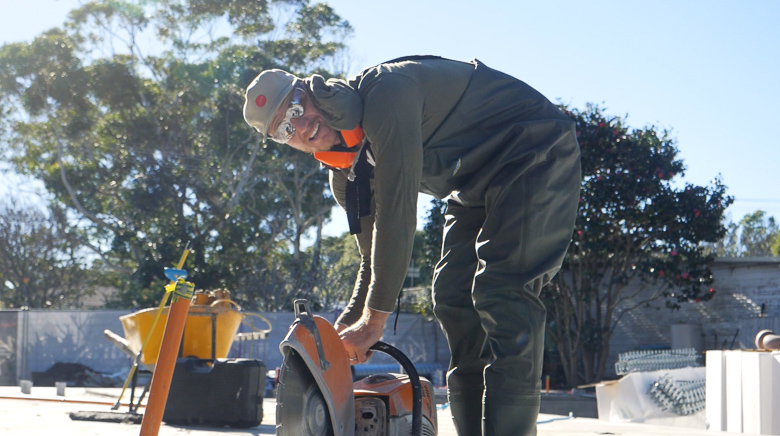
Spending the afternoon cutting the slab – just what Kyal wanted to do 😉
With no time to dwell on mistakes, our focus switches to the studio at the front of the block. When we renovated our Toowoon Bay home, we built a two bedroom studio at the rear of the property. It has its own driveway access and is private from the main house We’ve holiday let the Toowoon Bay studio for four years now and it’s been a great decision for a number of reasons. The holiday let income is great, and we’re able to block the dates out and use for family, friends and friends of friends who come to stay. We’ve also been able to use it for family events such as baby showers and parties.
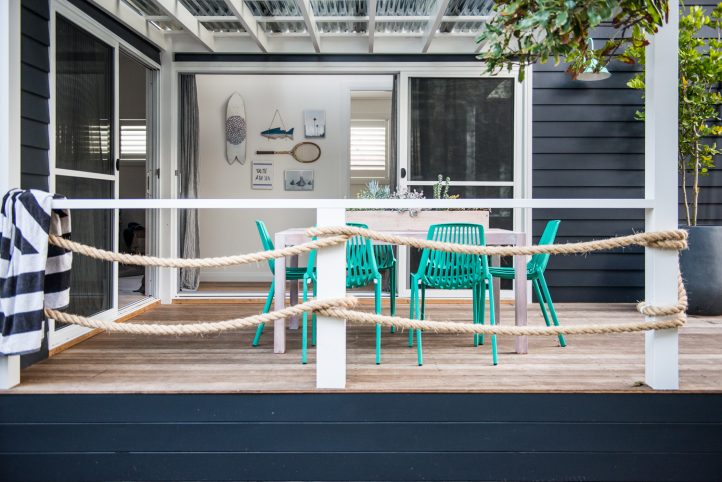
The studio at Toowoon Bay Reno we’ve had holiday let for 4 years now
Toowoon Bay Reno studio kitchen

Toowoon Bay Reno studio entry
Because it’s been such an asset, we’ve designed a self-contained Guest House for this build that family and friends can come and enjoy. Or maybe it’s for us to escape our noisy kids every now and again! We also have the option to holiday let down the track. Either way, we’ve carefully designed every detail to make this studio a calming hideaway; the ultimate in small space living. We’ve positioned this studio at the front of the block this time, which helps to create privacy in our main yard. We wanted a one bedroom space which opens out onto its own private terrace.
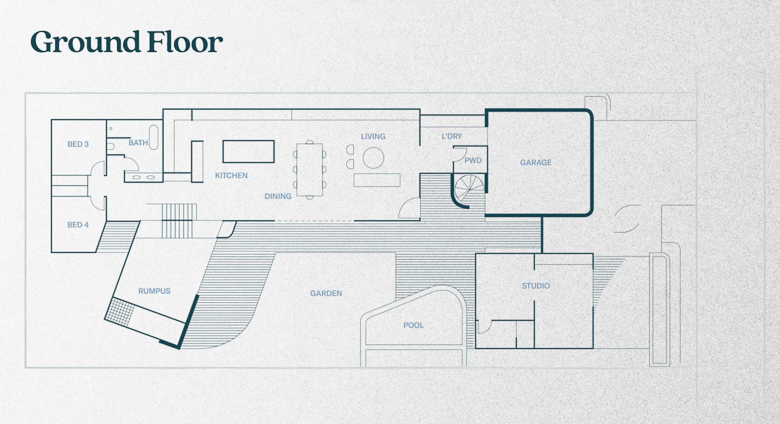
The studio is located at the front of the block and is completely self-contained

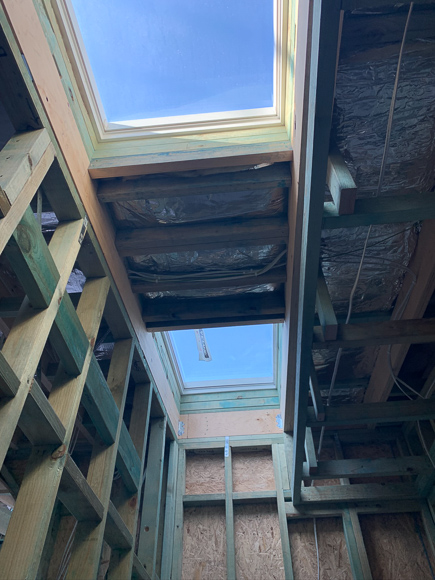
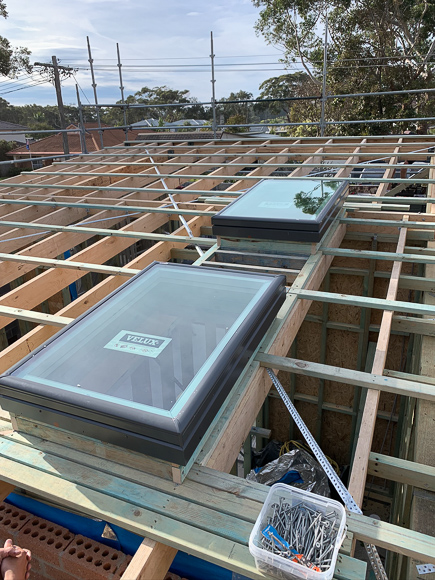
Being a one bedroom studio, the external wall frames go up in record time. We’ve included two Velux opening skylights over the bathroom which we love using in bathrooms as they’re great for ventilation.
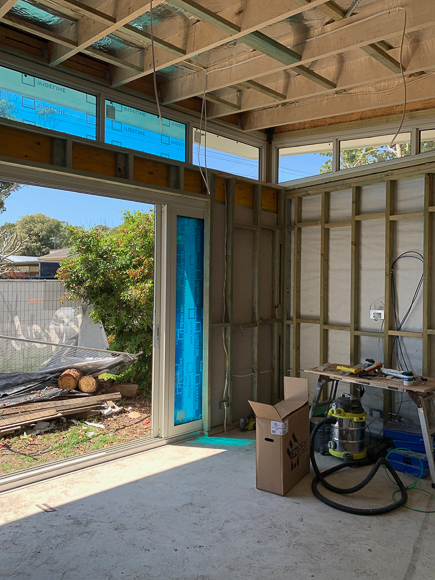
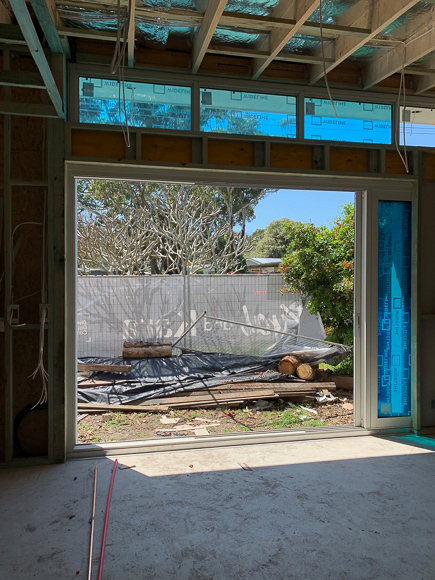
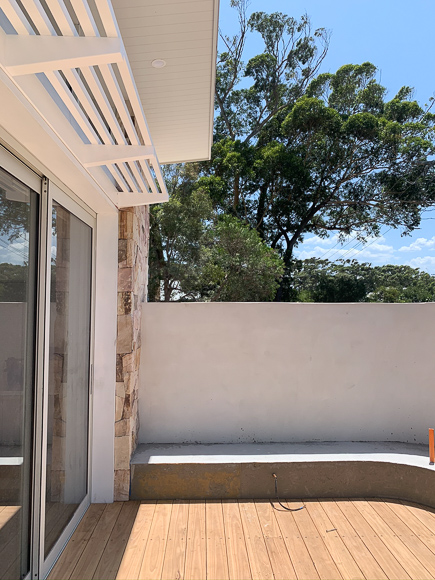
In the main living space, we’ve opted for a Wideline Paragon Cavity Stacking door so that when it’s open, it can stack right back into the wall, allowing the indoor and outdoor space to act as one without the glass impeding on the spaces. It’s such a feature as opening the doors right up instantly creates the illusion that the studio is twice as large. The highlight windows above let in all that amazing north light. At this point I can already imagine lying in bed looking out at the trees through those highlight windows…
When it came time to select flooring, I’ve opted for tiles for a number of reasons: I wanted the studio space to be super hard wearing, to install underfloor heating to heat the space in the cooler months, and it also means I can run the same floor material throughout the whole space, including the bathroom.

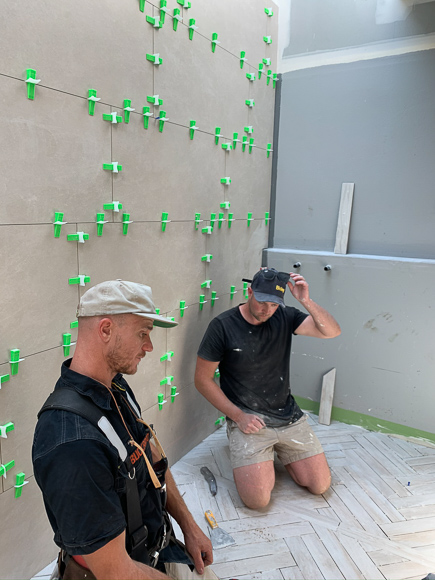
Our tiler Matty has done such a good job of tiling the studio – he also happens to be up there with one of the nicest people you’ll ever meet! The white washed timber-look tiles from Beaumont Tiles create a great amount of texture and interest, without being too busy for the relaxed coastal vibe we were after. (Note: for all tile names and details, head to the supplier journals for each room)
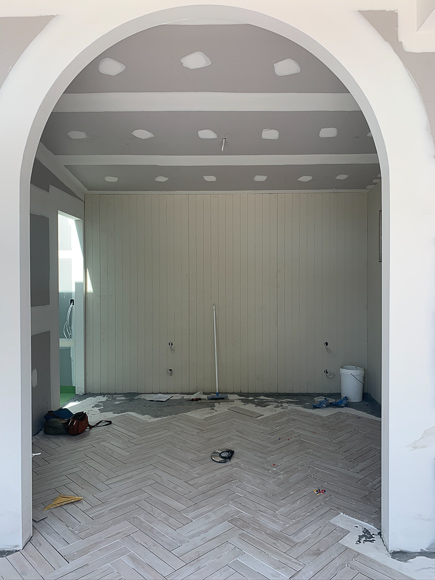
We wanted to create a sleeping zone without completely closing off the bedroom with a wall. The arch doorway was something we created ‘on the fly’ and is now one of my favourite features in the studio. We obviously needed to be able to block the light to this room for those who like to sleep in, so we factored in floor-to-ceiling curtains which provide drama and a sense of luxury. We had a few questions regarding allowances when it came time for this, and DIY Blinds were amazing to deal with for this. With ‘short stays’ in mind we have some custom Loughlin Furniture cabinetry with just the right amount of storage for a guest. Investing in a comfortable mattress and bedding was also a priority for us in this room. Check out all the finished shots in our gallery and supplier details of the studio bedroom for details on all the products and suppliers.
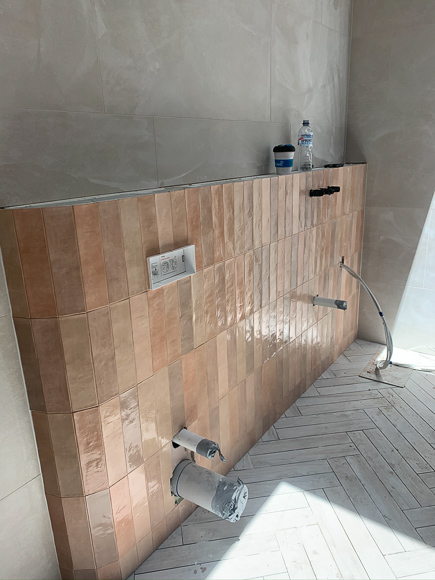
The design of this bathroom centred around my love of the clay-look tiles from Beaumont Tiles. There are subtle curves throughout the whole build and we’ve looked for ways to incorporate that detail throughout. In this space, the curve of the wall behind the vanity is a nice touch. The clay tone also works beautifully with the Angourie Vanity and Alura Arch Mirror – both part of our collaboration with Loughlin Furniture. I’d love to point out that there are three different tiles within this bathroom, but everything works together so well. It’s great example of using varying textures with similar colour tones to create a room that’s interesting and packs a punch. Of course we are big advocates for as much natural light as you can achieve, and we have natural light in abundance in this bathroom thanks to the Velux skylights. All the details are listed in our studio bathroom reveal journal.
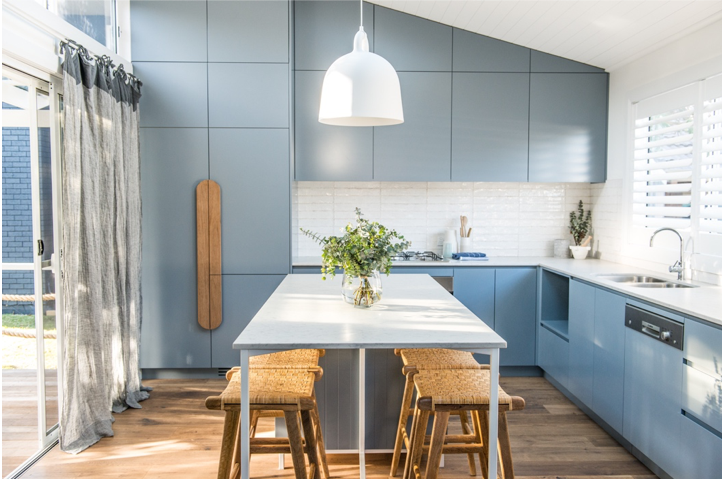
In the main living area, we’ve designed the cabinetry for the kitchenette alongside Jasper Design Group. We’ve made use of the high ceilings by running the cabinetry higher than standard to allow for extra storage and a ducted air conditioning unit is concealed in the bulkhead. The bench tops are my new ‘all-time favourite’ [disclaimer: this may be overtaken once again throughout this build..!] They are a natural stone from the Sensa by Cosentino range ‘Taj Mahal’, installed by perfection as always by the Edstein Creative Stone team. When it came time to painting, I’ve chosen a fresh white with Taubmans ‘Big White’ but added in a cost effective feature with a half wall of Taubmans ‘Manor Born’.
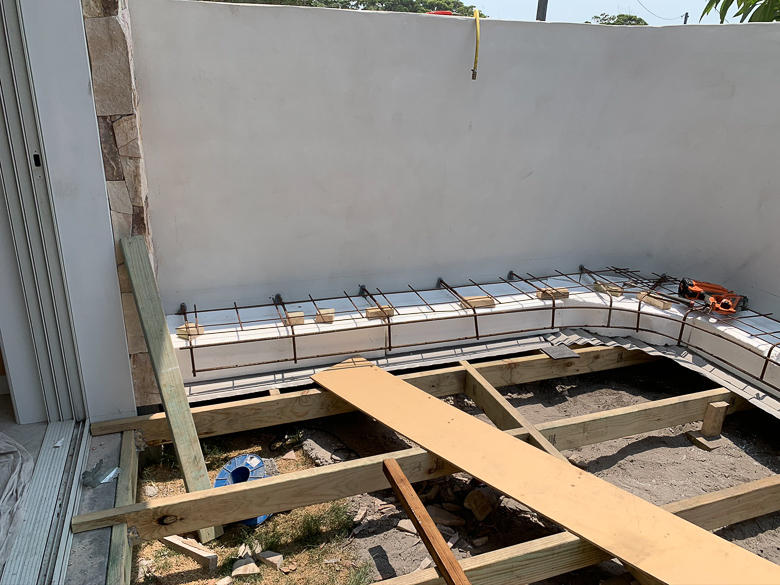
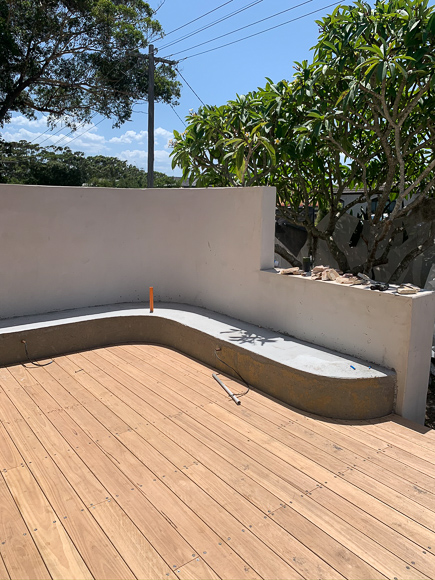
Forming up the curved concrete bench seat
Exteriorly, we worked alongside Mon Palmer to design the landscaping and outdoor areas. We decided to create privacy for the studio by building a curved block wall incorporating a built in bench seat. For decking, we’ve opted for 140x18mm Blackbutt decking from Mitre 10. Again, head to the reveal journals and galleries for further details and pictures.
Overall, we’re so happy with the studio and look forward to hosting plenty of guests and creating special memories. This space goes to show that you don’t need a lot of space to create a sanctuary. We can’t wait to share more of the exterior of this build in later episodes, but in the meantime if you have any questions, feel free to ask below!
Click here to to watch Blue Lagoon Build Episode 2 – Be Our Guest
Blue Lagoon Build series is proudly brought to you with the support of RAMS Home Loans.