There’s been a lot of planning to get to this point but it’s all happening now! Well… on the outside anyway.
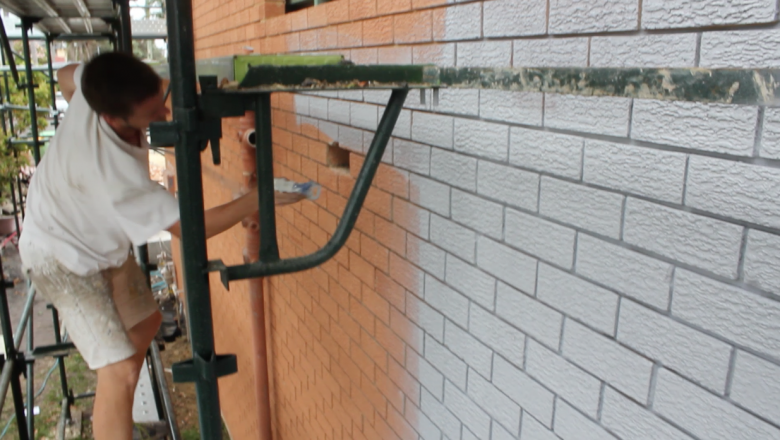
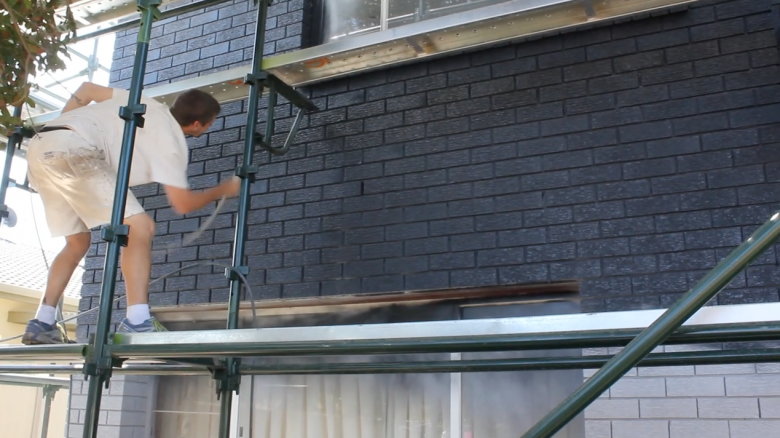
After tossing up whether to render, bag or paint the brickwork on the exterior we decided to keep the texture and paint the brick directly – the bonus is, this is a much more cost effective option. After 5 sample pot tests on the brick wall in the front yard, we decided we had to go dark! Our initial light grey choices looked too ‘washed out’ in full sun. Our choice – Taubmans ‘Mojo’ – we love it! We also love the contrast the dark colour creates against the white casement windows. After gurneying the exterior, and a hit with an anti-mould treatment, we were ready to spray. While the scaffold is up, and before all the new windows are installed, we wanted to make sure the bulk of the exterior was sprayed. We used Taubmans 3-in-1 Undercoat, then two coats of Taubmans Endure Exterior low sheen.
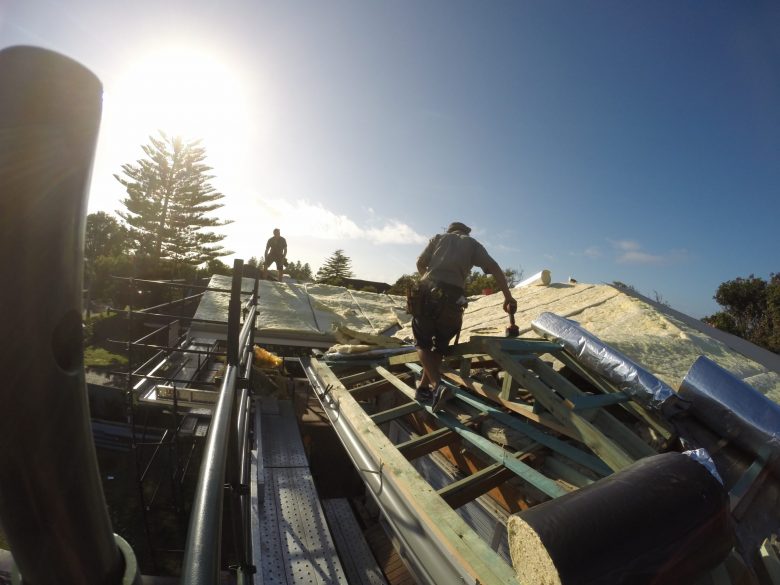
We’ve been living with a tarp over our heads whilst the boys straighten the roof frame and frame up the new roof over the deck. They also framed up a new gable on the western side of the front facade – which really adds to the street appeal and helps to break up the ‘flat’ ‘brick box’ look.
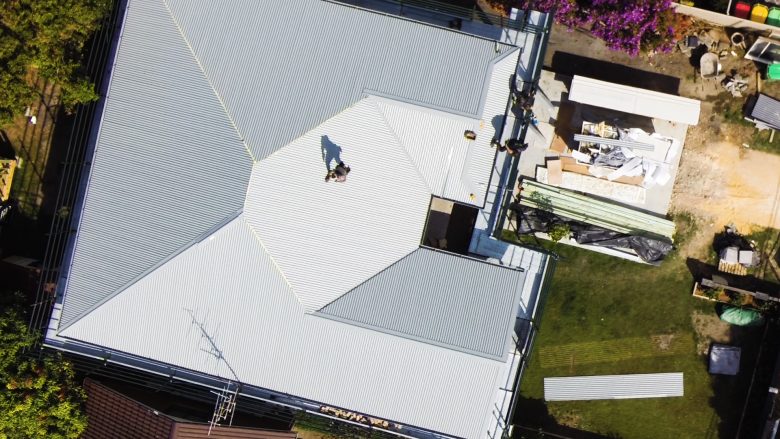
We love the look of a Colorbond roof and the subtle sound it makes on those rainy days. We used Bradford’s ‘Anticon’ insulation which is specifically designed for temperature and noise control in homes with a metal roof. We’ve chosen Colorbond ‘Windspray’ for the roof and gutters and painted the fascia in Colorbond ‘Surfmist.’
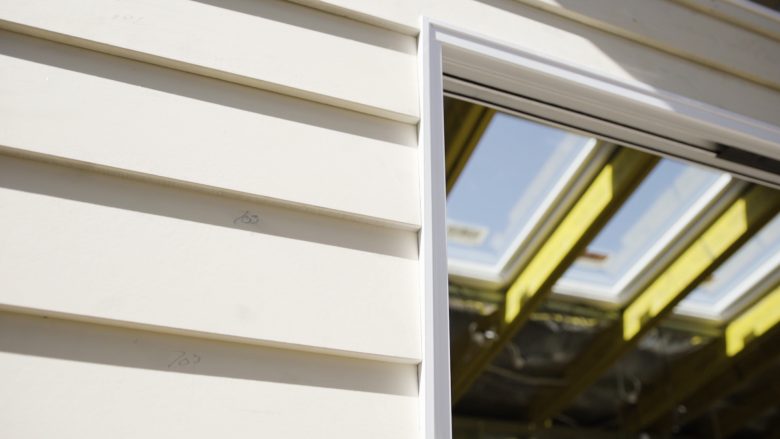
To break up the brick at the front of the house, we’ve decided to strip the brickwork down to the windowsill and replace with CSR Scarborough weatherboard.
Prior to cladding, the old windows were removed and the new Wideline windows were installed (to see more about our selections – check out Episode 3). Now with the old windows gone and the new casement windows in, we are getting a glimpse of the front transformation.

It’s crazy how much brighter it is underneath the new roof extension now that the ceiling is lined with the Easycraft.
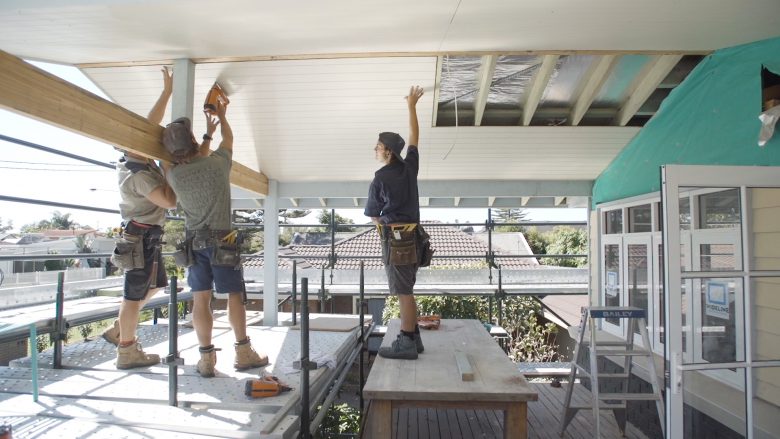
Easycraft VJ Boards being installed
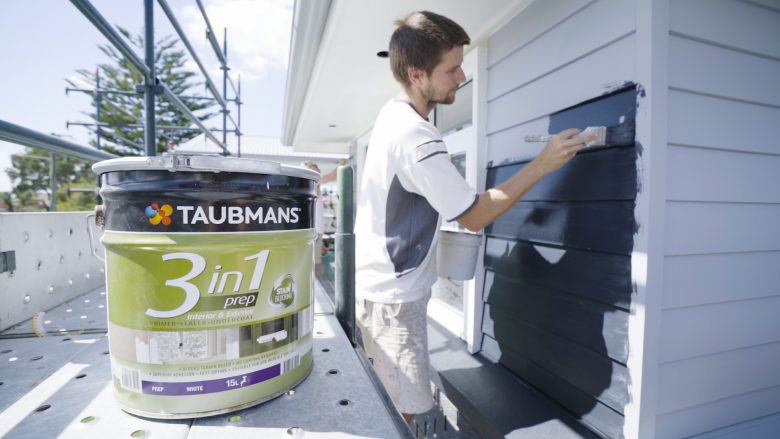
With the windows in and the cladding installed, we were able to finish painting the upper level exterior. Once the prep was on, everyone kept commenting that they loved the dark brick and the light weatherboard look… but our plan was to paint the weatherboard dark!
Because everyone wanted to put their two cents worth in about the colour – we were in two minds! After taking a step back, we’ve decided to stick with the original plan and run with the ‘Mojo.’ Nothing like a little spanner in the works to keep you on your toes. We’ve painted all our timber trims and architraves with Taubmans ‘Miss Universe.’
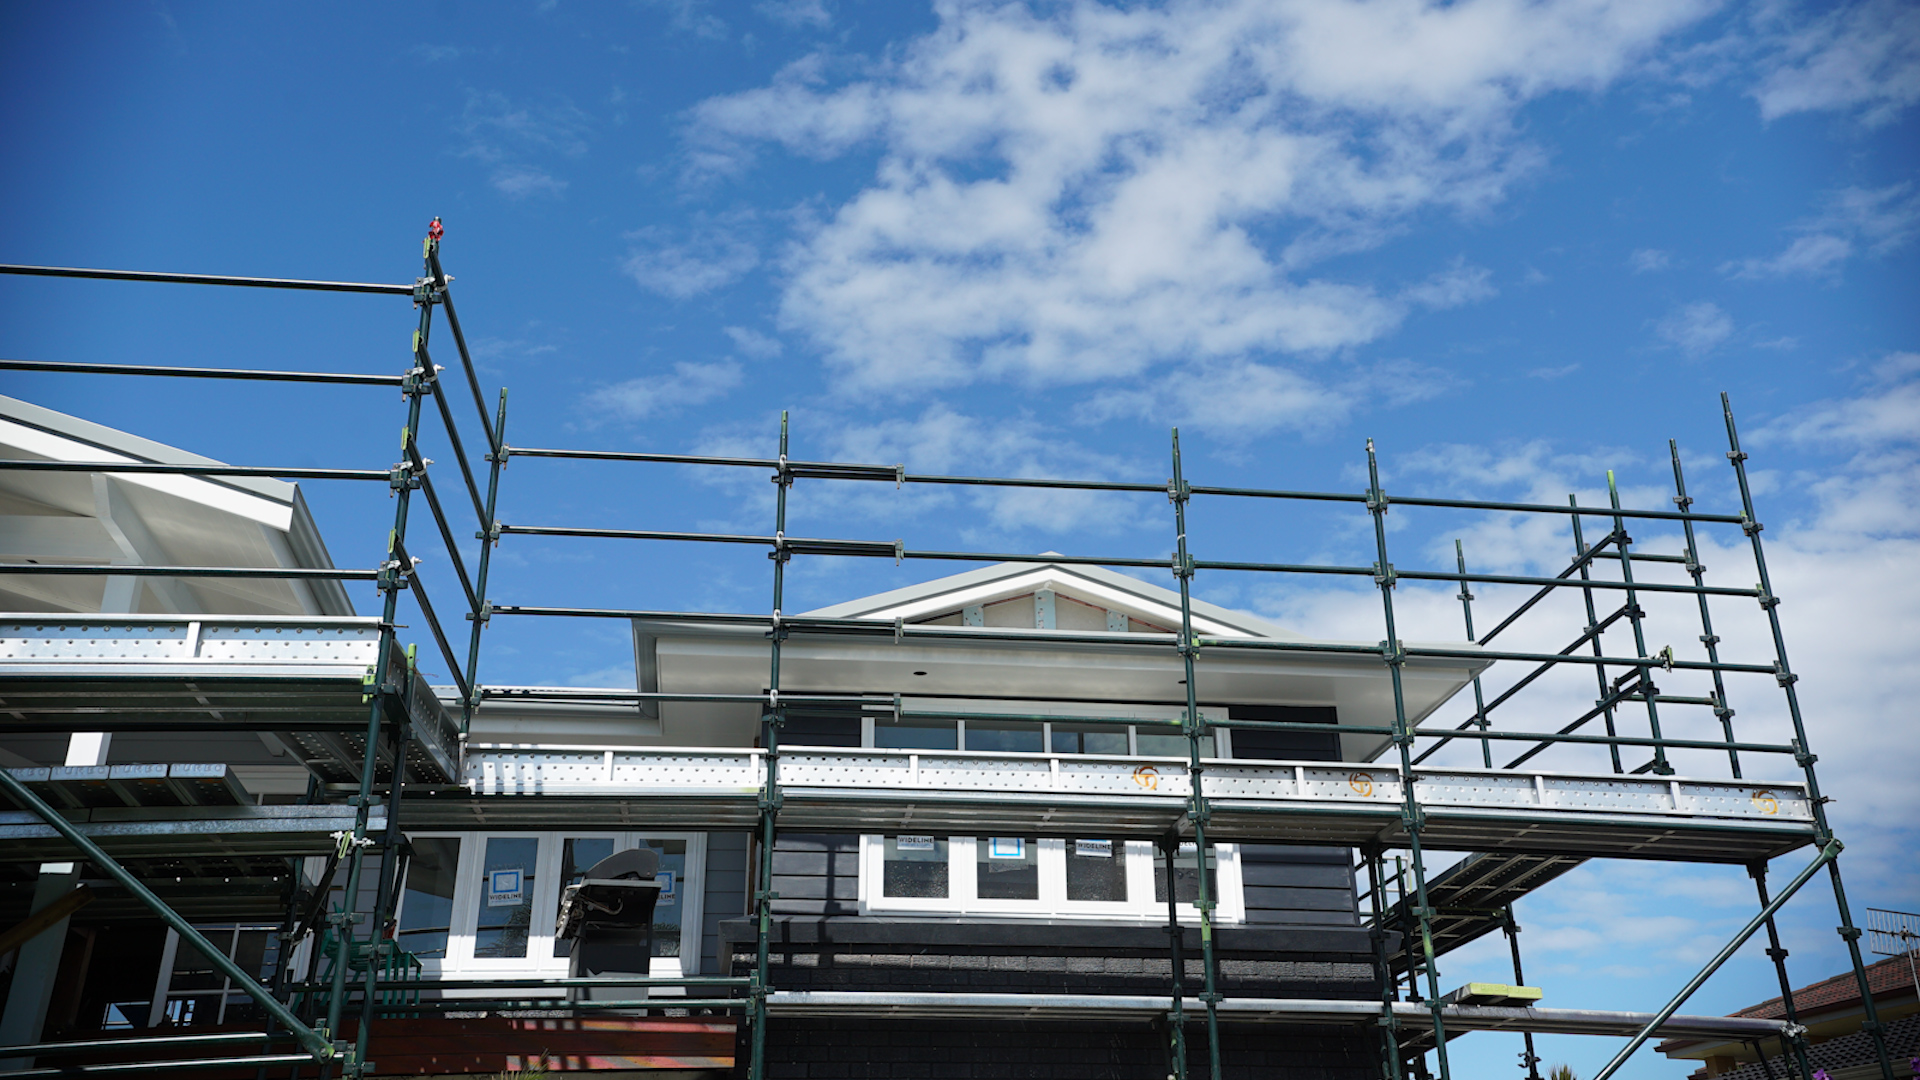
We’re so close to being able to drop this scaffold! The scaffold is in the way of where the new garage will be built – which means once the scaffold is gone; we can start building the garage. Having a garage will make our lives so much easier as currently materials are stored wherever we can fit them – as in our tiny living area.
Meanwhile inside, the tiling for the bathroom is underway as we’re keen to start using this bathroom asap! The goal is to move upstairs as soon as possible – so that some kind of order can be restored to our life. Living in a reno while pregnant hasn’t been enjoyable to say the least – but there’s a very bright light at the end of the tunnel!
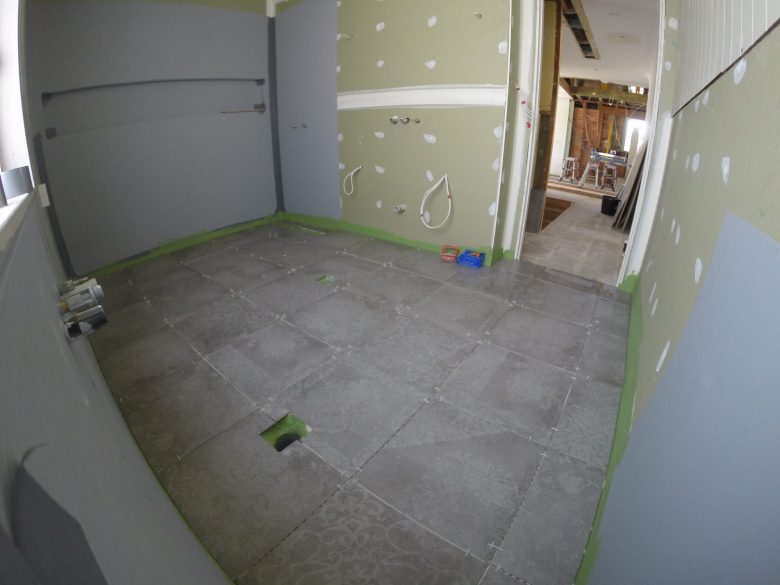
Cretement ‘Vintage’ Grey tiles from Beaumont Tiles being laid in the bathroom