Wow, we knew we weren’t buying a finished gem of a house but once we knocked down the carport, back shed, pergola and other ‘tack ons’ it became obvious we didn’t have much of a house left. I’ll have to admit, I got a shock when I came and saw the boys’ demolition work. Far out Kyal! Couldn’t you have a left a bit more house?!
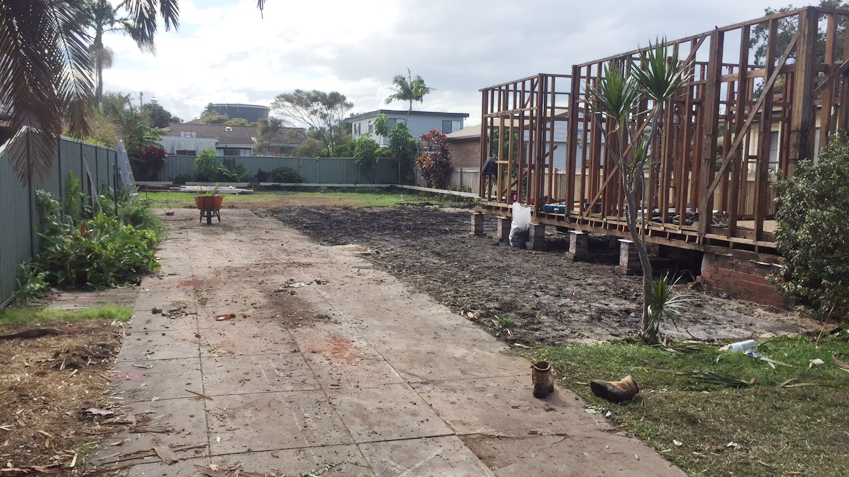
There’s not a lot of house left…
With the demo complete and the site clean, the extension is set out and holes for the footings are dug. You really want the weather to be fine for this process – some of these piers are over 2m deep! So if it rains, we’d be in a world of pain… Once the footings were dug, the rain clouds loomed but luckily we were able to get our concrete poured before any rain drops fell. With our holes filled, the machinery moved to the back of the block. The way we’ve designed this renovation means that if we’re going to have a pool, it needs to be poured now – before the house is built. I’m going to have to really step up the ‘budget queen’ game this time around because a pool adds a whole other expense to the mix, but where would a Palm Springs-inspired renovation be without a pool?!
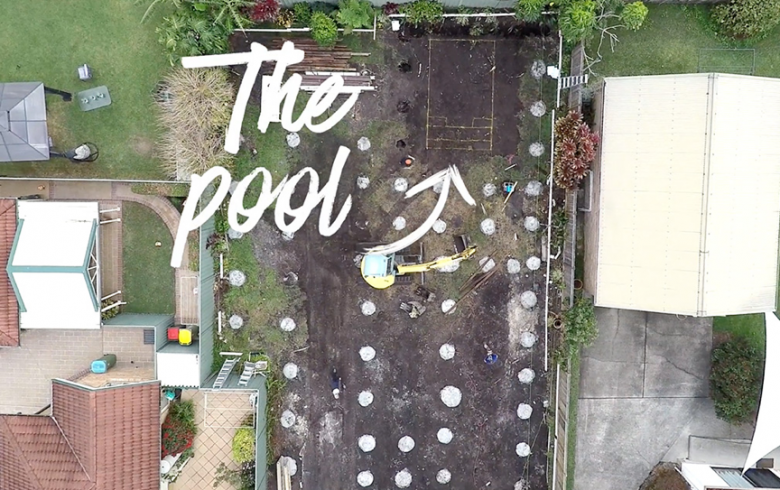
Pad footings for the extension and the pool marked out
The day the boys formed up for the pool, Ziya and I came for a sneak peek (ok, maybe I’m there everyday…) and when Kyal explained where the lines were marked out for the pool, I couldn’t believe how small it was! It was always our intention to create a plunge pool for cooling off after a day at the beach, but I wasn’t expecting it to look that small! It wasn’t until they started digging, and I saw the boys standing in it that I realised it was bigger than it seemed – bit of an optical illusion, really.
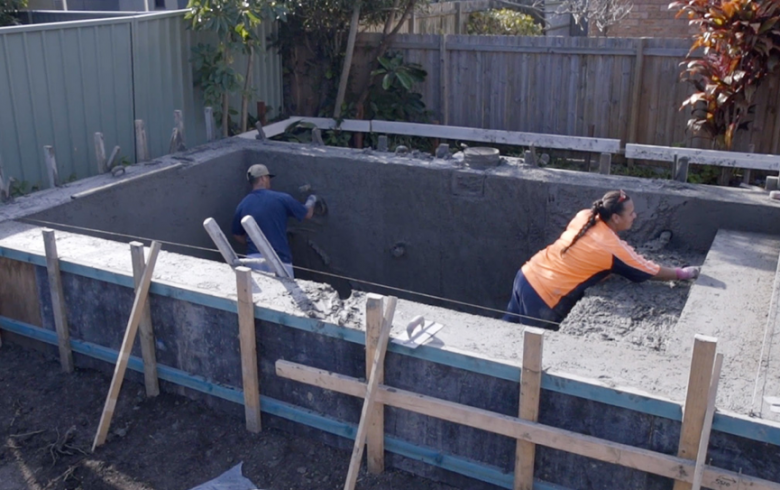
Concreting the pool. We’ve decided to run steps the length of the pool on one side.
One important thing to note here, is that when you’re doing a concrete and tile pool, you need to lock in your design before formwork is complete. This is to ensure that all measurements can be planned to tile size. Particularly in our case as I’m using 200x200mm patterned tiles around the waterline.
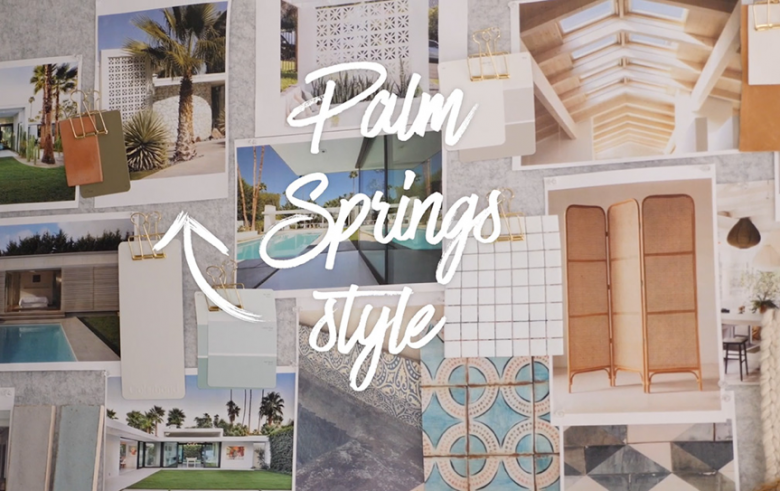
Inspired by Palm Springs landscapes
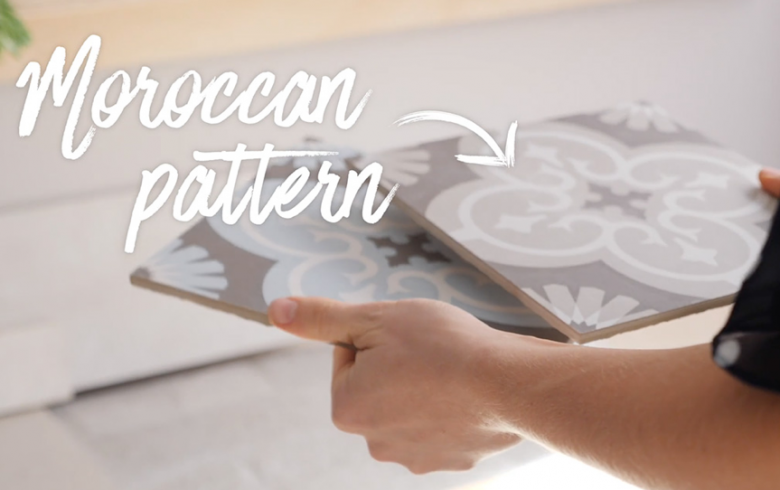
Loving patterned tiles – especially Moroccan styles!
My idea is to combine two different styles and create our own ‘KK pool look’. I love the clean lines and minimalistic look of the Palm Springs pool, however, I also love the pattern and character of Moroccan tiles. We’re excited to see this all come together, so stay tuned!
Once the pool is formed up and concreted, the boys move on to forming up and pouring the garage slab, and next it’s time for extension foundations! For this, Kyal has decided to use Uni-Piers. This pier system speeds up the building process and is a much faster way of installation as there is no need for bricks or a bricklayer. Working with the Mitre 10 Trade Centre at Kincumber has been a breeze – they’re able to use our building plans to design the entire sub floor frame, providing Kyal with a detailed plan of how it all goes together.
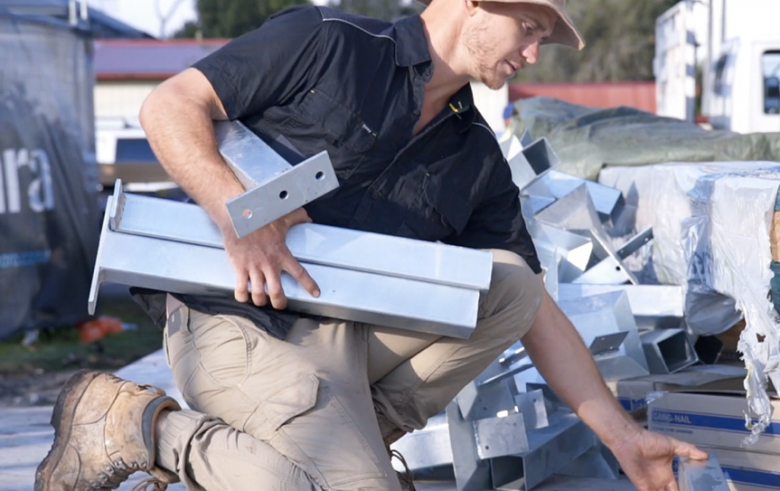
Galvanised Uni-Pier system
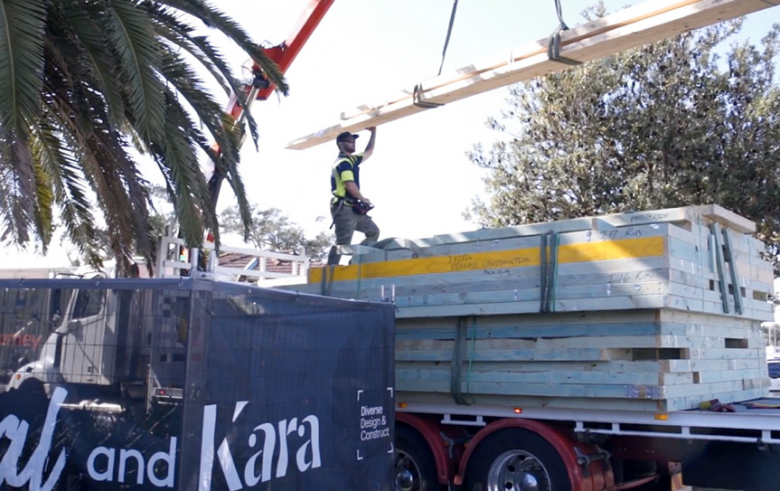
Delivery of frames from National Frame and Truss
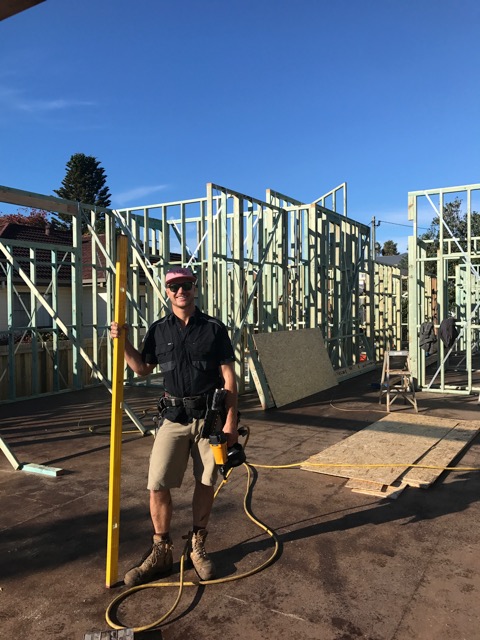
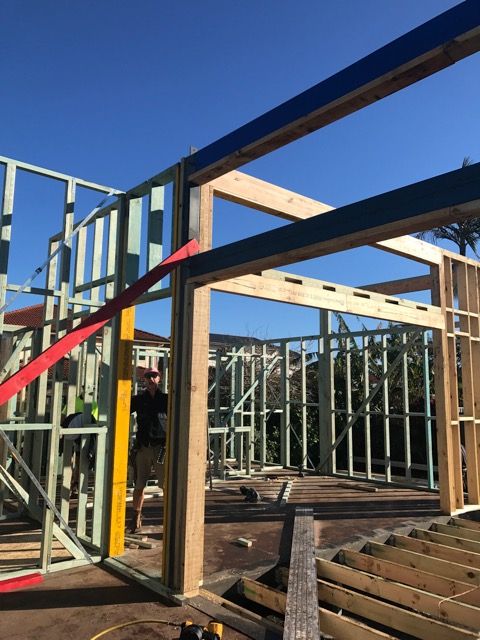
We had the frames made up off-site by National Frame and Truss, so once they arrived and the boys began standing them, everything took form so quickly – and what an exciting few days! Up until now, the renovation (particularly the extension) was just a plan on paper. We now have a sub floor and wall frames – which means you can stand in the space and really get a feel for how each room will look. The boys power on with the roof frame and we’re all ready for the next exciting stage of the build – the COLORBOND® roof, Wideline windows and Velux skylights!
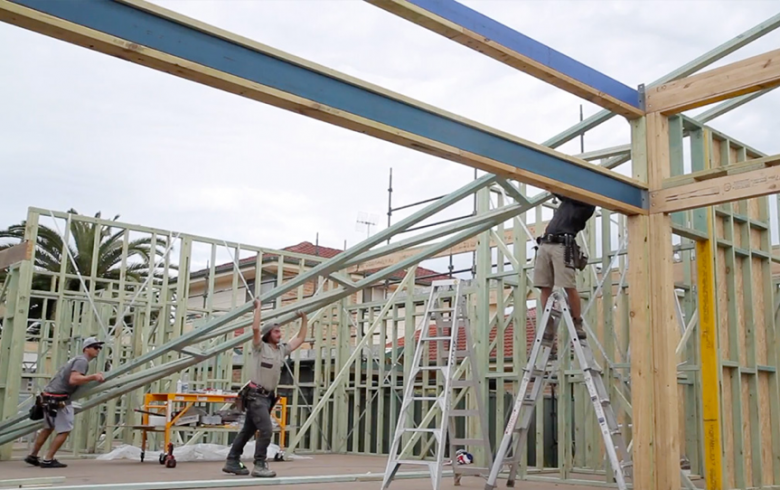
Standing the frames
Watch Episode 2 of the Long Jetty Online Series, brought to you by RAMS.